Camping pillows are either glorified balloon animals or expensive pieces of foam you’ll lose by the second night.
You brought a stuff sack full of clothes anyway. Why carry an extra pillow? The logic is simple. The execution?
Well, that’s where most campers end up with a neck ache and a bag of lumpy regrets.
Building the perfect pillow from your spare clothes is not a hack. It is a science. It requires strategy.
It demands an understanding of fabric density, zipper management, and the physics of sleep.
Table of Contents
1. Selecting the Optimal Stuff Sack
Not all bags are created equal. Grab that old nylon sack from a camping trip in 2007? Throw it away. Seriously. It sounds like you’re sleeping inside a bag of potato chips.
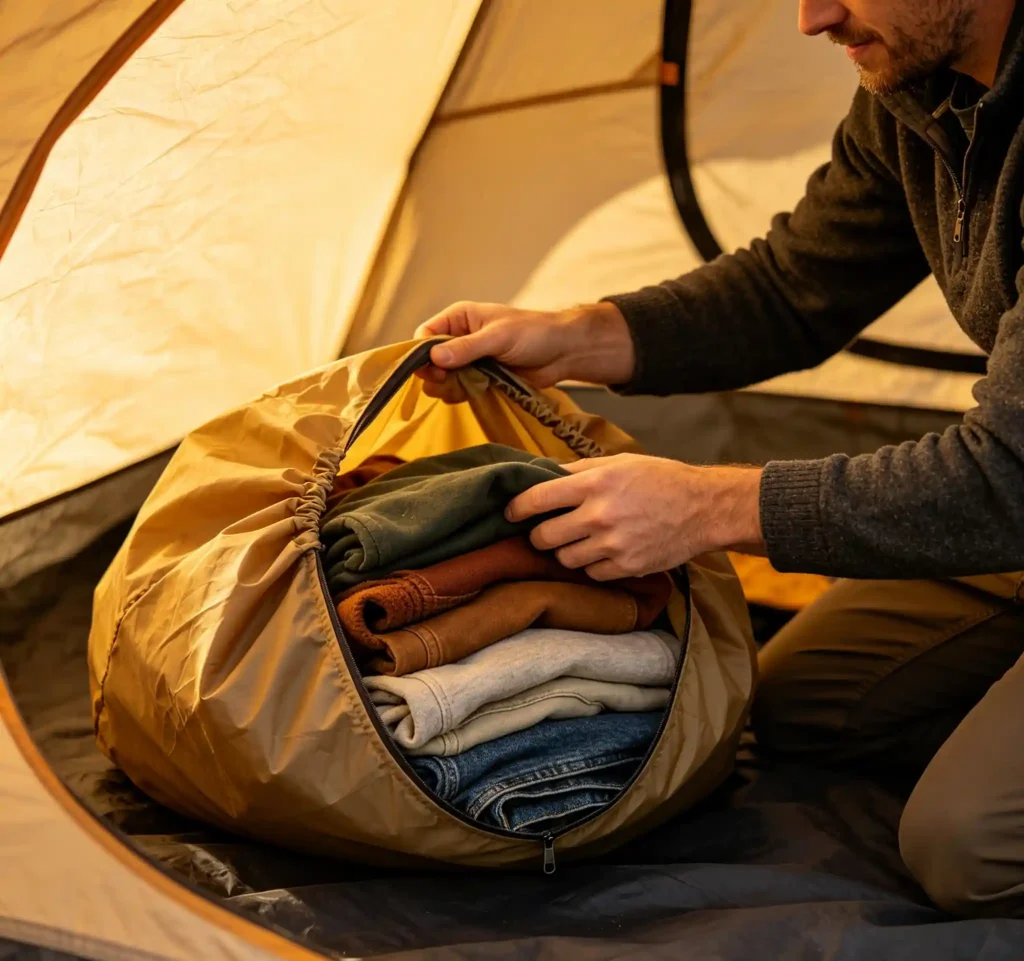
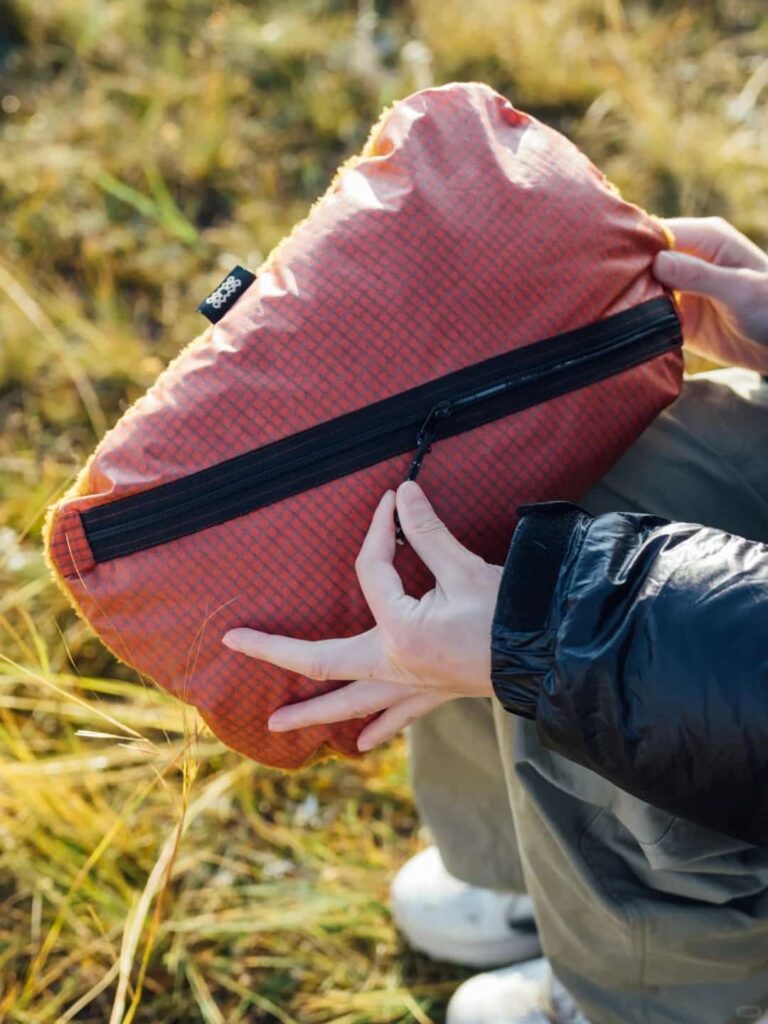
You need a fleece-lined bag or a soft fabric dry bag. The texture matters. Your face will press against this thing for hours. You don’t want sandpaper cheeks in the morning.
The soft fabric also dampens the “crinkle” sound. You know the sound. It’s the sound that echoes through the tent at 2 AM every time you move your head. It wakes you up. It wakes your partner up. It probably wakes the bears up.
Get a bag that whispers. Not one that screams.
2. Sorting Materials by Density
Dump your bag out. Look at your clothes like a scientist. You have two categories here: the fluff and the stuff.
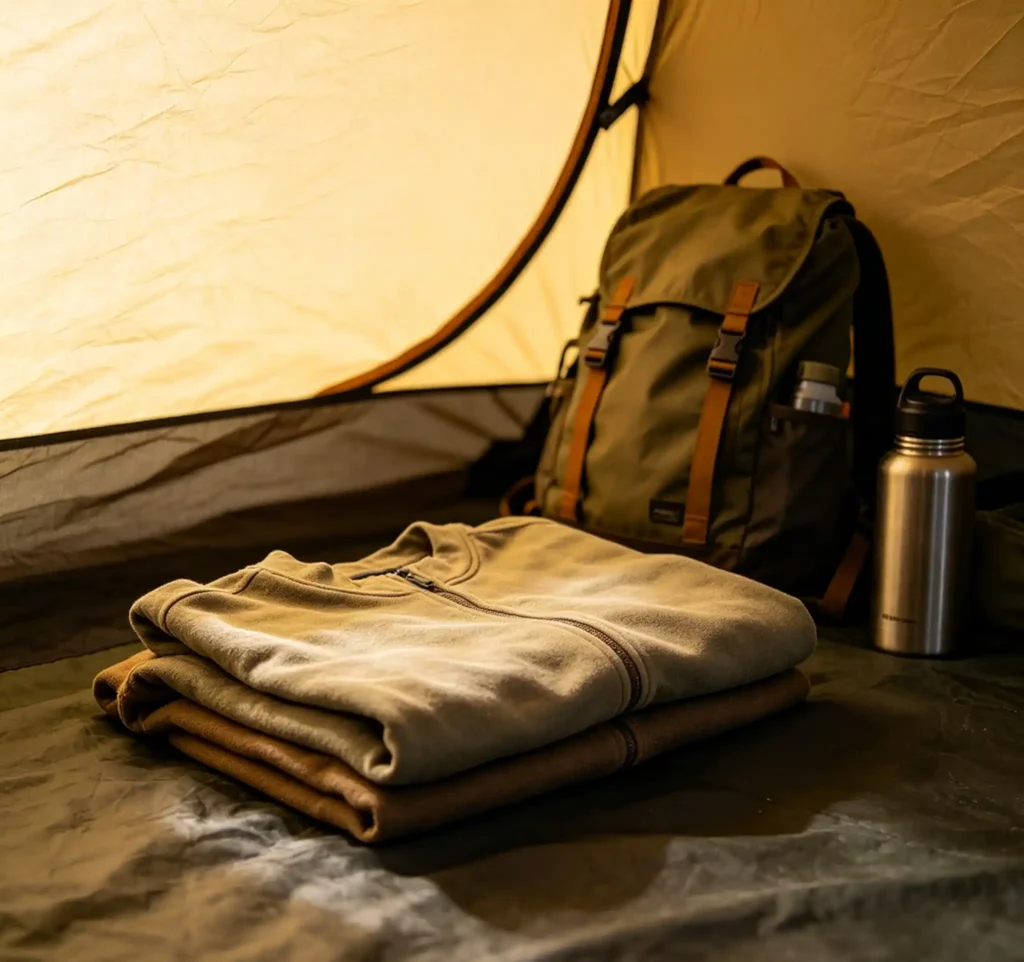
The fluff is your “loft items.” Think down jackets, puffy vests, and fleece pullovers. These provide softness. They are the clouds in your sky.
The stuff is your “structural items.” This means base layers, t-shirts, and pants. These provide support. They are the steel beams in your building.
You need both. Too much fluff, and your head sinks to the tent floor. You wake up looking like a turtle stuck on its back.
Too much structure, and you’re resting your cheek on a stack of denim. That’s not a pillow. That’s a punishment.
3. The Foundation Layer: Creating a Buffer
Now we build. Take your single largest flat item. A fleece jacket works great. A hoodie works too.
Lay it flat inside the stuff sack. This piece goes against the side where your face will land.
Think of it as a padded membrane. It’s the bouncer at the club. It stops pokey elbows of other clothes from bothering your precious face.
This layer also absorbs moisture. Your face sweats at night. Sorry, but it’s true. The fleece catches it. Your dry t-shirts inside stay dry. It’s basic pillow hygiene.
Don’t skip this step. It’s the difference between luxury and suffering.
4. Managing Hardware and Fasteners
Here lies the rookie mistake. You throw clothes in a bag. You zip it up. You lay your head down. Suddenly, a zipper pull digs into your ear.
A button presses into your cheekbone. A toggle leaves a mark on your forehead that looks like a brand.
You must bury the hardware.
Turn items inside out. Fold pants so the zipper is hidden. Tuck hoodie strings deep into the center. Imagine you are performing surgery.
The goal is to create a surface with zero protrusions.
If you feel a snap button at 3 AM, you will not go back to sleep. You will simply lie there, raging against the inventor of denim.
Don’t let that be you.
5. The Interlocking Fold Technique
This is the secret sauce. Do not crumple your clothes into balls. That creates lumps. Lumps shift. By midnight, you’ll have a down jacket under your ear and everything else bunched up by your tent wall.
Fold your clothes flat. Roll them if you must. Then, place them inside so they interlock. Think of a Jenga tower, but one that doesn’t collapse when you touch it.
The flat surfaces grip each other. They create friction. They refuse to slide around. Your pillow stays together. Your head stays comfortable. It’s engineering, baby.
Clumping is the enemy. Interlocking is the friend. Be friends with interlocking.
6. Filling the Corner Voids
You have the main mass in the center. But look at the corners of the stuff sack.
They are empty. They are voids. If left alone, your pillow will resemble a deflated basketball.
Small items fix this. Grab a clean sock. Grab a beanie. Grab a buff. Stuff them into the corners.
This ensures the pillow holds its shape. It creates a stable platform.
When you roll over at night, the pillow rolls with you. It doesn’t flop away like a dying fish.
Anatomical shape matters. Your head is not a cube. Your pillow shouldn’t be either. Fill those voids.
7. Adjusting Firmness for Sleeping Position
Side sleeper? You need height. Your neck requires space to stay straight. Pack the sack fuller. Add more structural items. Make it dense.
Back sleeper? You need a flatter profile. Less is more. You just want a gentle lift. Remove some clothes. Let your head rest easy.
Stomach sleeper? Seek therapy. Also, you need almost nothing. A pancake-thin pillow. Maybe just a single t-shirt.
You animals have my respect, but not my understanding.
Check the firmness before you get in the bag. Adjust now. Don’t wait until you’re half asleep and angry.
8. Maintaining Hygiene and Dryness
Here’s a gross thought: your hiking clothes are damp. They have sweat. They have trail grime. You don’t want that against your face.
Separate your “sleep system” clothes from your “hiking” clothes. Have a dedicated pillow set. Or, use a fresh base layer for the pillow core.
Keep the damp stuff in a different bag.
If you use a damp shirt in the pillow, you will smell it. You will smell the hills. You will smell yourself. It’s not romantic. It’s just stinky.
Dryness equals comfort. Hygiene equals happiness. Keep the gross stuff out.
Conclusion
So there you have it. You came with a bag of laundry.
You leave with a custom sleep apparatus. No extra gear required. No balloon animals needed.
Master these steps. Manage your zippers. Interlock your folds. Fill the voids. Your neck will stop complaining. Your sleep will improve.
And you’ll never look at a stuff sack the same way again.
Now go forth. Build that pillow. Sleep like the majestic camping creature you are.
Just don’t blame me if you never go back to store-bought pillows again.