
After a particularly grueling 10-mile hike that left me with two blisters the size and color of ripe plums, I declared war.
This wasn’t a minor skirmish anymore; this was a full-scale military campaign against foot friction.
I researched, I experimented, I spent money on socks that made my wallet weep, and I subjected my poor feet to a gauntlet of trials that would make a reality TV show contestant balk.
And after three long years of this podiatric pilgrimage, I found the holy grail.
I have not had a single, solitary blister in three years. Not a hot spot, not a pink patch of skin, nothing. My feet are smoother than a politician’s promise.
And today, I’m sharing my hard-won, blister-preventing setup with you. Follow these s, and you too can trade in your moleskin for mileage.
Table of Contents
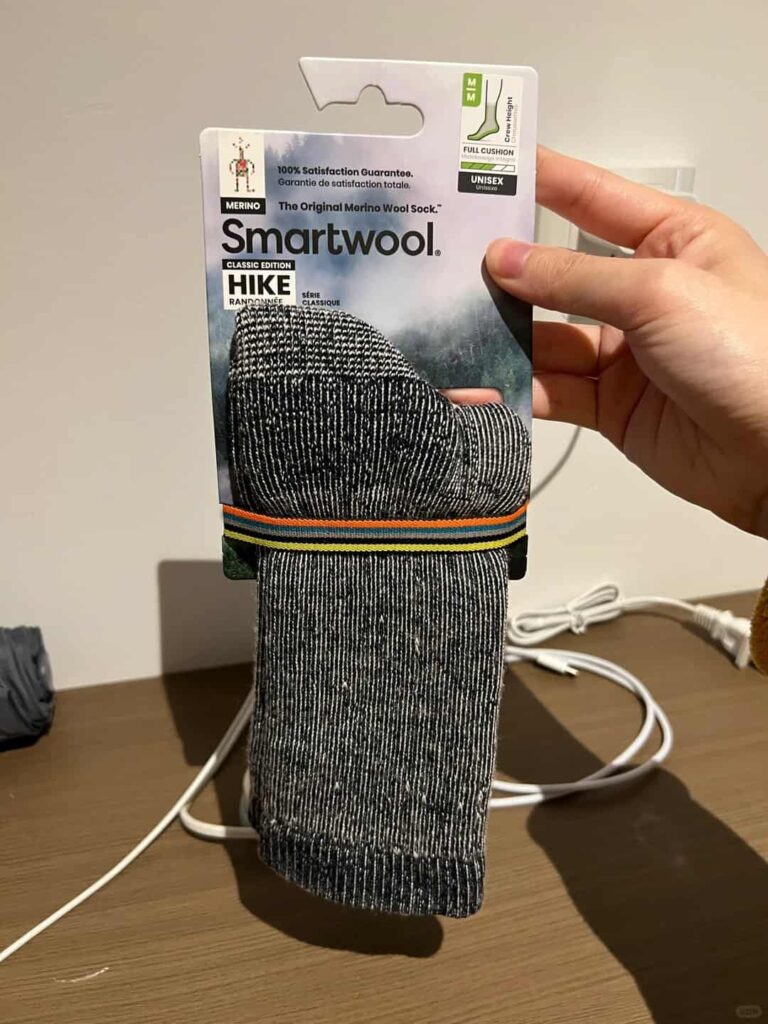
1: The Foundation – Invest in Quality Merino Wool Socks
If your sock drawer is currently filled with cheap cotton tubes you got in a 12-pack for $10, I need you to go grab them.
Got them? Good. Now, take a deep breath, and throw them in the trash.
Not for hiking. Not for lounging. Not for anything.
Cotton is the enemy. It’s a sponge that holds moisture against your skin, creating the perfect, swampy breeding ground for blisters.
Your new best friend is Merino wool. No, not the itchy, scratchy wool of your childhood Christmas sweater.
This is its space-age, genetically-engineered, miracle-fiber cousin. Merino wool is a moisture-wicking magician.
It pulls sweat away from your skin, keeping your feet remarkably dry. It also has natural odor-resistant properties, meaning after a three-day trip, your socks won’t be able to clear a room.
But not all Merino wool socks are created equal. I learned this the hard way.
The Cheap vs. The Quality:
The cheap ones (let’s call them the “Bargain Bin Blister-Breeders”) feel soft in the package, but they’re a trap.
They have a lower percentage of actual Merino, more stretch, and less structure. After a few washes, they get baggy, start to pill, and develop holes in the heels and toes with the inevitability of a Shakespearean tragedy.
They move independently of your foot inside your shoe, creating friction—the very thing we’re trying to avoid.
High-quality Merino socks, on the other hand, feel different from the get-go. They’re stiffer, with a tighter, more engineered fit.
They don’t feel like a loose tube; they feel like a second skin. They have strategic padding around the toes and heels—not so much that you lose feeling, but enough to act as a cushioning buffer.
Because they fit so snugly, there’s minimal movement. Your foot and the sock move as one unit against the shoe, not the sock grinding your skin into hamburger.
Yes, they cost around $20 a pair. It sounds insane. But let me ask you: what is the value of a pain-free hike? What is the ROI on not wanting to amputate your own feet after 15 miles?
I have pairs from brands like Silverlight, Darn Tough, and Smartwool that are going strong into their third year of heavy use.
That’s less than ten bucks a year for blissful, blister-free hiking.
It’s the best investment you’ll ever make in this sport.
2: The Fortress – Choose the Right Hiking Shoes

You can have the best socks in the world, but if you shove them into a foot-shaped torture chamber, you’re gonna have a bad time.
Your shoes are the fortress walls protecting your precious cargo. Choosing them is a sacred ritual, not an online impulse buy.
Rule #1: Never, ever buy hiking shoes online unless you have already tried that exact make and model on in a store.
I don’t care about the sale. I don’t care about the free shipping. Your feet do not conform to standard sizing charts.
They are unique, beautiful, weird little snowflakes.
Go to a proper outdoor store. Try on everything. A good hiking shoe or boot should feel perfect in the store.
Not “it’ll feel better once I break it in.” Not “it’s a little tight on my pinky toe, but I’m sure it’ll stretch.”
Nope. It should feel like Cinderella’s slipper, if Cinderella was a badass who carried a 30-pound pack.
You need enough room in the toe box to wiggle your toes freely. No tight spots. No pressure points.
It should feel secure around the heel and midfoot, but your forefoot should have space to spread out naturally as you walk.
I remember the pair that changed everything for me: I slipped them on, walked around the store, and felt… nothing.
No pinching, no rubbing, just comfort. I bought them on the spot and have worn that same model ever since.
There was no “break-in” period. We were trail-ready from day one.
3: Taming the Swamp – Manage Wet Conditions

Alright, you’ve got the socks and the shoes. You’re feeling invincible. Then the sky opens up.
You’re six hours into a downpour, your feet are submerged in what feels like a personal aquarium, and suddenly, that familiar hot spot begins to sing its siren song of pain.
Wet feet are soft feet, and soft feet blister easily.
I learned this on a brutal 30km (about 18.6 miles for my imperial friends) hike in persistent, soul-crushing rain.
My Merino socks were doing their best, but they were fighting a losing battle against the internal humidity of my water-resistant (ha!) boots.
They became waterlogged, and despite my best setup, I felt a blister beginning to form.
This is where active management comes in.
I haven’t personally tested waterproof hiking socks, as I’m skeptical of their breathability, but for consistently wet conditions like river crossings or bog-trotting, they might be worth investigating.
My strategy revolves around ventilation.
- Air Breaks: On any break longer than five minutes, the boots and socks come OFF. Let your feet and the insides of your boots air out. It feels incredible and does wonders to reduce moisture buildup. It’s a little weird the first time you do it, but your feet will thank you.
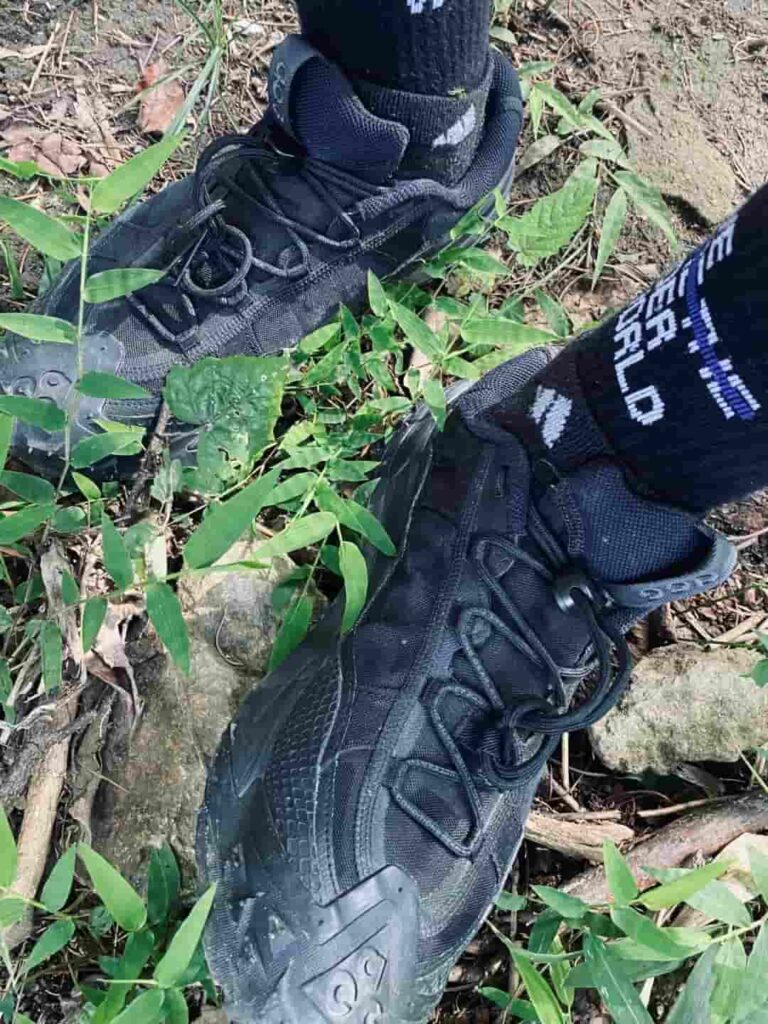
- Breathability over Water Resistance: Unless you’re hiking in a perpetual monsoon, I often prefer breathable, non-waterproof trail runners over waterproof boots. They let sweat vapor out and, when they do get wet, they dry exponentially faster. A waterproof boot, once wet on the inside, becomes a steam bath that never dries.
- The Spare Sock Gospel: I always, always carry at least two full pairs of spare socks in my pack. One is a dry pair for sleeping. The other is a rotation pair. If my socks are wet, I change them at lunch, and again when I make camp. Putting on dry socks is the closest thing to a religious experience you can have on the trail.
4: The Clean Regimen – Maintain Sock Cleanliness

On a multi-day trip, your socks will get funky. But it’s not just about odor.
As socks get saturated with sweat, dirt, and body oils, they lose their softness and become stiff and abrasive.
That smooth, protective interior turns into sandpaper.
My habit is to wash my spare socks at least once every two days. You don’t need a washing machine.
A clean stream, a lake, or even a sink in a campground will do. Use a little biodegradable soap, give them a good scrub, wring them out, and strap them to the outside of your pack to dry as you hike.
The sun is a great natural sanitizer. Rolling into camp every evening with a clean pair of socks waiting for you is a small act of self-care that pays massive dividends in foot health.
5: The Lockdown – Proper Lacing Technique

This was the game-changer. The secret sauce. The single most impactful tweak I made to my entire system.
It’s all about controlling where the friction happens.
The goal is a loose toe box (allowing your toes to splay and move without rubbing the front of the shoe) and a locked-in heel (preventing any up-and-down movement that causes heel blisters).
Here’s the exact technique I use, which might look a little funky but works like a charm:
- Skip the First Two Loops: When you start lacing your shoe, completely skip the first set of eyelets (the ones closest to your toes).
- Go Through the Mid-Loop: If your shoes have a mid-foot loop or a set of eyelets further up, pass the lace through those. This creates a anchor point.
- The Surgeon’s Knot: Before you even put your foot in, tie a simple overhand knot, but instead of pulling it tight, give the lace an extra tuck through the loop, creating a makeshift locking knot. This is your first “surgeon’s knot.”
- Insert Foot & Tighten: Now, put your foot in. Pull the laces tight from your new anchor point upwards, ensuring the midfoot and ankle are snug.
- The Second Lock: Just before your final knot, tie another surgeon’s knot. This double-lock system keeps the lower part of the lacing loose and the upper part supremely tight.
- Tuck the Laces: Finish with a standard bow, and then tuck the loops and ends into the shoe’s gaiter or a lace pocket if you have one. No floppy laces to trip over!
The outcome is magical. Your toes have room to party, while your heel is gripped so firmly it feels like it’s part of the shoe.
Zero friction at the toes, zero friction at the heel. It’s pure engineering genius.
6: The Rapid Response – Tape Sour Spots Immediately

Vigilance is key. No matter how good your system is, you must listen to your feet. T
he moment you feel a “hot spot” or a “sour spot”—anywhere that feels warmer than the surrounding skin—you stop.
I don’t care if you’re 100 yards from a stunning summit vista. You. Stop. Now.
The progression from “huh, that’s a bit warm” to “I will trade my firstborn for a helicopter” is measured in minutes, not miles.
My recommended method for wet conditions is the double-tap:
- Blister Tape: I carry a small roll of Leukotape. This stuff is legendary. It’s sticky, tough, and doesn’t come off with sweat or water. Cut a piece large enough to cover the hot spot and the surrounding skin. Smooth it on.
- The Duct Tape Reinforcer: For an extra layer of security, especially if it’s wet or the spot feels particularly angry, I put a small piece of duct tape right over the Leukotape. Duct tape is slippery. This creates an ultra-low-friction interface that almost guarantees the blister won’t form. It’s your emergency forcefield.
7: The Double Agent – Optional Two Pairs of Hiking Socks
If, after all this, you are still a blister-prone individual, it’s time to bring out the big guns: the sock liner system.
This involves wearing a very thin, smooth liner sock (often made of silk or a synthetic blend) underneath your regular Merino wool hiking sock.
The theory is simple: instead of the friction happening between your sock and your skin, it happens between the two layers of sock.
The liner sock moves with your foot, the outer sock moves with your shoe, and your skin is just along for the blissfully smooth ride.
It adds a bit of bulk, so you might need to size up your shoes, but for those who have tried everything else, this can be the final solution.
Conclusion
But a crucial disclaimer: feet are weird and wildly individual. What works for my narrow, medium-arched feet might need tweaking for your wide, flat-footed trotters.
Use this guide as a starting point. Test it. Adjust it. Make it your own.
The core principles, however, are universal: manage moisture, eliminate friction, and listen to your body.
Do that, and you’ll spend less time staring at your feet and more time soaking in the views.


