Let me be clear, I didn’t learn these by gracefully traversing mountain tops with my hair flowing in the wind like some kind of outdoor deity.
No, I learned them the hard way: through a series of comical errors, mild panics, and moments of profound regret, usually while hungry and staring at a map wondering where it all went wrong.
Consider this your shortcut to looking like you know what you’re doing, without having to, you know, actually make all the mistakes.
You’re welcome.
Table of Contents
Tip 1: Your Backpack is Not a Tortoise Shell. Adjust It.
For years, I thought a backpack was just a bag with straps. You put it on, you tighten things until you can no longer breathe, and you accept that your shoulders will be screaming by noon. I was wrong. So, so wrong.
Most quality backpacks have a secret superpower: an adjustable torso length. This is the distance between the shoulder straps and the hip belt. On some models, the shoulder straps are attached with a giant strip of Velcro, allowing you to slide the whole harness up or down.
Get this wrong, and you’re in for a world of hurt: • Too Short: The hip belt rides up over your stomach instead of cinching around your hips. All the weight then dangles from your shoulders, digging in like a pair of determined, pack-carrying eagles. By evening, you’ll be walking with a permanent hunch, questioning your life choices. • Too Long: The backpack feels like it’s trying to escape out the back door, leaning away from you. It feels loose and clumsy, and—surprise!—also causes shoulder pain because you’re constantly fighting to pull it forward.
The goldilocks zone is achieved when: • The load lifter straps (the little ones at the top of your shoulders) are angled downward from the pack to your shoulders, forming a 45-degree angle. • The shoulder straps sit snugly with no awkward, pack-sized gaps behind them. The weight should be comfortably settled on your hips, not your shoulders. Your future, pain-free self will thank you.
I remember buying my first hydration bladder. It felt so… professional. A tube! A bite valve! I was basically a camel with hiking boots.
But after a few seasons of listening to that sloshing sound and dealing with the faff of cleaning and filling it, I’ve joined the ranks of experienced hikers who have quietly gone back to the humble water bottle.
Reasons for my betrayal:
• Weight: Bladders, tubes, and reservoirs are heavier than a simple plastic bottle. • Hassle: Try refilling a bladder at a murky stream without getting dirt, leaves, and your last shred of dignity inside. Now try refilling a bottle. See? • Simplicity: You can see exactly how much water you have left. They’re cheap, easily replaceable at any gas station, and if one gets funky, you just recycle it.
“But,” I hear you cry, “you have to take off your backpack to drink!” Correct. And this is a good thing. It forces you to stop for 30 seconds, take a proper breath, look at the view, and have a sip.
Most hikers should be taking a short break every 30-60 minutes anyway. This isn’t a flaw; it’s a built-in mindfulness feature.
Tip 3: The Shortcut is a Lie. A Vicious, Treacherous Lie.
Your map app shows a lovely, straight line cutting off that annoying switchback. It looks so efficient. So clever. DO NOT BE TEMPTED BY THE SIREN SONG OF THE SHORTCUT.
If there isn’t a trail there, it’s usually for a very good reason.
I have learned this through a series of escalating misadventures that have included: • Suddenly finding myself on the top of a small but very sheer cliff, requiring an undignified scoot down on my rear. • “Bushwhacking” through what can only be described as a sentient, thorny forest that seemed to be actively consuming my hat. • An unexpected and impromptu river crossing that left me with squelchy boots for the next five hours.
The shortcut always ends in regret. It takes longer, is more dangerous, and damages fragile ecosystems. Stick to the marked trails. They were built by people who, presumably, did not enjoy eating thorns for lunch.
This one is for my road-tripping hikers. You know the drill: you drive to a beautiful area, do a day hike, then camp out of your car before moving on the next day. But how do you keep your phone, headlamp, camera, and—let’s be real—your laptop charged?
Enter the portable power station. This isn’t a clunky, gas-guzzling generator; it’s a sleek, silent box of pure, portable energy.
I’ve been testing the MARBERO Portable Power Station for the last two months, and it’s been a game-changer.
• What’s in the box? It’s got 1 AC outlet (for a laptop charger), 2 USB ports, and 2 USB-C ports. It’s a full-service power café. • Capacity: The 98Wh battery has given me about 15 full phone charges or 8 hours of laptop work. I’ve edited photos and written blog posts from the middle of nowhere, which feels delightfully futuristic. • The Kicker: It weighs about 2kg and is 30% lighter and one-third the size of a comparable Jackery. It’s smaller than a loaf of bread! You can recharge it in a café over lunch or with a car adapter while you drive to the next trailhead.
If you’re a digital nomad who hates nomad-ing without power, this is the lightweight, brilliant solution.
Checking the weather forecast is a suggestion, not a guarantee. The mountains make their own rules. I’ve started hikes in blazing sunshine only to be pelted with hail an hour later.
Preparation is everything. • The Trash Bag Liner: Before you pack your backpack, line the inside with a large, heavy-duty trash bag. Then put all your gear inside that. It’s the cheapest, most effective waterproofing system known to hikers. Your down sleeping bag will remain a fluffy cloud, not a sad, damp feather brick.
• Timing is Everything: Afternoon thunderstorms are a classic mountain feature. Plan to summit or cross high passes early in the morning. Be heading down by 2 p.m. to avoid becoming the tallest, most conductive object on the ridge.
• If You Hear Thunder: Get off the exposed area immediately. Avoid solitary trees and large rock overhangs (they’re prime lightning targets). Your best bet is a small, dense forest or a group of uniformly small trees in a low-lying area.
• Protect Your Tech: “Waterproof” is a suggestion your rain jacket’s pocket often fails to honor. I learned this the hard way when my phone decided to take a swim inside my own pocket during a downpour. It died a noble death, leaving me navigation-less and humbled. Now, every electronic device goes inside its own individual Ziploc bag. It’s a cheap and 100% effective insurance policy.
Hiking is not a race. Unless you’re in an actual race, in which case, why are you reading this? Go!
For everyone else, the pace of the group should be the pace of the slowest hiker.
Nothing saps the joy out of a day faster than feeling like you’re holding everyone up, watching the silhouettes of your “friends” get smaller and smaller on the horizon ahead.
If the slowest person is always last, breathing in everyone’s dust and feeling the pressure, they will not want to hike with you again. And they’d be right.
Wait for them at trail junctions. Let them set the pace at the front for a while. Use the breaks you’re forced to take (see Tip 2) to actually look at the scenery, identify a bird, or just enjoy the silence.
You’ll all have a much better time.
Tip 7: How to Actually Sleep in a Tent (Without Imagining a Bear Army)
Your first night in a tent is a rite of passage. It involves waking up approximately 47 times, convinced that every rustle is a serial killer/bear/squirrel assassin’s guild coming for you.
I’ve had full-blown nightmares about raccoons organizing a heist on my trail mix.
The reality is almost always far less dramatic. It’s usually just the wind, a leaf, or your own panicked heartbeat.
The trick that finally worked for me is stupidly simple: Stop Thinking.
I know, easier said than done. But instead of lying there composing your will, focus entirely on your breathing. Listen to the inhale and exhale.
Feel your chest rise and fall. When a thought about that weird shadow pops in, acknowledge it (“Hello, irrational fear”) and gently guide your focus back to your breath. No drama, no engagement.
It’s boring. And that’s the point. I usually fall asleep within 5-10 minutes now. It gets easier with every trip, until one day you realize the sounds of the forest are a lullaby, not a threat.
Tip 8: Pack Your Backpack Like a Game of Tetris (For Your Spine)
There is a science to packing, and it’s not just “shove the heavy stuff in first.” If you attach your heavy tent or sleeping pad to the top or the very bottom of the outside of your pack, you’re creating a pendulum effect that will pull you backward and strain your shoulders and back.
• The Rule: Keep the heaviest items—your food bag, stove, water—inside the pack and as close to your back as possible. This centers the weight over your hips and core, making it feel lighter and more balanced. • If you run out of space: Only attach lightweight, bulky items to the outside. A foam sleeping mat strapped to the bottom is fine. Your 3-kilogram tent? Not so much.
A well-packed backpack feels like an extension of your body. A poorly packed one feels like a clumsy stranger trying to push you over.
Trekking poles are the hiking world’s great divider. Some people look like they’re navigating an alien planet with them; others stride forth with their hands gloriously free. After much experimentation, here’s my take: Use them if: • You’re hiking in the mountains with significant elevation gain/loss (they save your knees on the downhill!). • You have existing knee or ankle issues. • You’ll be crossing streams, hiking on slippery mud, or traversing sketchy scree slopes.
Skip them if: • You’re on a flat, well-maintained forest path. You’ll just look like you’re training for a very slow Nordic walking race.
Buying Advice: Don’t drop $200 on carbon-fiber super-poles right away. Go to a decathlon or sports store and get a cheap $40 pair.
Use them for a few hikes. If you find yourself loving the extra stability, then you can upgrade. If you leave them in the car every time, you’ve only wasted a small amount of money on a valuable lesson.
Tip 10: The Secret to Happy Feet is Not More Socks
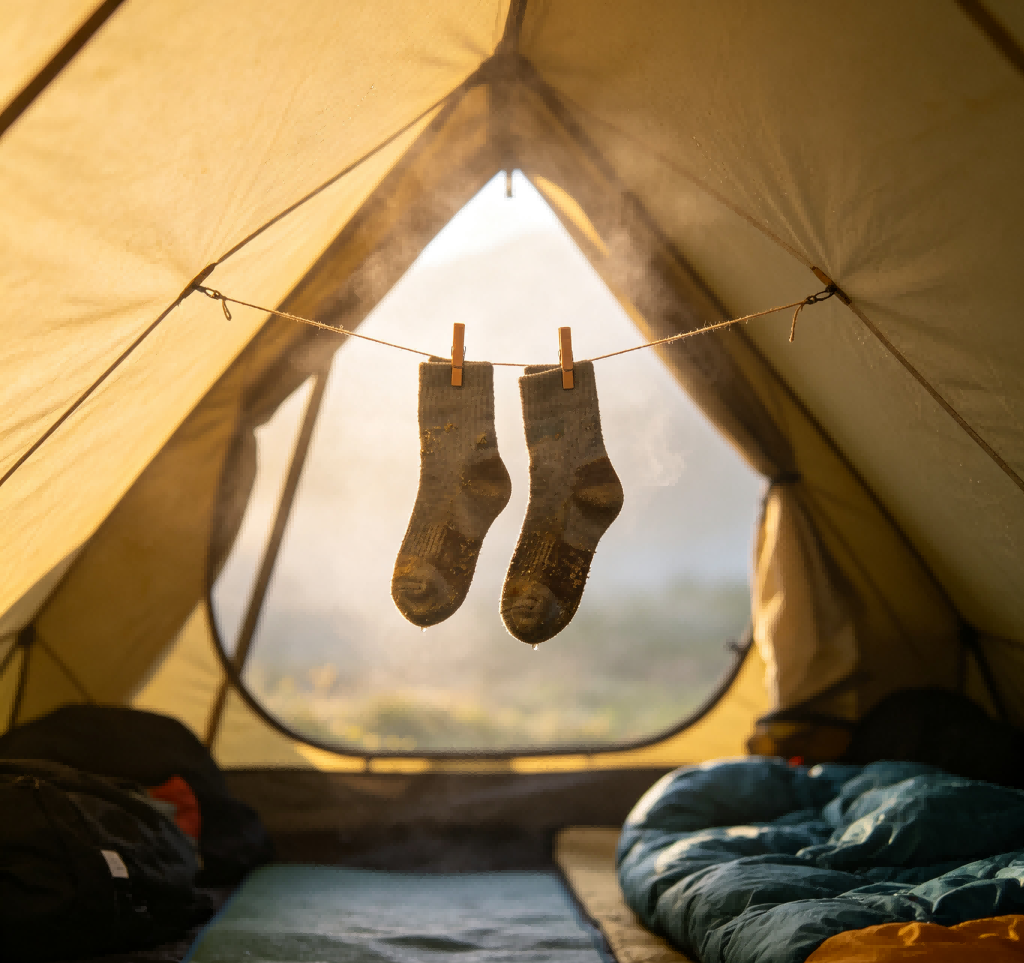
I used to think the solution to cold feet was to wear four pairs of socks. The result was cold, constricted feet because I cut off my circulation. The real secret is insulated hiking boots.
A good pair of insulated boots is like a sleeping bag for your feet. Your feet might still get a bit damp from sweat (that’s what moisture-wicking socks are for), but they will stay gloriously, blissfully warm.
This is non-negotiable for late autumn, winter, and early spring hiking. Warm feet are happy feet, and happy feet mean you’re actually enjoying the stunning winter landscape instead of dreaming of amputation.
Final Thoughts
So there you have it. Ten tips forged in the fires of my own mild incompetence and subsequent learning.
I hope they save you from some of the pitfalls and help you get out there and enjoy the trails.
And if you have a crucial tip of your own—maybe something you learned the hard way—please share it in the comments below!
Let’s help the next wave of beginners avoid our mistakes. Unless it’s about shortcuts.
We don’t talk about shortcuts.