20 Simple Camping Food Hacks for Meals Without Losing Your Mind

Spread the love

Let’s be real. Camping food has a reputation. It often falls somewhere between “charred mystery meat on a stick” and “a sad, cold can of beans eaten in the dark while a raccoon judges you.”

But it doesn’t have to be this way!

I’m here to tell you that with a little bit of cunning, you can transform your camp kitchen from a scene of culinary despair into a beacon of delicious, stress-free efficiency.

This isn’t just about food; it’s about strategy. It’s about outsmarting the elements, your own forgetfulness, and the local wildlife who view your cooler as their personal Las Vegas buffet. Over years of trial and error (mostly error), I’ve developed a system.

So, grab a notebook (or just save this page, you digital-age wizard), and let’s dive into the glorious world of camping meal hacks. 

Table of Contents

Section 1: Packing and Planning Tips

This is the unsexy part. It’s the part where you’re still at home, surrounded by modern comforts like “walls” and “refrigeration that doesn’t rely on a block of frozen water.”

Do not skip this part.

This is the foundation upon which your camping culinary palace will be built. Skip it, and your palace will be made of sand, tears, and half-cooked hot dogs.

1. Create a Camping Meal Plan

 “A meal plan? That sounds suspiciously like work.” But hear me out.

A meal plan is not about being a rigid control freak; it’s about giving yourself the gift of freedom later.

Freedom from the dreaded “What’s for dinner?” conversation while you’re hangry, covered in bug spray, and two miles from the nearest bag of chips.

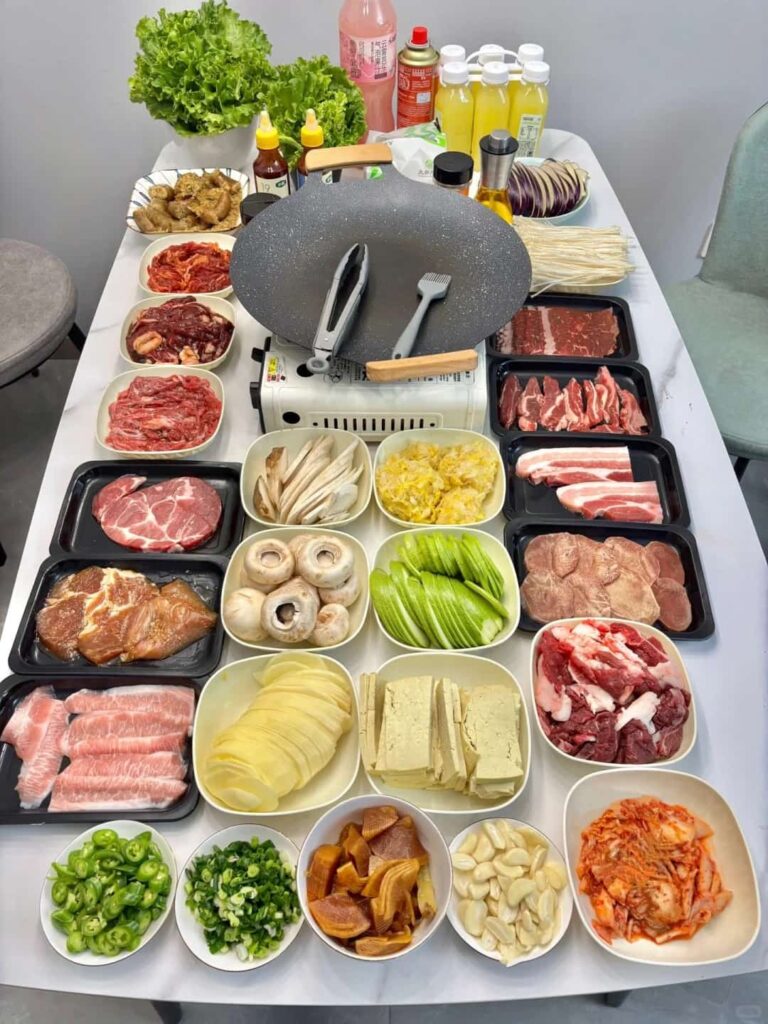
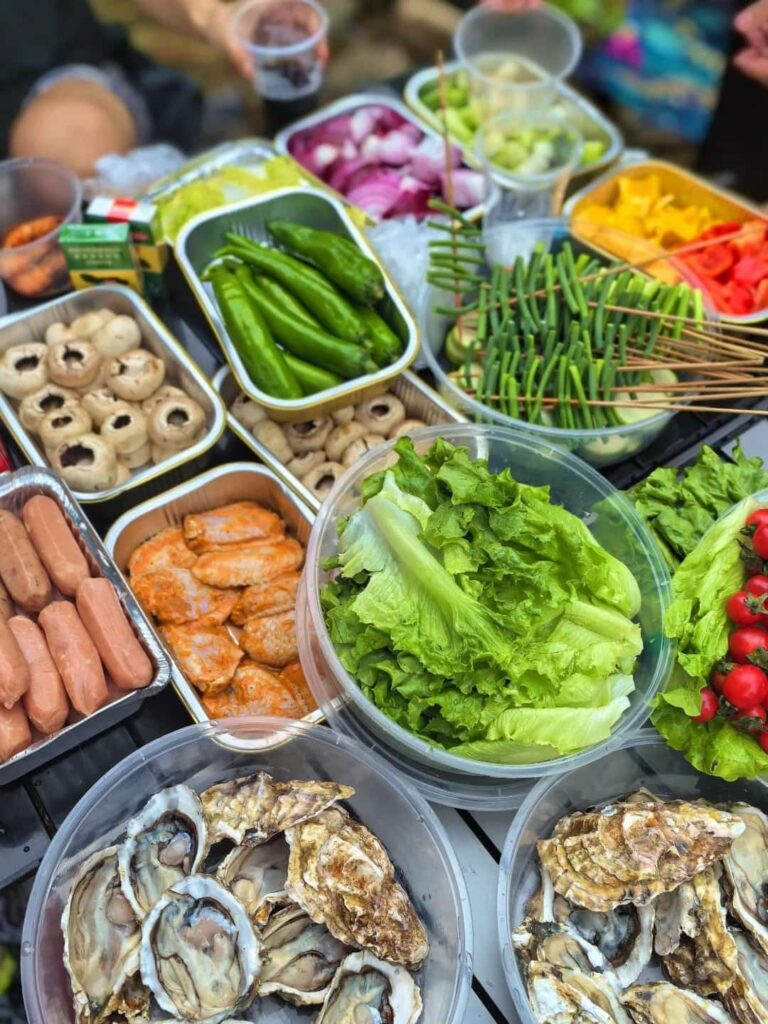
Make a high-level meal plan for your trip. I’m not asking for a minute-by-minute itinerary. Just grab a piece of paper and write: Friday Dinner, Saturday Breakfast, Saturday Lunch, Saturday Dinner, Sunday Breakfast.

Then, assign a meal to each slot. “Tacos,” “Pancakes,” “Wraps,” “One-Pot Pasta,” “Oatmeal.”

See? Simple. You can absolutely go full-on Pinterest mom with detailed recipes and color-coding, and if that’s your jam, there are other resources for that step-by-step guidance.

But for most of us, a high-level view is the sweet spot.

The Benefit: This simple act does two magical things.

First, it tells you exactly how many meals you need to pack for, so you don’t bring seven pounds of steak for a one-night trip.

Second, it eliminates the daily existential crisis of mealtime. The decision is already made. All you have to do is execute.

It’s a contract you sign with your future, less-stressed self.

2. Check for Local Fire Restrictions

This is arguably the most important step, and the one most likely to lead to tragicomic disappointment.

Imagine the scene: You’ve been dreaming of fire-roasted corn and s’mores for weeks.

You get to your site, unpack your lovingly prepared kebabs, and then see the sign: “FIRE BAN IN EFFECT.”

Your heart sinks. Your kebabs weep. You are now the proud owner of a bunch of raw food that requires a cooking method you don’t have.

It’s like planning a pool party in a desert.

Verify fire restrictions before you even think about your meal plan. A quick Google search of the campground or park name + “fire restrictions” will save you a world of pain.

This single piece of intel dictates your entire cooking strategy.

No fires? No problem. You’re a camp stove superstar. Plan meals that work on a propane burner.

But you have to know this before you plan those beautiful, fire-dependent meals.

3. Shop Smart — Use Costco for Group Camping

If you’re camping with a group, Costco isn’t just a store; it’s a lifestyle, a religion, a bulk-buying paradise that speaks directly to the part of your soul that fears running out of trail mix.

  • Costco is your best friend. The sheer economy of scale is a beautiful thing.

  • Items to consider:
    • Pancake Mix: You can buy a bag the size of a small child that will last your entire friend group all summer. Just add water. It’s the cornerstone of any respectable camping breakfast.
    • Trail Mix: Buy it in a giant bag and portion it out. This prevents certain people (you know who you are) from picking out all the M&Ms first.
    • Pre-cooked Chicken Sausages: These are the MVP of camp proteins. They’re already cooked! You’re just heating them up! The margin for error is practically zero. They are forgiving, delicious, and impossible to ruin, even when you’re operating on two cups of camp coffee.

  • Benefit: You save money, you simplify logistics, and you look like a hero when you pull out enough food to feed a small, hungry army.

4. Prep Ingredients at Home

Your home kitchen is a wonderland of counter space, sharp knives, running water, and lighting.

Your camp kitchen is a wobbly picnic table, a plastic tub, and a headlamp that always seems to point directly into your own eyes.

Do not squander the advantage of your home kitchen.

Review your meal plan and identify every single thing you can do in advance. This is where you become a meal-prep ninja.

Wash and cut all your vegetables. Dice those onions and bell peppers. Chop that broccoli. Grate that cheese.

Store them in containers or bags. Doing this at camp is a messy, tear-filled nightmare (especially the onions).

Marinate your meats. Put your chicken, steak, or tofu in a marinade in a sealed bag or container.

It will be flavor-infused and ready to go, and you won’t have to handle raw meat juice at a picnic table surrounded by nature’s curious clean-up crew (flies, ants, bears named Biff).

Benefit: You reduce your camp workload by about 90%. Cooking becomes an act of assembly, not a chaotic, hour-long prep session.

You’ll have more time for important things, like trying to identify bird calls or napping in a hammock.

Section 2: Easy Camping Meal Hacks (The Real Magic)

Okay, the boring stuff is over. Now for the good part—the clever tricks that make you feel like you’ve hacked the matrix of camping.

1. Pack Leftovers for the First Night

The first night of camping is a special kind of chaos. You’ve spent hours packing the car, driving, unpacking the car, and then engaging in the ancient ritual of trying to remember how your tent poles fit together.

The last thing you want to do at 7 PM is start cooking a complex meal from scratch.

  • This is the single best hack in my arsenal. The night before you leave, make a little extra of whatever you’re having for dinner.
  • Examples:
    • Made taco meat? Pack it in a container. At camp, you just need to heat it up, and bam—instant, glorious tacos.
    • Made a big batch of pulled pork or chili? Bring some buns or tortillas, and you’ve got a feast ready in minutes.
  • Benefit: You get a hot, delicious, home-cooked meal with almost zero effort on the most exhausting night of the trip. You will feel like a god among mortals.

2. Bring Containers for Camp Leftovers

You will have leftovers. A block of cheese you opened. Some leftover chili. That half an onion you didn’t use.

Leaving these things in flimsy store packaging or wrapped in a dubious-looking plastic bag is a recipe for a soggy, disorganized cooler and crushed food.

  • Always pack a few reusable containers or heavy-duty silicone bags. I’m a huge fan of brands like Stasher or Human Gear.
  • Why? They keep your food safe, contained, and organized. They prevent leaks, protect fragile food, and stack neatly. Collapsible ones are brilliant for saving space on the way home.
  • Benefit: An organized cooler is a happy cooler. It also reduces waste and keeps your food fresher, longer. It’s a small thing that makes a massive difference in your camp kitchen sanity.

3. Prepare Backup Meals

Murphy’s Law of Camping states: “Anything that can go wrong, will go wrong, probably when you’re hungry.” A meal gets dropped.

The weather turns and cooking becomes impossible. You accidentally feed your dinner to a particularly persuasive chipmunk.

You need a Plan B.

  • Keep a few non-perishable, long shelf-life meals in your “pantry bin.” Think of it as your culinary insurance policy.
  • Examples:
    • Ramen packets (the college student’s savior, now the camper’s hero)
    • “Just add water” pancake mix
    • Canned soups or stews
    • Those shelf-stable Indian meal packets you pour over rice
  • Benefit: Pure, unadulterated peace of mind. When disaster strikes, you just smile serenely, pull out your backup meal, and save the day.

4. Portion Sauces and Condiments at Home

There is no need to bring the Costco-sized bottle of ketchup, the giant jar of salsa, or the entire spice rack.

It’s bulky, heavy, and invites tragedy.

  • Use small, reusable containers (again, Human Gear is fantastic for this) to portion out exactly what you need.
  • The Tip: Buy the big, cheap bottle of maple syrup from Costco, but then pour a trip’s worth into a small, leak-proof container. Do the same for salsa, sour cream (in the cooler, obviously), oils, and spices.
  • Benefit: You save an insane amount of cooler and bin space. It’s lighter to carry, and you’re not wasting food or money.

5. Cooler Hack: Use Cooler Shock Ice Packs

Ice is fine. It’s the default. But it’s also a traitor. It melts. It turns your beautifully organized cooler into a soupy, floating graveyard of food bags.

Enter: Cooler Shock ice packs.

  • These things are game-changers. They are designed to stay colder for longer than regular ice.
  • Benefits:
    • No Mess: No more swimming through icy water to find the hot dogs.
    • Long-Lasting: They’ll keep your cooler cold for a short weekend trip with ease.
    • Reusable: Just re-freeze them between trips.
  • Pro-Tip: Wrap them in a towel to prevent them from freezing the food they’re touching directly. For longer trips, use them with some ice to displace more air in the cooler. For a deep dive into cooler mastery, there are whole videos on that—it’s a science unto itself.

6. Pack a Meat Thermometer

You are not a medieval knight. You do not need to determine the doneness of your chicken by poking it and judging the color of the juices by firelight.

This is how food poisoning happens.

  • A small, inexpensive meat thermometer is non-negotiable. It takes up zero space and is worth its weight in gold.
  • It is absolutely essential for cooking over a fire, where heat can be wildly uneven. That chicken breast might be charcoal on the outside and still auditioning for a part in Jurassic Park on the inside.
  • Tip: Check the temperature in multiple spots to be sure. It’s the only way to be certain you’re not hosting a salmonella party.

7. Use Storage Bins to Stay Organized

The “throw everything loosely into the car” method is a one-way ticket to Frustration Town.

You will spend 15% of your camping trip looking for the spatula.

Keep two clear, plastic storage bins:

  1. The Pantry Bin: This is for all your non-cooler food. Oatmeal packets, coffee, trail mix, pancake mix, ramen backups, etc.
  2. The Kitchen Bin: This is for your cooking gear. Spatula, tongs, knife, cutting board, sponge, soap, etc.

Advantages:

  • Efficiency: You grab two bins and your cooler, and your kitchen is packed.
  • Critter-Proofing: It keeps mice, ants, and other small villains out of your food. A plastic bin is much harder to chew through than a grocery bag.
  • Clarity: You can see what’s inside, so you’re not playing “mystery bin” at dusk.

  • Important Note: This is NOT bear-proof. A determined bear will see your plastic bin as a convenient takeout container. Always, always check local regulations and use provided bear lockers or certified bear-proof canisters where required. Don’t be the person who gets their car torn apart by Yogi.

Section 3: Tips for Easy Camping Meals

Alright, you’re planned, prepped, and packed. Now, what the heck are you going to make with all this stuff?

Here are the building blocks of easy, delicious camp meals.

1. Use Pre-Cooked Rice Packets

Cooking rice at camp is a pain. It requires precise water ratios, consistent heat, and time—three things that are often in short supply in the outdoors.

The solution? The humble, glorious, pre-cooked rice packet.

  • This is a huge time-saver for one-pot meals. These packets are shelf-stable, ready in 90 seconds, and are the perfect base for a million dishes.
  • Examples of meals:
    • Beef and Veggie Stir-fry: Brown some meat, add veggies, stir in the rice and a sauce.
    • Fried Rice: A classic for a reason.
    • Thai Chicken Curry: Add a can of coconut milk, some curry paste, chicken, and veggies to your rice.
  • Benefit: It eliminates the most finicky part of one-pot cooking and gets you from hungry to fed in record time.

2. Buy Pre-Cut Veggies

I already told you to prep your veggies at home. But if you’re short on time or just hate chopping, the grocery store has your back.

  • Buy the pre-washed, pre-cut mixes. Stir-fry blends, fajita veggies, broccoli florets—they are a camper’s dream.
  • Benefit: It’s the ultimate in convenience. Dump a bag into your pan, and you’re 75% of the way to a healthy, delicious meal with zero prep-work at camp.

3. Use Pre-Made Sauces and Spice Packets

You are not Ina Garten in the woods. You don’t need to create a delicate balance of 14 individual spices.

  • Bring ready-made sauces and seasoning packets. A bottle of stir-fry sauce, a packet of fajita seasoning, a packet of sloppy joe mix.
  • Benefits: It saves you from packing a dozen little spice jars, and it adds instant, guaranteed flavor. No guesswork required.
  • Alternative: If you are a spice mix maestro, make your own blends at home in small containers. You get the custom flavor without the clutter.

4. The Simple One-Pot Meal Formula

Behold! The sacred text! This formula is the key to endless, easy camping meals.

Rice Packet + Protein + Veggies + Sauce/Spices = One Delicious Meal

Let’s see it in action:

  • Meal 1: Rice + Pre-cooked sausages + Bell peppers & onions + Fajita seasoning.
  • Meal 2: Rice + Rotisserie chicken + Broccoli & carrots + Teriyaki sauce.
  • Meal 3: Rice + Ground beef + Corn & black beans + Taco seasoning & salsa.

See? Endless variations. Low effort, high reward. It’s practically foolproof. 

5. Utilize Rotisserie Chicken

If pre-cooked rice is the queen of camp cooking, the rotisserie chicken is the king. This $7 bird is a miracle of modern convenience.

  • Buy one on your way out of town. Shred or chop it all up at home and store it in a container in the cooler.
  • Uses:
    • Chicken Caesar Wraps: A no-cook lunch superstar.
    • Quesadillas: Five minutes on a pan for a crispy, cheesy delight.
    • Pre-made Chicken Salad: Make it at home for effortless lunches.
  • Benefit: It’s high-protein, already cooked, incredibly versatile, and saves you from having to cook and handle raw poultry at camp. It’s a true MVP.

Section 4: Camp Cooking Tips

You’ve made it. You’re at camp, the food is prepped, and it’s time to cook. Here’s how to actually do it without incident.

1. Prep Before Cooking (Mise en Place)

This is a fancy French term for “get your crap together before you start cooking.” Your camp stove or fire is not like your home stove.

You can’t just turn down the heat and run to the fridge for a forgotten ingredient.

  • Read your recipe first. Or, remember your simple meal plan.
  • Lay out ALL your ingredients and tools. Meat, veggies, sauce, spice, oil, spatula, pan—everything. Have it all within arm’s reach.
  • This prevents the classic camp kitchen chaos of frantically searching for the oil while your onions turn into charcoal.
  • Tip: If you’re with others, assign roles. “You man the grill. I’ll prep the sides.” Teamwork makes the dream work.

2. Get a Trusty Cast Iron Pan

If you take one piece of equipment advice from me, let it be this: Buy a cast iron pan.

It is the single most versatile and durable piece of camp cooking equipment you will ever own.

  • Benefits:
    • Durability: It will last longer than you will. You could probably survive a zombie apocalypse with it.
    • Non-Stick Magic: When properly seasoned, it’s a dream to cook with and clean.
    • Versatility: It works perfectly over a camp stove and right in the coals of a fire.
    • Flavor: It imparts a legendary, smoky, seared flavor that no other pan can match.

  • Recommendation: Don’t overcomplicate it. Start with a simple 10- or 12-inch cast iron skillet and a camp stove. You can cook 95% of camp meals with that combo. (And yes, there are linked videos on how to clean and care for it, because that’s the second most common question after “What is it?”)

3. Cooking Over a Campfire

The campfire is a beautiful, primal, and deeply inefficient cooking source if you don’t know how to handle it.

  • Wait for a bed of coals to form. This is the secret. Do not, I repeat, DO NOT try to cook over licking, dancing flames. That’s for hot dogs on a stick and dramatic photos. For actual cooking, you want a thick, glowing bed of hot coals. This provides consistent, even heat.
  • How to get coals? Let your fire burn down for 30-45 minutes. Then, rake the coals to where you need them.
  • Keep feeding the fire gradually with smaller pieces of wood to maintain your coal bed, creating a stable cooking environment. This is the difference between a perfectly seared steak and a carbonized hockey puck.

4. Be Prepared for Cooking Injuries

You are dealing with fire, sharp objects, and often unstable surfaces. Things can go wrong. A little preparedness can turn a panic-inducing situation into a minor inconvenience.

  • Have a first aid kit, and make sure it’s accessible. Not buried at the bottom of someone’s backpack.
  • Make sure everyone in your group knows where it is and knows basic first aid—how to clean and bandage a cut, and what to do for a minor burn (cool water, not ice or butter!).
  • This is especially critical if you’re camping remotely, far from quick medical help. A small cut can become a big problem if it gets infected because you weren’t prepared.

Conclusion

Well, there you have it. My comprehensive, slightly obsessive, but ultimately life-changing guide to camping meal hacks.

We’ve traveled the full journey from the planning stages in your cozy kitchen, through the genius hacks that save time and sanity, to the simple formulas for delicious meals, and finally to the practical tips for cooking in the great outdoors without becoming a cautionary tale.

Remember, the goal isn’t to replicate a five-star restaurant. The goal is to eat well, spend less time stressing over food, and more time enjoying the crackle of the fire, the smell of the pines, and the company of your friends and family (or your own glorious solitude).

Leave a Comment

Your email address will not be published. Required fields are marked *

Scroll to Top