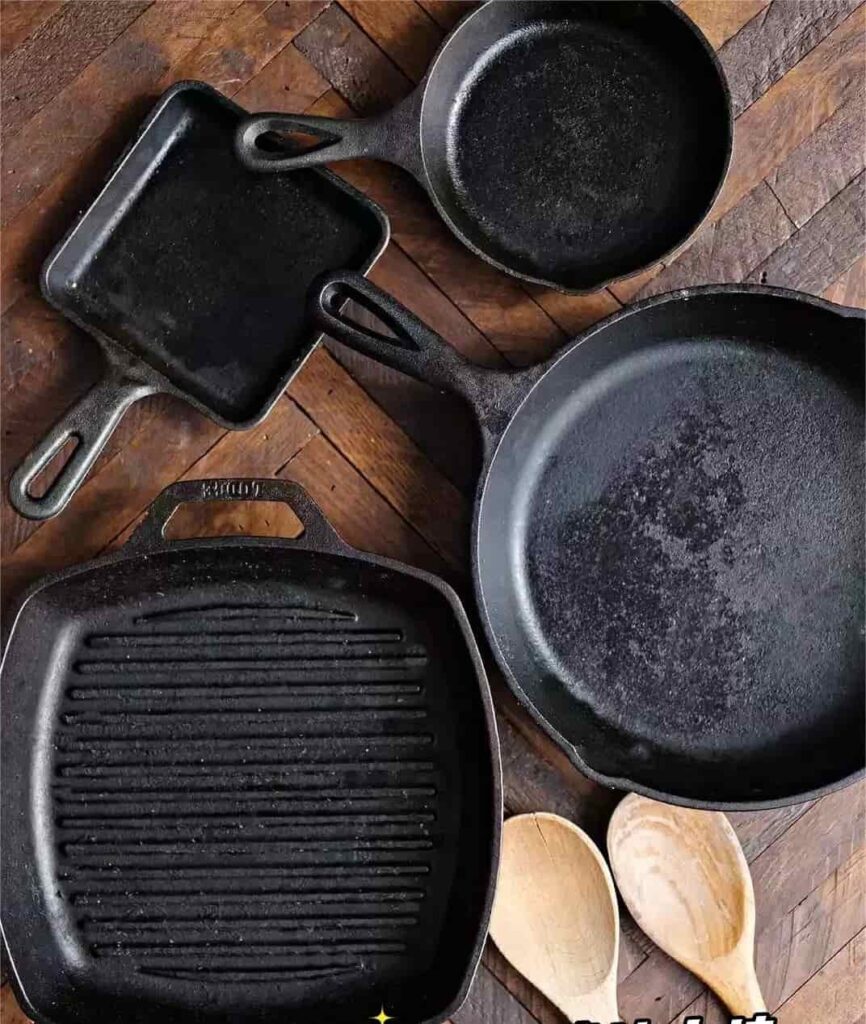
If you’ve ever stared into the blackened, crusty abyss of your campfire skillet after a hearty meal of chili and thought, “Well, I guess this is its life now,” this post is for you.
We’re going to banish that fear forever.
Cleaning cast iron outdoors is a whole different beast from washing a regular pot in your kitchen sink.
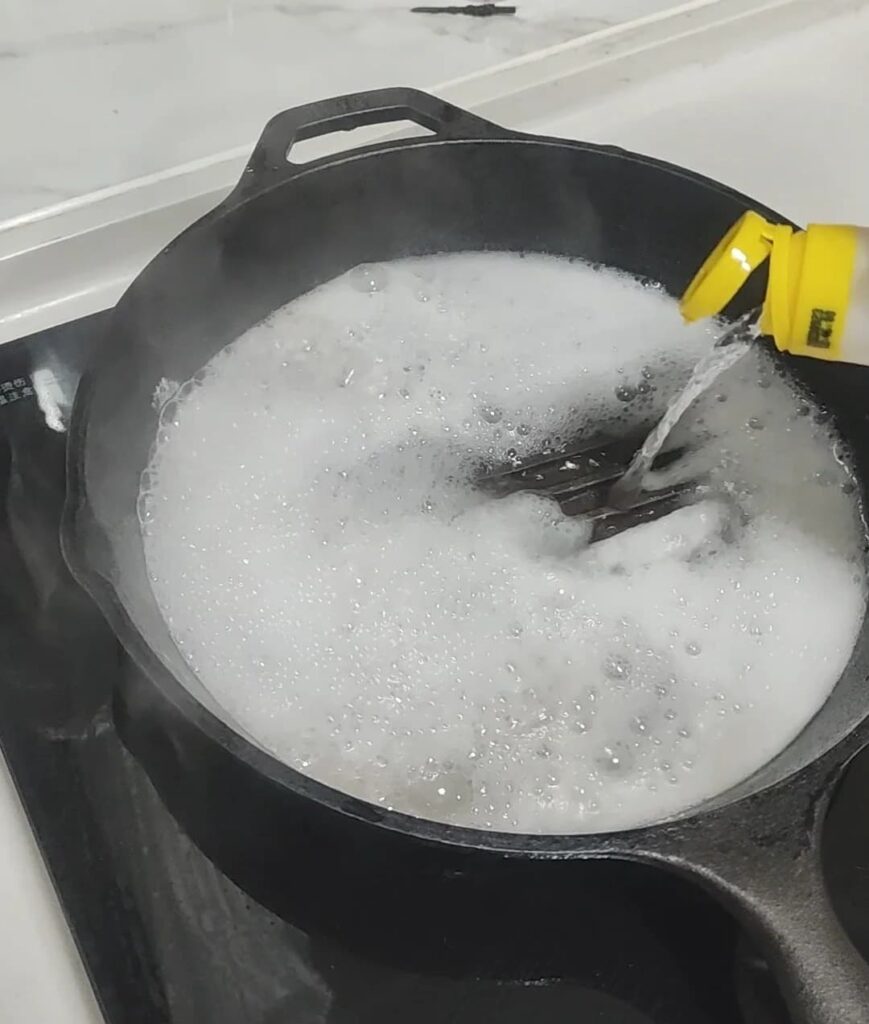
At home, you have unlimited hot water, a garbage disposal that sounds like it’s chewing on rocks, and the comforting embrace of a roof.
In the woods, you have… a bottle of water, a squirrel judging you, and the ever-present, iron-clad law of nature:
Iron + Water + Time = Rust.
And rust is the sworn enemy. It’s the Voldemort to your Harry Potter, the mosquitoes to your peaceful evening, the ketchup on a perfectly good hot dog.
Our mission is to prevent it at all costs.
Table of Contents
Understanding Cast Iron Care
Before we dive into the muddy waters of campsite cleaning, we need a quick pep talk about what your cast iron pan actually is.
It’s not just a hunk of metal. It’s a living, breathing (not really), semi-sentient (debatable) family heirloom that you are currently seasoning with memories and bacon fat.
Think of that slick, black surface not as dirt, but as its “Seasoning.” This isn’t the salt-and-pepper kind of seasoning.
This is a glorious, dark layer of carbonized oil that has bonded to the iron at a molecular level. It’s the pan’s super-suit.
This layer:
- Provides a non-stick quality that would make Teflon jealous (once it’s properly built up).
- Protects the bare iron from the elements, specifically from the nefarious clutches of rust.
- Is absolutely essential. Raw, unseasoned iron is like a newborn chick – vulnerable, soft, and it will rust if you look at it wrong.
Because this seasoning is so precious, we must treat it with the reverence of a medieval knight caring for his sword.
This means we have a few sacred commandments. Break them, and you shall be cast into the pit of rusty, sticky pans.
1. Thou Shalt Avoid Harsh Cleaning Methods.
This means NO chemical soaps from the depths of your kitchen sink. No “soap” that has moisturizers, perfumes, or the power to degrease an entire engine block.
And for the love of all that is holy, NO abrasive metal scrubbers or steel wool. Using these is like taking sandpaper to your pan’s beautiful soul.
We clean to preserve the seasoning, not to strip it away and start a sad, new pan-life from scratch.
2. Thou Shalt Avoid Thermal Shock.
Your cast iron pan is tough. It can take the heat. What it cannot take is a sudden, dramatic temperature change.
Never, ever dunk a scalding hot pan into an ice-cold stream or a bowl of cold water. This is the equivalent of throwing a glass of water on the Wicked Witch of the West – “I’m melting!”
This can cause the iron to warp (leading to a wobbly pan) or, in a truly tragic turn of events, crack right down the middle.
Let your pan cool down to a warm-to-the-touch temperature naturally. Patience, young grasshopper.
3. Thou Shalt Not Soak Thy Pan.
This is the big one, folks. The cardinal sin. With an aluminum pot, you can let it soak for a week and it might just grow a cool science experiment.
With cast iron, soaking is a one-way ticket to Rust City. Water is the enemy, and giving it a long, luxurious bath is just inviting it to pillage and plunder.
Unlike its stainless-steel cousins, cast iron cannot be submerged. Ever.
The Campsite Cleaning Arsenal
You don’t need a full kitchen, but you do need a small, dedicated kit. Think of it as your cast iron first-aid pack.
- The Pot Scraper: This is your MVP. Your Excalibur. Mine has a dual-ended design: one side is a softer, nylon-based edge, and the other is a harder, more rigid plastic edge. For 99% of campfire cooking, you’ll be using the hard end to evict stubborn, stuck-on food.
- A Small Sponge: Nothing fancy. Just a simple, clean camping sponge.
- Mild, Biodegradable Camp Soap (Optional): Notice the words “mild” and “optional.” This isn’t Dawn Powerwash. It’s a gentle, earth-friendly soap for when you’ve cooked something with a particularly tenacious flavor or odor.
- Seasoning Spray or Mild Oil: I’m a fan of avocado oil because of its high smoke point, but any mild cooking oil (canola, grapeseed) will work. A small spray bottle is perfect for camping.
- A Clean, Dry, Lint-Free Towel: This is non-negotiable. Do not use the towel you just wiped your face with after eating a sloppy joe. This towel has one job: to make the pan bone-dry.
- A Bag for Trash/Scraped Food Bits: Practice Leave No Trace, even with your food scraps. Scrape it all into a bag to pack out.
The Grand Ceremony: A Step-by-Step Cleaning Process
Let’s set the scene. You’ve just finished a glorious campfire dinner.
Let’s say it was a decadent campfire cobbler. The pan is now a sticky, sugary, delicious-looking disaster zone.
The sun is setting. You are full and happy. It is time to act.
Step 1: The Scrape-Off
Wait for the pan to be warm, not nuclear-hot. Pick up your pot scraper. Hold it with purpose. Now, attack that cobbler residue.
Use the hard edge of the scraper to get under all the sticky, caramelized goodness. Use assertive, confident strokes.
You’re not timidly asking the food to leave; you’re showing it the door.
As you scrape, all the food bits will gather. Do not flick these onto the ground. Your campsite is not a trash can, and you don’t want to attract bears, raccoons, or those judgy squirrels.
Scrape them directly into your trash bag. Be thorough. Get the corners.
Get the sides. This step does 80% of the work.
Step 2: The Soap Opera
Now, pour a very small amount of clean water into the pan. I’m talking a few tablespoons, just enough to slosh around.
If you cooked something with a powerful flavor—like garlicky shrimp or river salmon that’s determined to leave its fishy ghost behind—this is the time to add a tiny dot of your mild camp soap.
We’re talking a drop the size of a pea.
Use the pot scraper again to swirl this soapy water around. You’ll see it emulsify the remaining oils and lift any last bits of residue.
For our cobbler pan, you might skip the soap. For the salmon pan, the soap is your friend.
Step 3: The Sponge Ballet
Take your humble sponge and give the entire interior of the pan a gentle but firm wipe-down. Focus on any areas that still feel slick or look discolored.
The combination of the scraping and the sponging should have your pan looking remarkably clean.
If you feel any stubborn spots, don’t panic. Just go back to Step 1 and scrape a little more. Persistence is key.
Step 4: The Great Drainage
Now, you have a pan full of dirty, possibly soapy water. Do not throw this into the fire pit. It’s bad for the fire and just generally uncouth.
Pour it into your camp sink, a sump hole if you’re in the backcountry, or a designated wastewater disposal area.
If you used soap, give the pan a quick rinse with a splash of clean water to ensure no soapy residue remains.
Step 5: The Dry-Off (The Most Critical Step)
This is where we defeat the rust demon. Do not, under any circumstances, set the pan down to air dry.
The night air is moist, and moisture is the enemy. Grab your dedicated, clean, lint-free towel.
Dry that pan like your life depends on it. Dry the cooking surface. Dry the sides. Dry the bottom.
Dry the handle. Get every nook, cranny, and curve. Wipe it until the towel comes away completely dry and the pan has a slight, warm shine from your vigorous rubbing.
You must be absolutely certain that zero water droplets remain. This is the barrier between you and a rusty morning.
Step 6: The Re-Seasoning Ritual (Giving It a Fresh Coat of Armor)
Your pan is clean and dry, but it’s vulnerable. We need to protect it. Take your oil or seasoning spray.
If using oil, put a few drops on a paper towel or a corner of your dry towel.
Now, rub a very thin, even layer of oil over the entire interior cooking surface and up the sides.
The key word here is THIN. You are not frying the pan. You are applying a microscopic protective layer.
If you can see pools of oil, you’ve used too much. Wipe it around, then take a clean part of the towel and wipe it out again, as if you made a mistake.
This thin layer will protect the iron until its next use. And just like that, your pan is not just clean; it’s prepped for its next culinary adventure.
Pro-Tips for the Trail-Weary Cook
After years of doing this, I’ve learned a few shortcuts that save my sanity.
- The “It’s Fine” Wipe-Out: Did you just make simple pancakes or heat up some tortillas? Often, there’s no need for the whole water song and dance. Just let the pan cool, take a paper towel or a dry cloth, and wipe it out. The residual oil from cooking is all the seasoning it needs. Done.
- Soap is a Sometimes-Food: Don’t feel obligated to use soap every time. I mostly use it for strong flavors or when something has really baked on. For most greasy, happy camp meals, scraping and hot water are plenty.
- The Trinity of “No”: Never soak, never thermally shock, never use harsh abrasives. Chant this as you fall asleep.
- Make it a Ritual: The drying and re-seasoning process should be as automatic as brushing your teeth before bed. It’s the final, non-negotiable act of the camp kitchen. Do it without fail, and your pan will reward you with a lifetime of service.
Conclusion
So, there you have it. Cleaning a cast iron pan while camping isn’t about a brutal scrub-down; it’s a gentle, mindful process of preservation.
Now, go forth with confidence. Be the camper with the gleaming, well-loved skillet.
Be the envy of the campground. And most importantly, go make some delicious, messy meals, secure in the knowledge that you can handle the cleanup without a single tear.


