We’ve all been there, huddled around a campfire, eating a perfectly decent hot dog, and a little voice in your head whispers, “…but what if it was pizza?”
That voice is a visionary, and today, we’re going to make its cheesy, delicious dreams come true.
Table of Contents
1: Gear and Equipment Needed
First things first, let’s talk gear. We’re making this pizza using briquettes for heat. Not a campfire, not magic, just good old-fashioned briquettes.
And let me be very, very clear on one point: do not skimp on the briquettes. This is not the place to pinch pennies.
I once, in a moment of misguided frugality, bought the cheapest, no-name briquettes I could find. It was a sad, underheated, pizza-shaped tragedy.
They burned out too fast and didn’t provide consistent heat. I am now a loyalist to Kingsford briquettes. They just work. Learn from my tears.
Here’s your essential gear list:
The Dutch Oven Itself: I’m using a 4-quart size today, which is perfect for smaller, personal-sized pizzas. This recipe will work for larger sizes too, but the briquette count will change (more on that later).
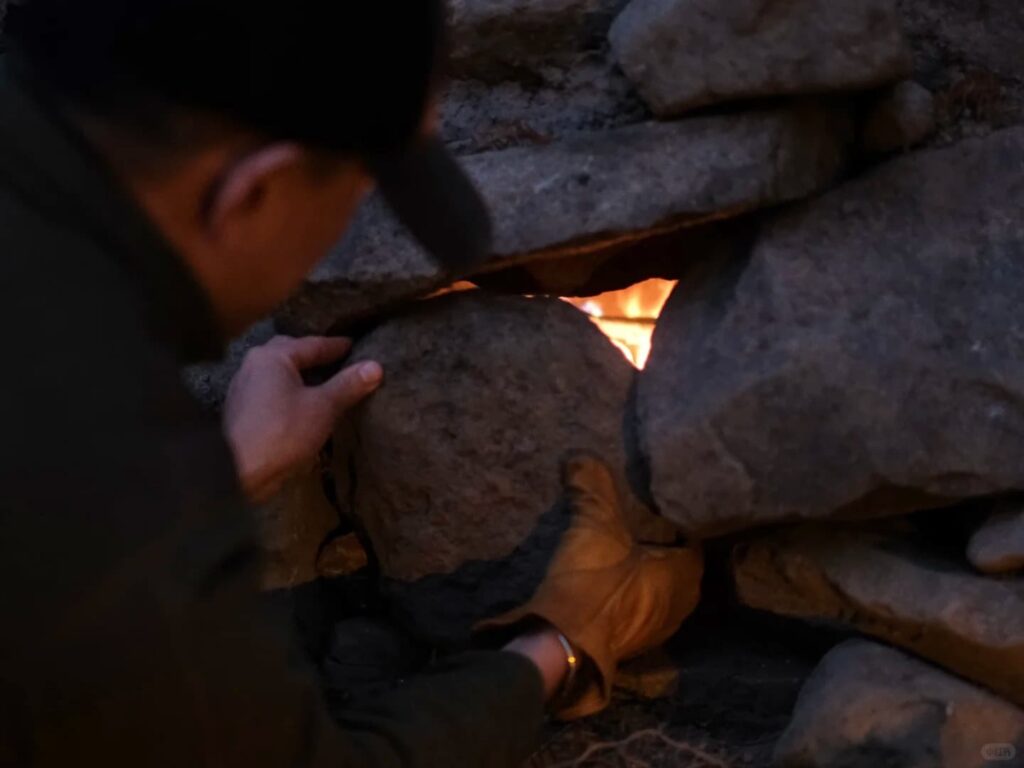
Briquettes: As established, for consistent, controllable heat. They are the reliable, steady-Eddies of the outdoor cooking world.
Chimney Starter: This is non-negotiable for me. It gets your briquettes hot, evenly heated, and ready for action without needing lighter fluid, which can impart a nasty taste to your food.
Lid Lifter: This little hook is your best friend for safely lifting a lid that is covered in, you know, glowing hot coals.
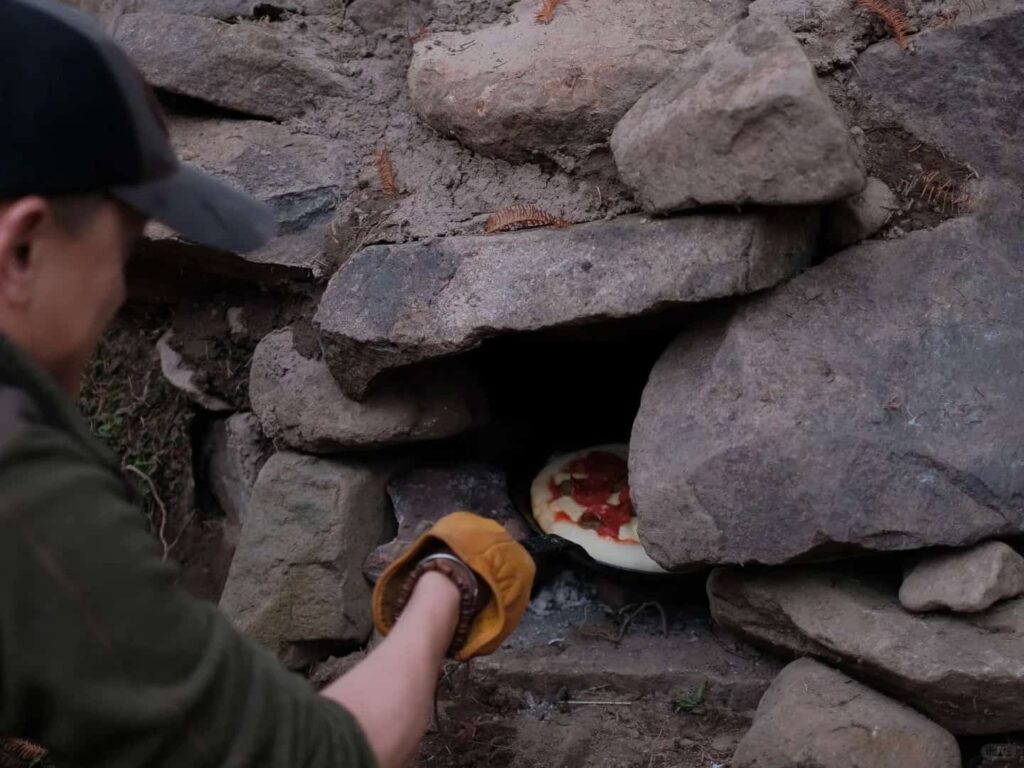
Fire Gloves: Your hands are precious. Treat them that way. Regular oven mitts can get snagged and aren’t always heat-resistant enough. Proper fire gloves are a game-changer.
Tongs: For moving briquettes with precision. You’re a culinary artist, not a caveman tossing logs.
Parchment Paper: The secret weapon. This is for easy pizza transfer and, more importantly, for a cleanup so simple it feels like you’re getting away with something. I’ll gush about this more later.
2: The Ingredients (A Love Story In Five Parts)
Now, for the star of the show: the food.
Pizza Dough: This is the foundation. Whether it’s store-bought or your own legendary homemade recipe, there is one critical rule: it must come to room temperature before you try to shape it.
Cold dough is a stubborn, springy little monster that will fight you every step of the way and refuse to hold its shape.
The very first thing you should do when you decide pizza is happening is take that dough out of its packaging and let it lounge on a cutting board while you do everything else.
Pizza Sauce
Mozzarella Cheese
Fresh Basil: I get the pre-washed stuff and keep it in a small container. To keep things simple, I just rip the leaves by hand. No need for a cutting board out here.
Olive Oil
Now, for the Optional Toppings: The world is your oyster, but a pepperoni and oyster pizza sounds… questionable.
Go with classics like cooked bacon, sausage, peppers, or onions. Pro-tip: pre-cook any meat or hearty veggies at home and just keep them in the cooler.
It makes campsite assembly a breeze.
3: Starting the Briquettes (The Waiting Game)
Alright, let’s get things heating up. Briquettes take their sweet time—about 30 minutes to get fully hot.
So, you want to start them early, while you’re prepping your pizza.
Fill that chimney starter to the brim with your reliable briquettes and light ‘er up. The benefit here is precision.
Using briquettes instead of a campfire means you can control the temperature and get repeatable results.
A campfire is a fickle beast; briquettes are a predictable partner.
The visual cue you’re waiting for is when the briquettes turn ashy white on top.
That’s your signal that they’re ready for action. (I normally put the chimney starter on a grill grate for better airflow, but if you don’t have one, it’ll still work, just maybe a little slower.)
4: Preparing the Pizza Dough (Play-Doh for Adults)
By now, your dough should be room temperature and relaxed. For my 4-quart oven, I divide the dough to make two small pizzas.
Then, it’s time to shape them to fit the bottom of your Dutch oven. I’m using store-bought dough today, but homemade is always glorious.
Drizzle a little olive oil on top to keep it from drying out. Have a little extra flour on standby in case things get sticky (my batch today was perfect and didn’t need it).
And here’s the key move: shape your dough on a piece of parchment paper. This single step will save you so much stress later.
5: Assembling the Pizza (Less is More, I Guess)
I’m a thin-crust girl, so I stretch this dough out nice and thin. Then, we assemble.
On goes the sauce. And here is my biggest warning: DO NOT OVER-SAUCE. I am a chronic over-saucer. I love sauce.
But in a Dutch oven, too much sauce creates a steamy environment that leads to a soggy, sad crust. I have to actively fight my instincts here. Trust me, less is better for crispiness.
Then, a generous blanket of mozzarella cheese, and my fresh, hand-ripped basil.
6: Safety Notes Before Cooking (A Cautionary Tale)
Okay, let’s get serious for a second. Safety. Patience. Do not rush this next part. Cast iron gets devastatingly hot and holds that heat for a ridiculously long time.
I need to share a personal, painful story with you. I was at home once, making brownies in my cast iron skillet. I took it out of the oven, placed it on the stove, and maybe ten minutes later, without thinking, I grabbed the handle.
The pain was so immediate and so intense I almost saw sound. I spent the entire night with my hand on an ice pack, in too much pain to sleep.
It was a blistering, throbbing reminder of my own stupidity.
You do not want to make that mistake, especially while camping, miles away from proper medical care. WEAR YOUR FIRE GLOVES. Protect your hands and arms. Every. Single. Time.
7: Preheating the Dutch Oven
Okay, deep breath. Your briquettes are white and ready. Now we preheat the Dutch oven itself. This is the secret to a crispy crust—plopping that dough onto a searing hot surface.
Here’s the setup: I’m using about 10 briquettes on the bottom and 23 on top. For a 4-quart oven, this gets you to a bit over 450°F. (If you have a larger or smaller oven, you’ll need to adjust those numbers up or down.)
Let the empty Dutch oven preheat for a few minutes with the lid on. You just want to get the cast iron nice and hot.
8: Transferring the Pizza (The Moment of Truth)
I move my prep table right next to the Dutch oven for this. No long, precarious journeys with a naked pizza.
Lid lifter in hand, I carefully remove the hot lid, keeping all the briquettes safely on top. Fire gloves on.
Now, behold the power of the parchment paper! I simply lift the pizza by the edges of the paper and gently lower the whole thing—parchment paper and all—right into the screaming hot Dutch oven.
It’s effortless and safe. (A quick warning: if you make a pizza too large for the paper, it can be floppy and might break. This method works best with smaller, personal-sized pizzas.)
Lid goes back on, and now we wait. About 15 minutes.
9: Cooking and Checking the Pizza (The Grand Reveal)
While I wait, I start a small campfire nearby just for warmth and ambiance. After about 15 minutes, it’s time for the grand reveal.
Lid lifter again, carefully remove the lid and… “Oh, that’s a good-looking pizza.”
Fire gloves on, I carefully grab the edges of the parchment paper and lift the entire, beautiful, bubbling pizza out and onto a cutting board.
See how the gloves let me handle this confidently? The bottom has a perfect, gorgeous brown color and it’s crispy to the touch.
I add a little more fresh basil on top for color and fresh flavor.
10: Tasting and Final Thoughts
And now, the moment we’ve all been waiting for. How exciting is this — pizza while you’re camping!
If you want the printable recipe, step-by-step photos, and more Q&A, be sure to check out the full blog post linked in the description box below.


