How to Treat A Blister in the Middle of A 5-Mile Hike?

Spread the love

You’re two miles into a scenic five-mile loop. The views are absolutely peaking. You feel like a woodland deity.

Then, your heel feels like it’s being introduced to a blowtorch.

It’s the classic trail-side tragedy. A blister is a small injury, sure. But it’s one that can quickly dictate the success of your entire camping trip. It doesn’t care about your Insta-worthy sunset photos. It just wants to hurt.

Dealing with one mid-hike requires a specific skill set. You need a mix of MacGyver-like resourcefulness and immediate action.

The goal is simple: ensure you can actually walk back to camp without a limp that makes you look like you wrestled a bear (and lost).

Do not let a tiny pocket of fluid ruin your outdoor ambitions. Here is your guide to surviving the ouch.

Table of Contents

1. Stop the Moment You Feel a "Hot Spot"

Your foot will give you a warning. Listen to it. That tiny, burning pinch is not “just your imagination.” It is not “your boot settling in.”

It is the first cry for help from your suffering skin.

Call it a “hot spot.” This is the pre-blister stage. It’s a small friction point that’s begging for mercy.

If you ignore it, it will throw a tantrum and become a full-blown, fluid-filled wound.

So, stop walking. Drop your pack. Sit on that rock. Immediately address the drama before it escalates.

2. Clean Your Hands and the Affected Area

You are in the dirty outdoors. It’s lovely. It’s full of trees and fresh air. It is also full of bacteria just waiting to crash the party inside your skin.

Before you touch anything, get clean. Use soap and water if you have it.

An alcohol wipe from your first-aid kit works wonders. A sanitizing wipe from your lunch bag will do in a pinch.

Clean your hands. Clean your foot. You need to mitigate the risk of infection. A blister is annoying. An infected blister is a genuine vacation-ender.

3. Assess the Size and Integrity of the Blister

Now, look at the enemy. Is it small? Is it flat? Is it just a red, angry patch? You have options.

If it’s a small, manageable bump that doesn’t hurt when you poke it, leave it alone.

Your skin is smart. It created that bubble to protect the raw layer underneath. Don’t pop it. Let it be.

If it’s large, puffy, and feels like a water balloon under your skin, it needs to go. A big, painful blister will only get worse with every step.

It will eventually pop on its own, and it will do so at the worst possible moment (like in a mud puddle). Take control of the situation.

4. Sterilize a Needle or Safety Pin

Decision made. You are going to drain it. Do not grab a random thorn or a dirty fingernail. You need a tool.

Find a needle or a safety pin from your kit. Now, sterilize it. Hold it over a lighter or match until it glows red hot.

Let it cool down. Or, dunk it in alcohol. You want the entry point to be clean. You want it controlled.

A dirty lance is how you turn a minor friction issue into a story about that one time you almost lost a foot.

5. Pierce the Blister at Its Base

This is the surgery part. Do not stab it in the center like a voodoo doll.

Pierce the blister at its base. Near the edge. Make a small hole. You want the fluid to drain out slowly. You want to keep the protective “roof” of skin intact.

That top layer is your body’s natural bandage. Do not peel it off. Let it lie flat once the fluid escapes.

It will guard the tender skin beneath.

6. Apply an Antiseptic Ointment

The fluid is gone. The skin is flat. Now, you need a chemical barrier.

Squeeze on some antiseptic ointment. Polysporin is perfect. Iodine works.

Even a bit of bacitracin will do.

This goop fights off the trail bacteria that want to move in. It also keeps the deflated skin moist, so it doesn’t dry out and crack.

Slather it gently over the whole area.

7. Cut a "Donut" Shape Out of Moleskin

This is the pro move. Grab your moleskin or foam padding. Cut a donut shape out of it. The hole should be exactly where the blister is.

You are creating a tiny protective castle for your blister. The padding goes around it. The blister sits safely in the moat (the hole).

This genius trick shifts the pressure of your boot away from the sensitive center.

Now, the boot rubs against the moleskin, not your poor, abused heel.

8. Cover the Entire Area

The donut is in place. Now, lock it down.

Cover the whole area with a breathable adhesive bandage. Even better, use a specialized blister plaster.

These are often hydrocolloid bandages. They are thick, cushy, and stick like glue. They seal the wound. They keep dirt out. They create the perfect environment for healing.

Slap that thing on like you’re putting a sticker on a suitcase.

9. Secure the Dressing

You think you’re done? Think again. Hiking involves friction. It involves sweat.

It involves your sock trying to peel your hard work off within the next half mile.

Get some medical tape or KT tape. Wrap it around your foot to secure the bandage’s edges.

Make sure it’s snug, but not cutting off circulation.

You want this dressing to survive the wilderness. You want it to outlast the hike.

Secure it like your next step depends on it (because it does).

10. Check Your Socks

Your blister happened for a reason. That reason is often your socks.

Check them immediately. Are they wet? Are they bunched up? Is there a pebble hiding in there?

Dampness accelerates skin breakdown. It turns your foot into a slippery, friction-filled disaster zone.

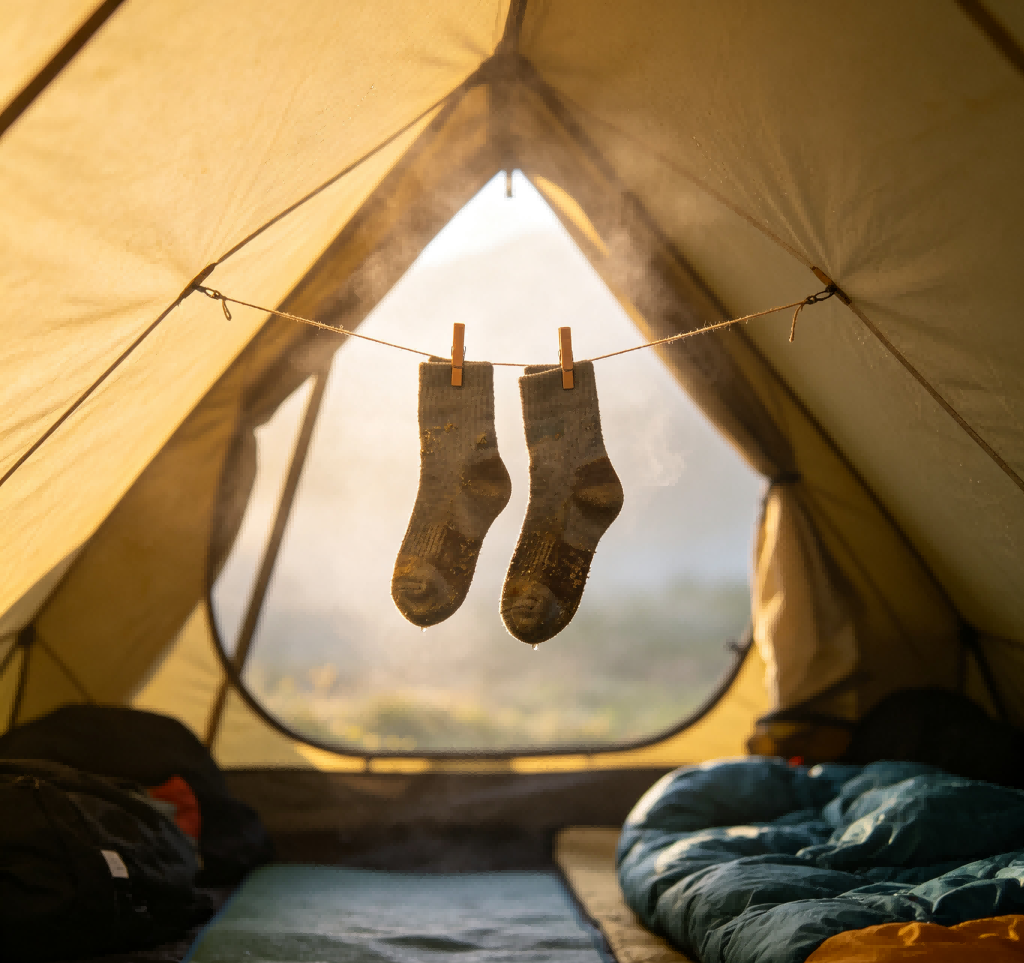
If you have a dry pair in your pack, change them. Right now. Stuff the wet ones in a pocket to dry out later.

A dry sock is a blister’s worst enemy.

11. Adjust Your Boot Lacing

You fixed the symptom. Now, fix the cause. Why did the friction happen in the first place?

Adjust your boot laces. Is your heel slipping?

Tighten the top hooks to lock your heel down.

Are your toes slamming into the front on downhills?

Use a different lacing pattern to hold your foot back.

You need to address the mechanical cause of the rubbing. Your boots should be friends with your feet, not enemies.

12. Monitor the Site for Signs of Infection

You made it to camp. You survived. You’re sipping hot chocolate. Take a moment to check on your patient.

Look at the blister site. Is it getting more red? Does it feel warm to the touch? Are there scary red streaks running up your foot?

Increased redness, warmth, or streaks are bad news. That is a sign of infection. It means you need real medical attention.

Don’t ignore it. A fun hike can turn serious if you let an infection spread.

Conclusion

A blister in the middle of a hike is a test. It’s a test of your preparedness, not your pain tolerance.

It’s a pop quiz on your gear choices. By treating the friction early and using the right barriers, you win.

You transform a potential medical emergency into a minor gear adjustment. Remember, the goal isn’t just to finish the five miles.

The goal is to finish them in a condition that allows you to wake up tomorrow morning and hike again.

Preferably without a blowtorch attached to your heel.

Leave a Comment

Your email address will not be published. Required fields are marked *

Scroll to Top