20 Bushcraft Tips to Stay Toasty in Wet Weather Conditions

Spread the love

It’s a beautiful Saturday. The sun is shining, the birds are singing, and I, a brilliant and intrepid outdoorsman, have decided to go camping.

The forecast, which I checked with the casual arrogance of a man who has never been truly tested by nature, said “20% chance of scattered showers.”

I spent that night not so much camping as participating in a live-action reenactment of a shipwreck.

I was cold, I was wet, and I’m pretty sure I formed a meaningful emotional bond with a puddle that had taken up residence in my left hiking boot.

But from the soggy ashes of that disaster, a hero was born. Or, at the very least, a slightly wiser, permanently-damp individual who learned a few things.

So, for the love of dry socks, listen up. This is my hard-earned, waterlogged wisdom on how to camp in the rain without questioning all your life choices.

Table of Contents

1. Pitch on High Ground to Avoid Pooling Water and Sudden Runoff.

This seems obvious, right? “Don’t pitch in a ditch.” Tell that to my past self, who saw a beautifully flat, soft-looking patch of earth and thought, “Perfect!” That patch was not perfect.

It was a nascent lake. I was woken up at 2 AM by the gentle sensation of my sleeping pad floating.

Water will always, always, travel downhill. Be smarter than the water. Find a slight rise, a mound, anything that gives you a gravitational advantage.

Your tent is not a submarine.

2. Choose Natural Shelter Like Dense Tree Cover

Trees are fantastic. They’re like giant, wooden umbrellas. A dense canopy of conifers or full-leafed trees can stop a huge amount of rain before it even hits your tarp.

However, you must perform the “Dead Branch Scan.”

Look up. See that big, gnarly, leafless limb looking down at you like the Sword of Damocles?

That’s a “widowmaker.” In a storm, it could decide your tent looks like a great place to land.

Choose a spot that offers cover, but isn’t a game of timber Russian roulette.

3. Set Up a Tarp First Before Anything Else

This is the single most important tip. Do not, I repeat, DO NOT start by pitching your tent in the rain.

You’ll just have a wet tent. The first thing out of your pack should be your tarp and paracord.

Get that thing up fast. It doesn’t have to be a perfect, Instagram-worthy pitch.

Just get it up and taut. Suddenly, you have a 10×10 foot (or whatever) patch of dry land.

This is your staging area, your kitchen, your living room. You can now unpack your tent, your gear, and yourself under relative cover.

This simple step is the difference between a controlled operation and a panicked, soggy fumble.

4. Use a Ridgeline with a Steep Tarp Pitch So Water Sheds Fast.

A flat, saggy tarp is a water-collection device. It will pool water until the weight becomes too much, then it will deposit the entire contents unceremoniously onto your head or gear.

You want a steep, angled pitch, like the roof of a house.

The best way to achieve this is with a ridgeline. Run a line of paracord between two trees, drape your tarp over it, and stake out the corners at a sharp angle.

When rain hits it, it immediately sheets off and away from your shelter.

Think of it as giving the rain a quick, polite, but firm, “Not today, thank you.”

5. Carry Multiple Fire-Starting Methods

This is not the place for minimalist bravado. Relying on a single Bic lighter is a fool’s gamble. You need a redundancy system that would make NASA proud.

My fire-starting kit consists of:

  • A Bic Lighter: The workhorse. Keep it in your pocket to keep it warm and dry.
  • Stormproof Matches: These things are witchcraft. They will light and stay lit in a hurricane. They are your emergency “oh-crap” solution.
  • A Ferro Rod: This is your final, unshakeable champion. It works when it’s wet, it works in the wind, and it will throw sparks long after your last match has turned to mush. Having all three means you can look at a downpour and laugh.

6. Feather Sticks Become Essential When Wood is Wet

The outside of every stick and log is a soggy, disappointing mess. But inside, protected by the bark, is dry, beautiful, flammable wood.

Your job is to access it. This is where the humble feather stick becomes your best friend.

Take a sturdy knife and a stick about the thickness of your wrist. Shave thin curls down its length, but don’t cut them all the way off.

You’re creating a bunch of super-fine, dry wood shavings that are still attached to the stick—it looks like a wooden feather duster.

This exposes massive surface area of dry wood, which is exactly what a fledgling flame needs to take hold.

7. Baton Through Logs to Find Dry Heartwood for Reliable Fire Fuel.

You’ve made your feather sticks and have a little fire going. Now you need fuel that won’t just smolder and die.

Small, wet sticks won’t cut it. You need to get to the heartwood of larger logs. The safest way to do this is to baton.

Place your knife on top of a log, and use another piece of wood to hammer the spine of your blade, splitting the log in half.

The inside will be gloriously dry. Keep splitting until you have a pile of dry, kindling-sized pieces and larger dry logs.

It’s cathartic, it’s effective, and it makes you feel like a wilderness lumberjack.

8. Create a Raised Fire Platform Using Green Logs or Rocks to Keep the Fire Off Wet Ground.

Your enemy is moisture, and a lot of it is coming from the ground. Don’t build your fire directly on the sodden earth.

Build a platform. Two green (living) logs placed parallel to each other make a fantastic base. Green wood won’t burn easily, so you can build your fire on top of them, keeping it elevated.

Rocks also work well, but be warned—wet rocks with air pockets inside can sometimes heat up and explode.

Avoid river rocks for this reason. A raised fire draws in air from underneath and stays drier, happier, and more alive.

9. Use Cotton Pads Dipped in Wax or Petroleum Jelly

Your tinder is your fire’s first meal, and it needs to be a gourmet feast, not a sad salad. Commercial fire starters are great, but you can make your own ultimate fire starters for pennies.

Take a 100% cotton ball or a round cotton pad and smother it in petroleum jelly, or dip it in melted candle wax.

Store them in a tiny, waterproof container. These things are magical.

They will light with a single spark, even in a downpour, and will burn fiercely for several minutes—plenty of time to get your feather sticks and kindling going.

They are the loyal foot soldiers of your fire-making army.

10. Wear Moisture-Wicking Base Layers

Cotton is rotten. Remember that. A wet cotton t-shirt is a portable air-conditioning unit strapped to your skin.

It will suck the heat right out of you. You need synthetic materials like polyester or natural fibers like merino wool for your base layer.

These fabrics wick moisture away from your skin and dry incredibly fast. Even if you’re damp from sweat, you’ll stay warm.

Merino wool is a miracle—it insulates even when wet and doesn’t get stinky. It’s worth the investment.

11. Keep Your Pack Lined with a Contractor Bag or Dry Bag System.

Assume that everything in your pack is about to be submerged. Because it might be. The best defense is a simple, heavy-duty contractor bag (the kind you use for yard waste) lining the inside of your backpack.

Pack all your gear inside this bag, then roll the top down. It’s a cheap, lightweight, and incredibly effective waterproof system.

For extra credit, use individual dry bags or zip-lock bags to organize your kit within the larger liner.

12. Set Up a Drip Line on Paracord to Divert Water Away from Your Shelter.

This is a tiny trick with a massive payoff. When you run a ridgeline for your tarp, water will run down the cord and, inevitably, onto your tarp or into your shelter.

To stop this, tie a short loop of string to your ridgeline, letting it hang down a few inches.

The water will hit the knot, travel down the hanging loop, and drip off the end, away from your dry space.

It’s a simple, elegant solution that feels like hacking the matrix.

13. Hang Gear Under the Tarp, Never on the Ground.

The ground is lava. Wet, muddy, cold lava. Your backpack, your jacket, your shoes—none of it should ever touch the ground.

Use a spare piece of paracord to hang everything from your tarp’s ridgeline or a tree branch under your cover.

This keeps your gear organized, dry, and out of the path of any ground-level water flow.

It also prevents creepy crawlies from deciding your boot is a lovely new apartment.

14. Build a Simple Trench (Small, Shallow) Around Your Shelter Only If Absolutely Necessary and Allowed.

This is a controversial one, so pay attention. If you’re on a serious slope and water is starting to channel towards your tent, a small trench dug with a trowel about 6-8 inches away from your tent footprint can divert the flow.

Keyword: small. We’re talking an inch deep and wide.

This is a last-resort survival tactic, not a standard practice.

Always check local regulations, as many Leave No Trace principles frown upon trenching. If you do it, you must fill it in completely before you leave.

We’re campers, not earth-movers.

15. Cook Under a High-Pitched Tarp to Stay Dry and Avoid Smoke Buildup.

Cooking in the rain is miserable. Cooking in the rain while inhaling smoke is worse. Your high-pitched tarp from tip #4 is your kitchen.

The steep angle allows rain to run off, but also allows smoke to rise and dissipate out the sides, rather than getting trapped underneath.

You can boil water for your rehydrated chili, stir it, and eat it in relative dryness, watching the storm rage just a few feet away.

It’s a profoundly satisfying experience.

16. Collect Rainwater by Redirecting Runoff from Your Tarp Into a Clean Container.

Why fight the water when you can make it work for you? If you need water for cleaning or filtering, your tarp is a magnificent rainwater collection system.

Simply set up one corner of your tarp slightly lower than the others.

Place a clean pot, bottle, or water bladder underneath the low point, and you’ll have a steady supply of fresh rainwater.

Just be sure to filter or purify it before drinking, as your tarp isn’t exactly a sterile surface.

17. Use a Walking Stick

Rain turns trails into Slip ‘N Slides. Roots and rocks become treacherously slick. A walking stick (or trekking pole) is no longer just a nice-to-have accessory; it’s your third leg.

It provides two more points of contact with the ground, dramatically increasing your stability.

It will save you from countless slips, slides, and embarrassing mud-planted-face moments.

It also lets you probe suspicious-looking puddles to see if they are ankle-deep or waist-deep.

18. Check Your Knife Handle for Grip

When your hands are wet and cold, your fine motor skills go out the window. A smooth, polished wood or metal knife handle becomes a slippery hazard, especially when you’re batoning (see #7).

Make sure your primary camp knife has a handle with good texture—micarta, G10, or aggressively contoured rubber.

Your fingers will thank you.

19. Keep a Dry Set of Clothes Sealed in Your Pack

This is the holy grail of comfort. No matter how wet, muddy, and miserable you get during the day, you have a guaranteed reward waiting for you.

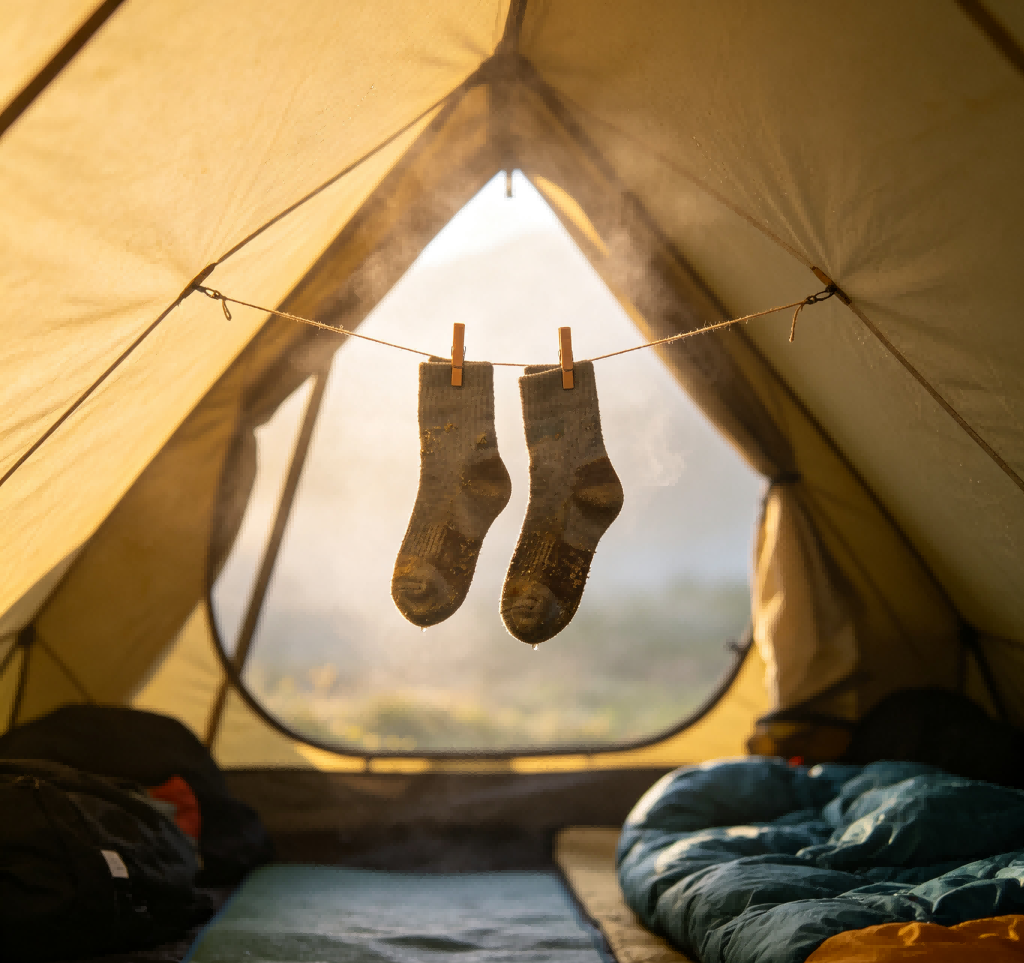
One complete set of base layers, socks, and maybe even a beanie, sealed in a waterproof bag (see #11).

Do not open this bag until you are in your tent for the night. Slipping into dry, warm clothes after a day in the damp is a feeling of pure, unadulterated bliss.

It is better than any five-star hotel experience. It is the key to mental survival.

20. Monitor the Temperature Closely

This is the serious one. Hypothermia isn’t just something that happens to people on Mount Everest.

It can happen at 50°F (10°C) if you’re wet and windy. Water conducts heat away from your body 25 times faster than air.

Wind makes that even worse (wind chill). You can go from “a bit chilly” to confused and shivering dangerously fast.

Pay attention to the weather, and more importantly, pay attention to your companions.

If someone stops shivering, becomes lethargic, or starts slurring their speech, it’s a full-blown emergency.

Get them dry, get them in a sleeping bag, and get them warm.

Conclusion

Camping in the rain isn’t about enduring misery; it’s about adapting and thriving. It’s about the unique, percussive sound of rain on your tarp as you drift off to sleep.

It’s the deep, primal satisfaction of creating fire when everything around you is water. It’s the quiet, muffled beauty of a forest in the mist.

Don’t be afraid of a little bad weather. Practice these skills in your backyard or on a short, easy trip.

Build a fire in a drizzle. Pitch your tarp in the rain. Get comfortable with being uncomfortable.

Because once you’ve mastered the art of camping in the rain, you’ve unlocked a whole new level of confidence.

You can look out the window at a grey sky, pack your bag with a knowing smile, and head out into the drizzle, ready for whatever the sky throws at you.

Leave a Comment

Your email address will not be published. Required fields are marked *

Scroll to Top