
Let’s get one thing straight before we even start: there is no wrong way to backpack.
Well, okay, there are a few wrong ways.
Strapping a live badger to your pack is probably a wrong way.
Using a cotton sleeping bag you found in your grandma’s attic is a wrong way.
Navigating via a squirrel’s sense of direction is definitely a wrong way.
But for the most part, you do you. If your idea of a good time is carrying a cast-iron skillet and a whole ham into the woods, more power to you.
You’re out there, and that’s what counts.
I’m not here to sell you a $600 tent or tell you to subsist on dehydrated kale.
I’m here to give you six small things that will change your backpacking forever.
They’re simple, they’re mostly free, and they work.
Table of Contents
Tip 1: Your Backpack Size is a Lie (And How to Fix It)

Listen up, because this is the single most common mistake I see, and it’s the root of all pack-related evil.
Backpacks are labeled Small, Medium, and Large. This is a dirty, filthy lie.
These do not refer to your t-shirt size, your ego, or the general grandeur of your personality.
They refer to your torso length.
I know, I know. It sounds like something a chiropractor would measure. But your torso length is a sneaky, fickle thing that has very little to do with how tall you are.
You can be a 6’5″ basketball player with the torso of a garden gnome and the legs of a giraffe.
You can be 5’2″ with a torso that seems to go on for days and legs that are just… there for the ride.
So, how do you measure this mystical torso length? Don’t worry, you don’t need a degree in osteopathy.
1. Find Your Iliac Crest: Put your hands on your hips. Not on your hips, but on the top of your hip bones.
That bony ridge? That’s your iliac crest. Now, put your hands on them so your thumbs are pointing towards your spine.
Your thumbs are now marking the bottom of your torso measurement. Fancy, huh?
2. Find the C7 Vertebrae: Tilt your head down like a disappointed schoolteacher. Feel that big, knobby bump at the base of your neck? The one that protrudes the most? That’s C7. That’s the top of your torso measurement.
3. Measure: Now, get a soft measuring tape (or a piece of string and a ruler, we’re not animals) and measure from your thumbs, up along your spine, to that C7 bump.
Voilà! You have your torso length. You can also have this done by a non-judgmental human at an outdoor store with a fancy, specialized ruler. They love doing this.
Once you have this magic number, you buy the corresponding pack size. It’s that simple. But wait, there’s more!
Now you have to fine-tune the fit.
• The shoulder strap attachment points should sit about two inches below the top of your shoulders.
• Too low? All the weight drags on your shoulders. You’ll feel like a marionette with a lazy puppeteer.
• Too high? You’ll have a weird gap, and the pack will feel like it’s trying to escape over your head.
The sacred order of strapping in (do this after you’ve loaded your pack, you maniac) is as follows:
4. Loosen ALL the straps. Start from scratch. It’s therapeutic.
5. Hip Belt First. Cinch that sucker tight so the padded part sits squarely on your hip bones.
This is where 80% of the weight should live.
6. Shoulder Straps Second. Snug them up just enough so they sit comfortably on your shoulders without gaping.
They are for stability, not for carrying weight.
7. Load Lifters Third. These are the little straps that connect the top of the pack to your shoulder straps.
Pull these to bring the weight closer to your body. This is the secret sauce for comfort.
8. Check the fit. Shimmy a little. Do a sad, pack-laden dance. Feel where the pressure is.
If your pack has an adjustable torso, now is the time to move it up or down a notch and repeat the whole process.
Tip 2: Prioritize Sleep Like a Divorcee on a Spa Weekend

Let’s be real: a lot of backpacking sleep setups look like a sad, nylon version of a hostage situation.
You’re cold, you’re on a slope, you’re lying on a pad thinner than a slice of American cheese, and every root feels like it’s personally targeting your kidney.
It doesn’t have to be this way. Good sleep is not a luxury; it’s the difference between a glorious day on the trail and a miserable, caffeine-deprived death march.
Don’t Skimp on the Bedroom:
• The Sleeping Pad: Many tents are designed for 20-inch pads. These are, in my professional opinion, a cruel joke.
You will spend the night with your arms pinned to your sides like a mummy in a sarcophagus.
Get a 25-inch wide pad. And for the love of all that is good, get one with a quilted or textured top.
It’s not just for comfort; it keeps your sleeping bag from sliding off all night. Pressure relief is key. Your hips will thank you.
• Quilt vs. Bag: I’ve made the switch to a quilt, and I’m never going back.
Sleeping bags are restrictive. You roll over, and the whole bag has to come with you, creating cold spots.
A quilt is like your comforter at home. It’s attached to you at the foot and maybe with a strap, but otherwise, it’s freedom. Glorious, warm, toss-and-turn-friendly freedom.
• The Pillow Situation: Stuffing your down jacket into a stuff sack is the backpacker’s classic move. It’s… fine.
It’s like eating plain oatmeal. It does the job. But let me introduce you to nirvana: a proper inflatable pillow, like the Nemo Fillo.
It has foam in it. It’s plush. It’s a cloud for your head. And my secret weapon? A second “pillow” made by stuffing that down jacket into a sack and placing it between my knees.
It aligns your hips and feels so decadent, you’ll forget you’re sleeping on dirt.
Sleep Setup Pro-Tips:
• Pitch your tent on the flattest ground possible. Spend five extra minutes kicking away rocks and pinecones. Your future self will weep with gratitude.
• If you have to be on a slope, sleep with your head slightly uphill. Sleeping with your head downhill makes you feel like all your blood is pooling in your skull, and you’ll wake up with a sinus headache from hell.
• Earplugs. The woods are loud. Squirrels are having raves, owls are having philosophical debates, and the wind sounds like a ghost trying to steal your gorp. Earplugs are a dollar. Buy them.
• Optional but lifesaving: a small dose of melatonin or, in a real pinch, Benadryl. I’m not a doctor, but my subconscious is, and it says “sometimes you just need to knock yourself out.”
Tip 3: Lighten Your Load (Without Selling a Kidney)
I once heard someone in an interview ask, “Is ultralight culture making backpackers weak?”
I almost spat out my electrolyte drink.
Let me be perfectly clear: Suffering is not a badge of honor. Carrying a pack that feels like it’s filled with anvils and regret does not make you more of an outdoorsperson.
It makes you tired, sore, and more likely to hate a hobby that is supposed to be fun.
Heavier packs = faster fatigue, more strain on your knees/feet/hips/psyche, and less energy to actually enjoy the views you worked so hard to see.
Now, I’m not telling you to go out and replace all your gear with cuben fiber versions that cost more than your car.
I’m telling you to get smart. And you can do it for free with my patented, highly scientific…
The Post-Hike Gear Sort Method:
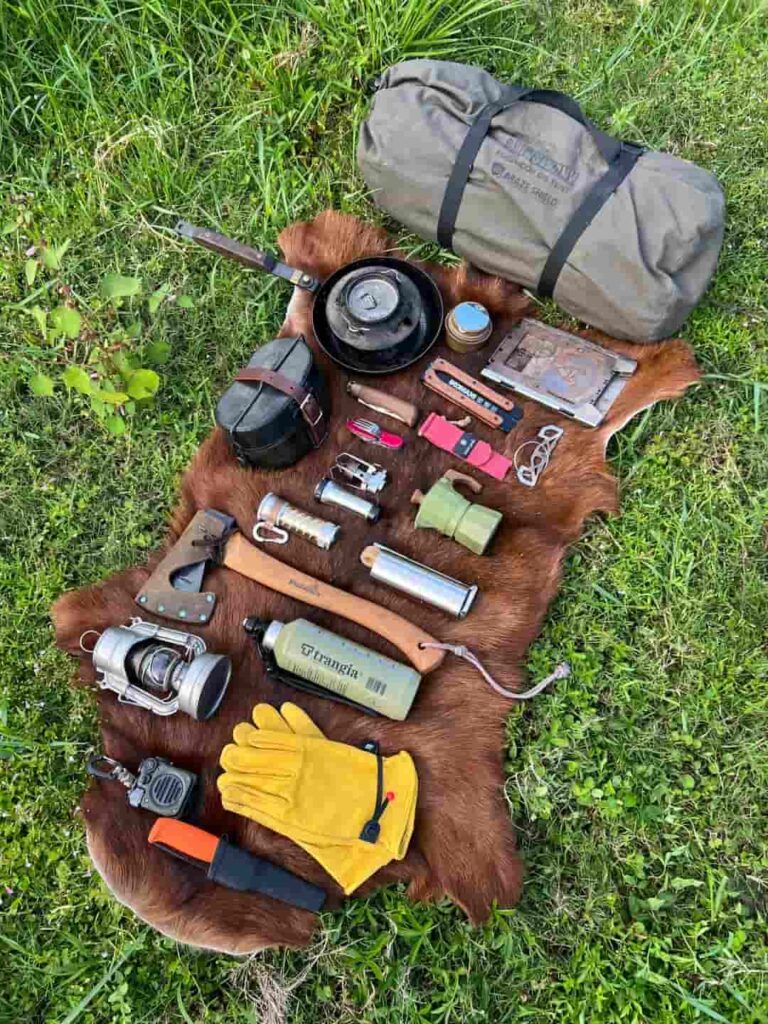
1. The Dump: After every single trip, the moment you get home, dump all your gear onto the floor. All of it. The half-eaten bag of trail mix, the extra socks, the “just in case” gear, the weird rock you thought was pretty.
2. The Two Piles:
◦ Pile A: Gear I Actually Used. This is your core kit. It stays.
◦ Pile B: Gear I Did Not Use. This is the pile of shame, the pile of “what was I thinking?”
3. The Interrogation: For every single item in Pile B, you must ask yourself one brutal question: “Did I need this, or did I just want it?”
◦ Needed: First aid kit, repair kit, rain gear (even if it didn’t rain). These get a pass. They go back in the pack.
◦ Wanted: The third pair of pants, the heavy book, the deck of cards, the backup-backup firestarter, the ceremonial hiking mug.
These items are put on probation. You can test them on one more trip.
If they end up in Pile B again, they are evicted. Permanently.
By repeating this process after every outing, you will slowly,
methodically, and without spending a dime, trim the fat from your pack. You’ll learn what you actually need, not what some gear list on the internet says you need.
Tip 4: Embrace the Suck
Alright, let’s get philosophical for a minute. Backpacking is not easy. If it were easy, everyone would do it, and the trails would be clogged with people complaining about the lack of Wi-Fi.
On a good day, you’re dealing with elevation gain that makes your lungs feel like they’re in a vise, a sunburn on that one patch of skin you missed, mosquitoes that view DEET as a light seasoning, and feet that have personal grievances with every pebble on the trail.
On a bad day? Oh, honey. On a bad day, it can get so much worse.
The key to not just surviving but enjoying this madness is to Embrace the Suck.
This is a mindset. Hiking is 90% mental. The other 10% is probably blisters, but it’s mostly mental.
If you go into a hike expecting it to be hard, and you truly believe you can do hard things, you will probably succeed.
You’ll curse the mountain, you’ll sweat, you’ll ache, but you’ll stand at the top and feel like a god.
If you go into a hike expecting a gentle stroll through a flower-filled meadow and instead you get a vertical mudslide, you will hate every second of it.
Your mind will quit long before your body does.
Embracing the suck means acknowledging that yes, this is hard.
This is uncomfortable. My shirt is chafing me in a place I didn’t know could chafe.
But this challenge is the entire point. The misery is part of the story you’ll tell later.
The struggle is what makes the summit beer taste so damn good.
Tip 5: You Will Get Wet. Get Over It.

The fear of getting wet is one of the most primal fears in backpacking. And for good reason!
Being wet and cold is miserable. And in the wrong conditions, it’s downright dangerous.
Hypothermia can set in when your core body temp drops below 95°F, and mountain weather can turn on a dime.
I learned this the hard way on a trip in the North Cascades. I arrived at camp after a long day of rain and sleet.
I was soaked to the bone, my fingers were so cold I could barely operate the zippers on my pack, and a deep, shivering chill was setting in.
I had to stop filming, stop everything, and focus entirely on the emergency drill: get the tent up, get into dry clothes, and get warm.
It was a stark reminder that getting wet isn’t just uncomfortable; it can be a real safety issue.
But here’s the thing: getting wet is inevitable. It’s going to rain. You’re going to have to cross a stream.
You’re going to sweat through your shirt. Morning dew is going to soak your shoes.
Instead of fearing it, prepare for it. Shift your mindset from “I hope I don’t get wet” to “I have a plan for when I get wet.”
• Socks: Bring a dry pair of socks for every day. They are worth their weight in gold.
• Clothes: Wear quick-drying synthetics or merino wool. Leave the cotton at home; it’s a sponge of sadness.
• Rain Gear: Don’t just have it; have good rain gear that’s been recently re-waterproofed.
• Sleep System: This is your sanctum. Keep it compressed and protected in a dry bag at all costs.
• Pro-Move: If the forecast is cold and wet, pack a dedicated set of dry base layers just for sleeping. Slipping into those at the end of a soggy day is a feeling of pure, unadulterated bliss.
Tip 6: Don't Be a Hero (Know Your Limits)

After all this talk of embracing the suck, I need to add a crucial word of caution: always, always hike within your ability.
Mental preparation is powerful, but it is not a substitute for experience and skill.
You can’t “mindset” your way up a cliff face if you don’t know how to climb.
My advice, especially for beginners, is this: Don’t jump into the deep end. Your first backpacking trip should not be a 5-day, off-trail epic in the Alaskan wilderness with 4,000 feet of elevation gain per day and grizzly bears as your neighbors.
Build up to it. It’s a marathon, not a sprint.
• Start: With a single overnight in a familiar, low-elevation area close to home.
• Get Comfortable: With one- and two-night trips. Dial in your gear, your food, your systems.
• Then Advance: Gradually add mileage, elevation, and nights out.
There is no wrong way to backpack—as long as you’re safe and having fun. Appreciate the fact that you’re doing something amazing, something that most people are too afraid to even try.
Final Thoughts
Alright, that’s my six. I’ve shared my secrets, my sleep tips, and my near-hypothermia story.
Now it’s your turn. What’s the one small tip that changed backpacking for you? What’s the piece of gear you can’t live without? Or the stupid mistake you’ll never make again?
Throw it all in the comments below. Let’s learn from each other’s suffering and triumphs. Now get out there.


