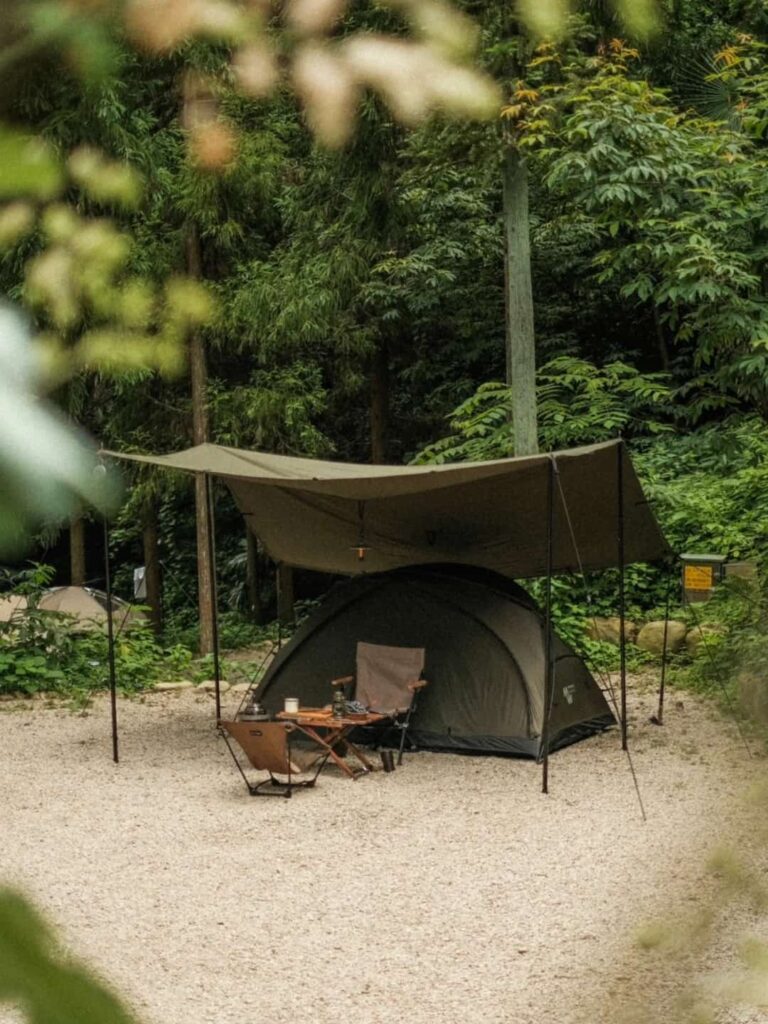
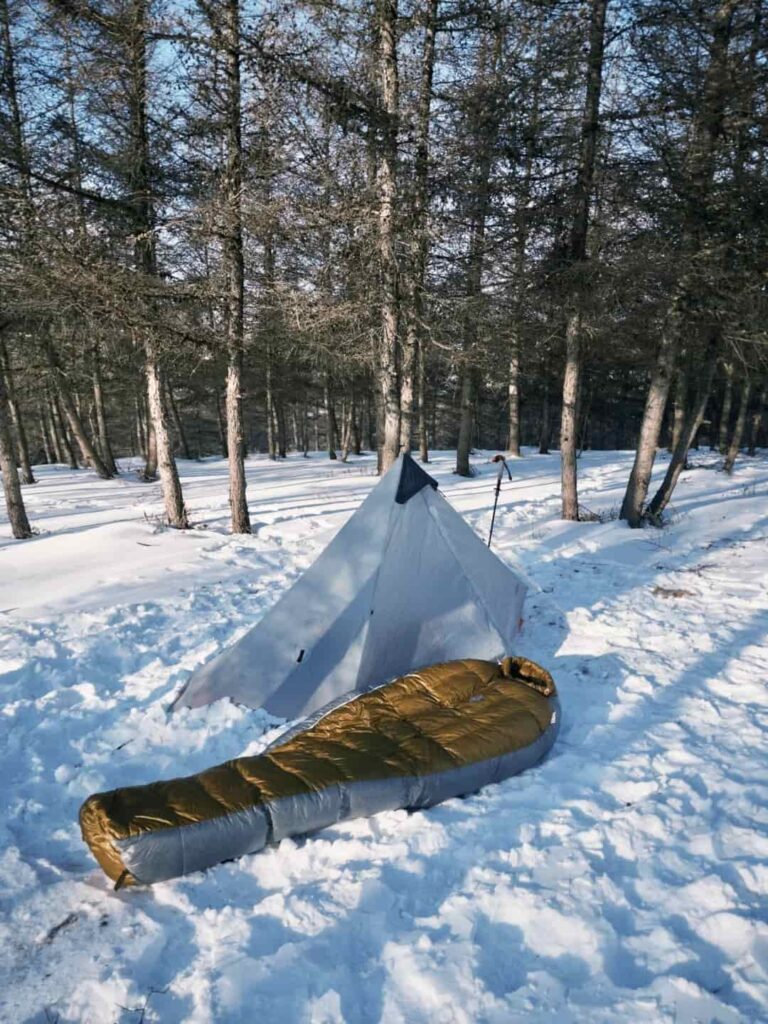
Let me paint you a picture. You’ve just spent a small fortune on the most high-tech, expedition-grade, “guaranteed-to-survive-the-Arctic” sleeping bag money can buy.
You crawl into your tent, a triumphant smile on your face, ready to conquer the winter night.
Fast forward to 3:17 AM. You are shivering uncontrollably, your teeth are chattering like a wind-up novelty toy, and you’re pretty sure your toes have staged a mutiny and are planning to secede from your body.
I have been this person. More than once. It’s a special kind of cold that seeps directly into your soul.
Through a series of humbling, frostbitten lessons, I’ve learned a crucial truth: a fat wallet alone cannot buy you warmth.
That expensive sleeping bag is just one actor in a Broadway-level production called “Don’t Freeze to Death Tonight.”
And if the rest of the cast is slacking, the show is a flop, and you’re the shivering critic giving it zero stars.
So, strap in, grab a hot beverage, and let’s dive into the nitty-gritty, hilarious details of how to actually sleep warm when the world outside your tent is trying to turn you into an ice sculpture.
Table of Contents
1. The Grand Production: Your Sleeping Bag & Pad Setup
First, let it fluff.
When you pull that bag out of its stuff sack, it looks as sad and flat as a pancake.
It needs time—at least 15-20 minutes—to puff up and trap all the warm air in its lofty little insulation fibers.
An un-fluffed bag is about as useful as a screen door on a submarine.
Your head is a heat-leaking villain.
Your body is wonderfully efficient at pumping blood to your noggin, which is great for brain function but terrible for thermal efficiency.
An inflatable pillow is fine, but put a fleece or a spare shirt over it. Better yet, wear a beanie.
A good, thick, merino wool beanie. I’m not talking about a fashion beanie; I’m talking about a “my-grandma-knit-this-for-the-Siberian-front” beanie.
Cover your head like it’s the crown jewels. Also, pull a buff or a balaclava over your face.
It looks like you’re about to rob a bank, but it keeps your nose from becoming an ice cube.
Do NOT breathe into your bag.
I know it’s tempting. That warm, moist air feels so good for about five seconds. But what you’re doing is essentially pouring a cup of water into your premium down insulation.
Moisture is the enemy of loft, and loft is warmth.
You’ll wake up a few hours later, damp and colder than you started. It’s a classic rookie mistake. Just don’t.
Become a sleeping bag burrito.
Don’t twist and contort inside your bag. You’ll create cold spots and compress the insulation. Wriggle in like a dignified worm.
Make sure the draft collar—that fancy tube of fabric around the neck—is snugged up. It’s designed to stop warm air from escaping.
Cinch the hood down, but leave a small gap for your mouth and nose to breathe outside the bag, not into it.
You’re aiming for “cozy cocoon,” not “airtight body bag.”
The Great Sleeping Position Debate:
- The Fetal Position: Curling up on your side minimizes the surface area of your body touching the cold ground. It’s efficient, like a heat-saving shrimp.
- The Starfish (or Corpse Pose): If your sleeping pad is a beast with a high R-value (more on that later) and your bag is just barely cutting it, spreading out can be better. Why? Because the parts of you not touching the ground are being kept toasty by the bag’s full loft. Curling up can sometimes compress the bag’s insulation underneath you, reducing its effectiveness.
- The Statue: Once you’re in a warm pocket, for the love of all that is holy, STOP MOVING. Every time you roll over, you expel a cloud of warm air and let in a fresh draft of frigid night air. It’s like opening the oven door while baking a soufflé. Just don’t.
2. Pre-Sleep Fuel: Become a Furnace, Not a Fridge
Your body is a biological furnace. You need to stoke the fire before you shut down for the night.
Eat a fatty dinner.
I’m not just talking about a granola bar. I’m talking about a high-fat, high-calorie meal. Think mac and cheese with salami, or a rich stew.
Fat is metabolized slowly, releasing warmth over 3-5 hours. It’s like putting a slow-burning log on your internal fire.
A handful of gorp will only give you a 1-2 hour sugar rush of warmth, leaving you high and dry (and cold) at 2 AM.
Hydrate like a camel… strategically.
Yes, this means you’ll probably have to face the dreaded midnight pee. But being well-hydrated helps your body circulate blood efficiently, which is crucial for keeping your extremities warm.
Dehydrated blood is thicker, slower, and less effective at delivering warmth to your fingertips and toes.
3. Real Estate is Everything: Tent Placement 101
Where you pitch your tent is more important than your down payment on that sleeping bag.
Avoid the wind tunnel. Don’t set up on an exposed ridge like a sacrificial offering to the wind gods.
If you can, align the narrow end of your tent with the wind direction to reduce its sail-like effect.
Use natural windbreaks. A small cluster of trees, a rock wall, or even a built-up pile of snow can make a world of difference. Get creative.
Your tent isn’t a fortress; it’s a flimsy nylon shield. Give it some backup.
Beware the cold air sink. Valleys and depressions are where cold, dense air pools overnight.
It’s like pitching your tent in a lake of frigid air. A slightly elevated, sheltered spot is ideal.
Embrace the frost fairies. In extreme cold, condensation is less of a problem. Why? Because the moisture from your breath freezes instantly to the inner walls of your tent.
It’s not damp; it’s just sparkly. You can brush it off in the morning.
A little interior frost is a small price to pay for not being a human humidifier all night.
4. The Layering Labyrinth: Socks, Gloves, and The Pee Bottle of Shame
What you wear to bed is a delicate dance. Do it wrong, and you’ll be sweating or shivering.
The Sacred Sock Ceremony:
- Remove the Day Socks: Those sweaty, damp socks you’ve been hiking in? They are treasonous liars. Get them off your body immediately.
- The Fresh Base Layer: Slip on a clean, dry pair of merino wool socks. Ahhh, heaven.
- The Over-Sock: For extreme cold, add a second, loose-fitting sock over the first. The air gap between them provides extra insulation. Think of it as double-glazing for your feet.
- The Final Frontier: Synthetic booties. These are the ultimate luxury. They feel like you’re wearing sleeping bags on your feet.
Hand Management:
Put on your insulated snow gloves before your hands get cold. It’s much harder to warm them up once they’ve become little blocks of ice.
Tuck them into your armpits or between your thighs for a pre-warm if needed.
The Golden Rule of Layering: Breathability.
Do NOT, under any circumstances, sleep in your rain gear or with your backpack on (yes, I’ve heard of people doing this out of desperation).
You will sweat, and that sweat will soak your base layers, rendering you a damp, chilled mess. Wear all your breathable layers—base layer, fleece, insulated jacket, hat, gloves.
But be ready to shed a layer if you start to feel clammy. Staying dry is the non-negotiable commandment of winter camping.
And now, the moment you’ve been waiting for: The Pee Bottle.
Let’s talk about it. Getting out of your bag, unzipping the tent, and braving the elements is a catastrophic loss of core body temperature.
The solution? A dedicated, clearly marked, wide-mouth Nalgene bottle. It’s undignified. It’s a little weird.
But it is a GAME-CHANGER. The relief of emptying your bladder without losing all your hard-earned warmth is indescribable.
Just make sure the lid is on tight. Really tight. I speak from experience.
5. The Pre-Sleep Ritual: Become a Human Space Heater
Calisthenics in the Cold
About 10-15 minutes before bed, do some light exercise. A set of jumping jacks, squats, or push-ups right there in the vestibule.
Get your heart rate up. You’re not trying to break a sweat; you’re just trying to generate some internal heat so you climb into a pre-warmed bag.
Embrace the Hot Water Bottle
This is the single best trick in the book. Before you go to bed, boil some water, pour it into your trusty Nalgene (NOT the pee bottle—label them!), screw the lid on tightly, wrap it in a sock, and place it in your sleeping bag.
I put mine between my thighs, where the major femoral arteries are close to the skin. It’s like a central heating system for your entire body.
It will stay warm for hours. Hand warmers work on the same principle, but they’re less eco-friendly and don’t provide you with unfrozen water in the morning.
6. Demystifying Your Gear: The Cold, Hard Facts
Sleeping Bags: The 20% Superstar
Here’s a reality check: your sleeping bag only contributes about 20% of your total warmth. Your entire sleep system (bag, pad, technique) is about 50%. The rest is you and your preparation. Don’t put all the pressure on the bag!
Temperature Ratings are Lies (Mostly): That -18°C rating on the bag? That’s often the survival rating, not the “you’ll be cozy and warm” rating. Focus on the comfort rating, which is usually the highest number listed. I always add a buffer of about 5°C. If the forecast says 0°C, I want a bag rated for -5°C comfort.
Bag Liners & Doubling Up: A silk or fleece sleeping bag liner can add a precious 5°C of warmth. In a real pinch, you can put a summer-weight bag inside your winter bag for a significant boost. Just make sure the inner bag isn’t so tight that it compresses the loft of the outer bag.
The Great Down vs. Synthetic Debate:
- Down: The diva. Incredibly lightweight and packable for its warmth. But if it gets wet, it loses all its insulating power and takes forever to dry. It’s also slower to warm up initially.
- Synthetic: The workhorse. Heavier and bulkier, but it will keep you warm even if it’s damp. It warms up faster and is generally more forgiving and cheaper.
- My Verdict: For beginners, or for trips where moisture is a real risk (coastal winters, unpredictable weather), go synthetic. It’s more reliable. Once you’re a seasoned pro, you can flirt with the high-maintenance diva that is down.
7. The Unsung Hero: Your Sleeping Pad
If I could scream one thing from the mountaintops, it would be this: YOUR SLEEPING PAD IS MORE IMPORTANT THAN YOUR SLEEPING BAG.
The ground is a massive, infinite heat sink. It will suck the warmth from your body faster than a tax refund. Your bag’s insulation underneath you is compressed, rendering it nearly useless. The pad’s job is to create a barrier.
This is measured by R-Value. The higher the number, the better it insulates.
- R-Value 4-5: Good for freezing temperatures (around 0°C).
- R-Value 6-7+: Necessary for extreme cold (-20°C to -30°C).
You can stack pads! If you have a high R-value inflatable pad, putting a closed-cell foam pad (the classic blue foam mat) underneath it adds R-value and acts as a protective backup.
Types of Pads:
- Self-Inflating: Has open-cell foam inside. They are warmer, cheaper, and more durable, but heavier.
- Fully Inflatable: Just an air chamber. They are lighter and more packable, but more expensive and potentially prone to leaks.
Pro Tip: Do NOT inflate your pad with your mouth. Your breath is full of moisture, which will condense inside the pad and, over time, reduce its insulating ability. Use a pump sack. It’s faster, drier, and saves you from getting lightheaded.
Summary
Master this, and you’ll no longer dread the winter night.
You’ll snuggle into your cocoon, listen to the wind howl outside, and feel a smug, toasty satisfaction knowing you’ve outsmarted the elements.
Now, who’s ready for a hike?


