If you’ve ever dipped a toe into the world of hiking and backpacking, you’ve probably experienced a specific type of heart palpitation.
It’s not from the altitude. It’s from looking at the price tag of a “must-have” piece of gear.
A jacket that costs as much as your car payment. A stove system that’s priced like a small appliance.
A backpack that requires its own financing plan. It’s enough to make you think that the great outdoors is a members-only club, and you forgot your wallet.
I’m here to tell you that’s a load of dehydrated horse manure.
Well, I’ve been hiking and backpacking for over two decades across multiple continents, and I’m here to let you in on a little secret: you don’t need to take out a second mortgage to enjoy a walk in the woods.
I’ve used the expensive stuff, and I’ve used the dirt-cheap alternatives. And 90% of the time, the cheap stuff works just as well for 90% of the adventures you’re likely to have.
So, grab your wallet—you’ll be pleasantly surprised to find it’s still full—and let’s talk about how to gear up without selling a kidney.
Table of Contents
1. General Clothing Advice: Comfort is King, Not the Logo
When it comes to trail clothes, forget the brand name.
The two words you need to care about are “comfort” and “breathability.”
Your body doesn’t know if your shirt cost $80 or $8. It just knows if it’s sweaty, chafed, and miserable.
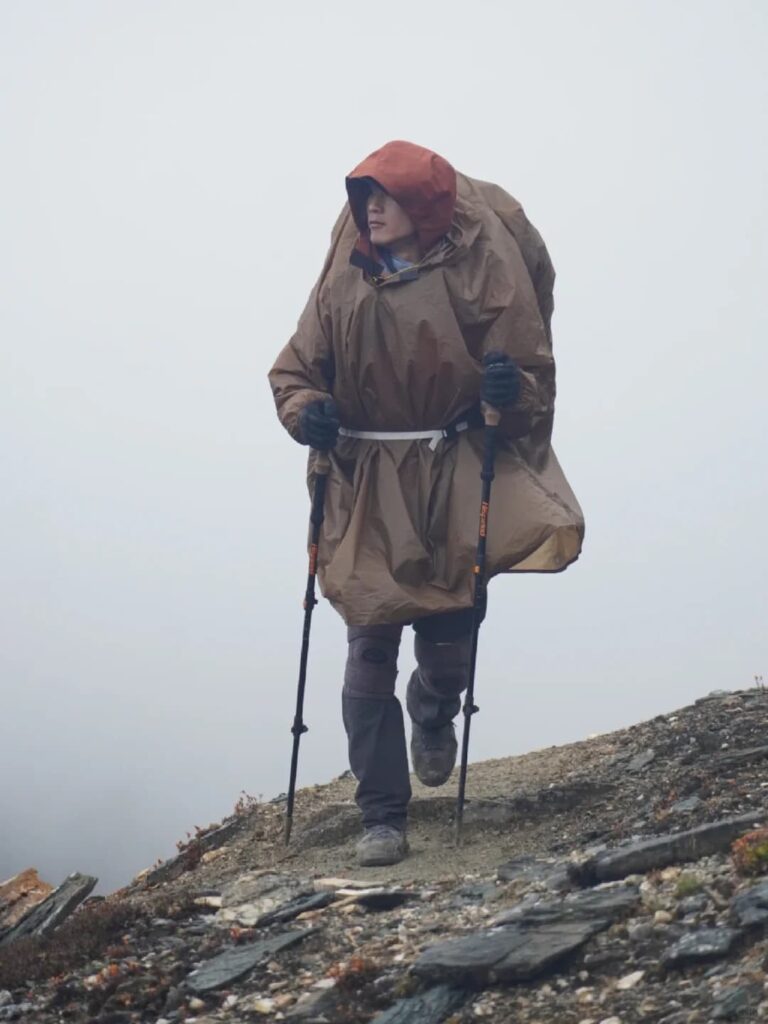
The one non-negotiable, in my book, is a rain jacket. Getting caught in a downpour without one is a surefire way to have a truly biblical-level bad time.
My workhorse for over 13 years was a Northace jacket. Not a fancy brand, but it cost me about $60 back in the day.
That thing has seen me through Scottish gales, Scandinavian drizzle, and downpours in the Smokies.
It finally gave up the ghost last year, not with a dramatic tear, but with a quiet, dignified retirement of its zipper. It was a good soldier.
But when it died, I didn’t replace it with another $300 marvel. I went to Decathlon and bought a jacket for the princely sum of nine dollars. Nine. Dollars.
Is it as breathable as the high-tech stuff? No.
But you know what’s less breathable? A garbage bag.
And you know what? For 99% of my hikes, where I’m putting it on for an hour-long squall, it works perfectly.
I just open the pit zips (yes, my $9 jacket has pit zips!) and let my glorious body heat do the rest.
Ah, hiking pants. The world will try to sell you pants with more zippers, vents, and secret pockets than a spy’s utility belt.
They’re great. I have a pair of Decathlon’s “fourclass” pants that are all-season durable and fantastic.
But my secret weapon? A pair of everyday, quick-dry, zip-off pants I bought from Costco for $25.
That’s right. My go-to pants for most three-season hikes are from the same place I buy my giant tubs of mayonnaise.
They’re comfortable, they dry quickly when I ford a stream or sweat like a sinner in church, and they convert to shorts.
If I snag them on a thorn bush, I don’t have a financial meltdown. I just say, “Ah, well,” and keep walking.
The trade-off is simple: are they as durable as the $120 pairs?
Maybe not in the long, long term.
But for $25, I could buy four pairs and still come out ahead. Don’t overthink the pants.
3. Shirts & Base Layers: The Ghost of Fleeces Past
Let’s talk about my favorite piece of clothing: a fleece jacket I bought from Walmart in 1998.
I am not making this up. This fleece is older than some of my readers. It’s a hideous shade of forest green that has faded to a sort of sad avocado.
But it’s warm, it’s lightweight, and it has outlasted two relationships, three cars, and my hairline.
When it comes to base layers, the internet will scream until it’s blue in the face: NO COTTON.
And for good reason—cotton kills. It holds moisture, loses its insulating properties, and can give you hypothermia.
This is serious advice for serious, multi-day, cold-weather expeditions.
However, for a summer overnight trip? A cotton t-shirt is fine.
The key is management. You don’t sleep in your sweaty cotton shirt. You get to camp, you change into a dry, warm layer (your trusty $5 fleece, perhaps), and you hang your damp shirt up to air out.
It’s about being smart, not just blindly following dogma. I’ve spent many a comfortable night under the stars in a simple cotton tee, because I knew how to manage the moisture.
Don’t let the gear snobs scare you into a $75 merino wool top for your first backyard overnight.
4. Socks & Shoes: Where the Rubber Meets the Wallet
This is the big one.
People will tell you that you need $200 waterproof leather boots.
For trudging through snow or carrying a 50-pound pack up a mountain, maybe.
But for 99% of adventures? A pair of trail runners is all you need. They’re lighter, dry faster, and are more comfortable.
And if you’re just starting out on well-maintained trails, your everyday tennis shoes are probably just fine.
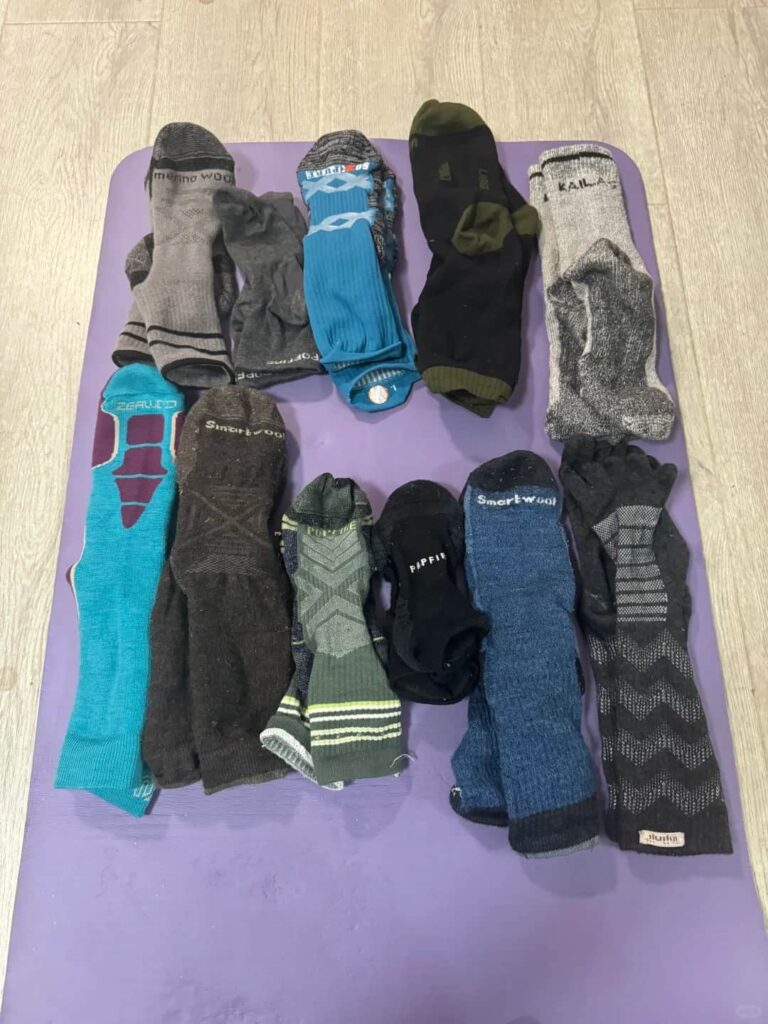
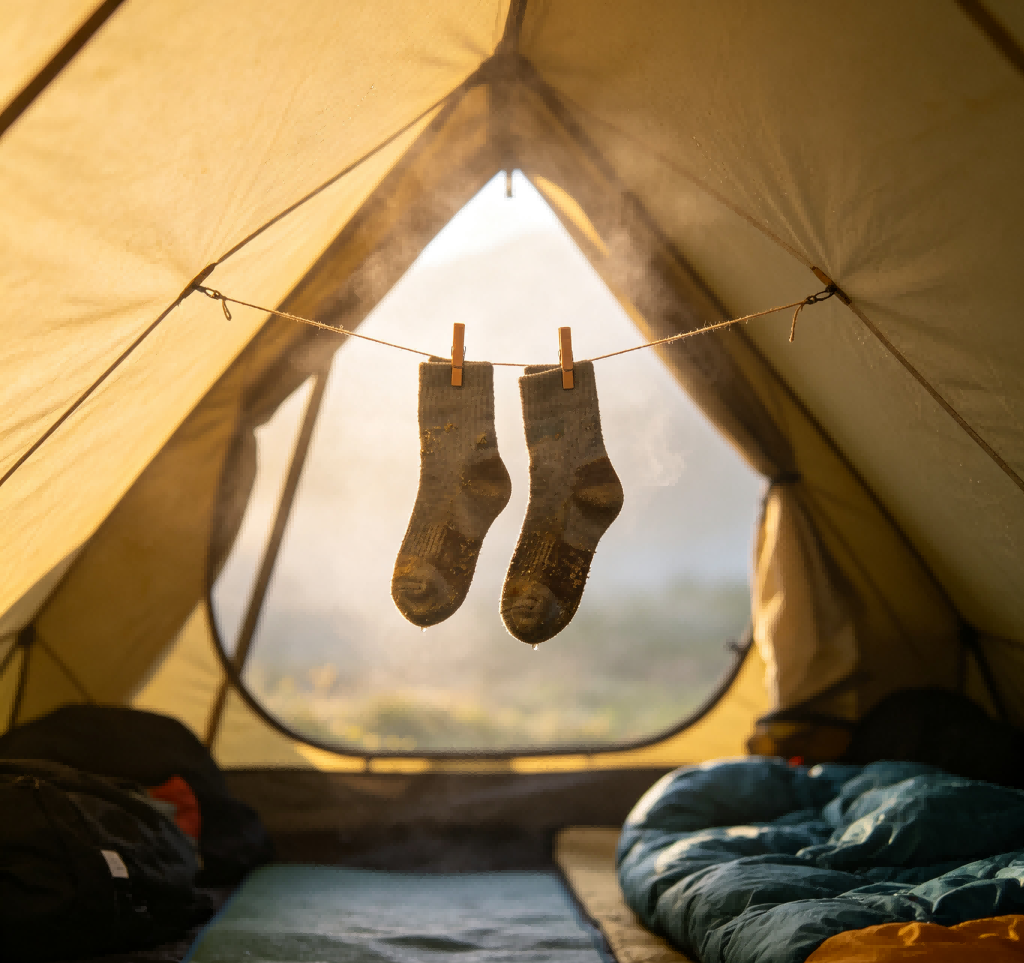
Now, socks. This is one area where I’ll make a strong recommendation: wool socks.
They are worth it. They wick moisture, prevent blisters, and don’t get stinky as fast.
But again, you have options. I also have a pile of $5 wool knockoffs from Amazon.
The Darn Toughs are denser and might last longer, but the $5 ones have been going strong for two years now. The important thing is to always, always bring a spare pair.
5. Affordable Stoves: The $17 Wonder vs. The Jetboil Behemoth
The Jetboil is a marvel of engineering. It’s fast, integrated, and looks like something a space marine would use to make tea.
It also costs between $200 and $250. Meanwhile, on the other end of the spectrum, we have the BRS 3000T stove. It weighs an ounce, screws onto a gas canister, and costs about $17.
Let me be clear: both stoves will boil water.
The Jetboil will do it about 45 seconds faster. You have to ask yourself: are those 45 seconds worth $233? For me, the answer is a resounding “nope.”
The BRS stove has been my faithful companion on dozens of trips. It’s tiny, it’s reliable, and if I lose it, I won’t weep.
There are even cheaper knockoffs for around $10 if you’re feeling particularly frugal.
6. Cookware & Utensils: The Joy of Sporks (and Beyond)
The world of backpacking utensils is a strange one.
You can buy a titanium long-handled spoon for $25. It will be the last spoon you ever own. It will be in your estate when you die.
Or, you can go to a fast-food restaurant and get a plastic spoon for free. Or, my personal favorite, steal a long, sturdy spoon from an ice cream shop.
These are the “pro” level freebies.
I’ve also used chopsticks I took from a sushi place. They weigh nothing, take up no space, and are surprisingly versatile for stirring and eating.
For a fire starter, stop overcomplicating it. A bit of dryer lint in an egg carton dipped in wax is the classic, but honestly, a Bic lighter and some twigs have never failed me. Keep it simple.
This is non-negotiable. Always filter or treat your water. Giardia is not the kind of weight-loss program you want to try. The high-end option is something like the Grail Geo Press, a beautiful, sleek, $200 contraption that filters everything instantly.
It’s overkill. It’s the Ferrari of water filters. For most backcountry hikes, you’re driving on a dirt road, not the Autobahn. My recommendation for years has been the Sawyer Squeeze, paired with a couple of cheap, collapsible water bottles.
The whole system costs about $50, and it’s bombproof. You can even get knockoff CNOC bags for about $10 instead of the branded $25 ones. I’ve used both, and they both… hold water. Shocking, I know.
For a true emergency backup, I always carry a few iodine tablets. They make the water taste like a swimming pool, but they’ll keep you from getting sick.
This is where the price disparity gets truly ridiculous.
You can buy a Gossamer Gear G420 for $250 new (or maybe $75 used).
Or, you can buy a Diamond Candy 40L pack from Amazon for $40.
I have used both. What’s the difference?
The Gossamer Gear is lighter, has better organization, and the hip belt is marginally more comfortable.
The Diamond Candy pack is heavier, simpler, and feels a bit like wearing a suitcase.
But you know what? They both carry gear from point A to point B.
If you’re doing an overnight ultra-light trip, the comfort of the high-end pack might be worth it.
If you’re just getting started, or you’re a bushcrafter who carries more weight, the $40 pack is a phenomenal place to start.
It won’t fall apart. I’ve put mine through the wringer, and it’s still kicking.
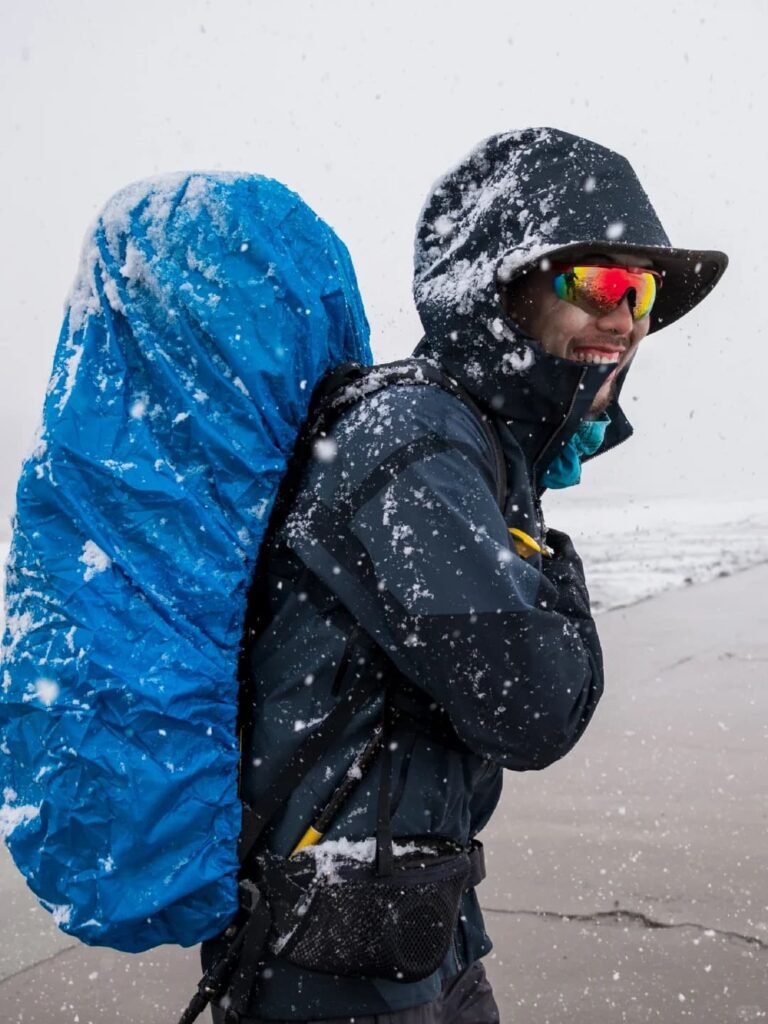
You do not need to buy a $30 “specialized” pack liner.
You need a contractor-grade kitchen garbage bag. Seriously. Line the inside of your pack with a compactor bag. It’s tougher than most branded liners and costs pennies.
Combine this with Ziploc bags for your electronics and stuff sacks for your clothes, and you have a double-layer protection system that is both effective and laughably cheap.
I’ve been through torrential rains with my garbage bag-lined pack and emerged with dry, happy gear. Don’t let them sell you a solution to a problem that was solved decades ago by Glad.
A good sleep system isn’t a luxury; it’s a safety issue.
A cold, sleepless night can ruin your next day and, in extreme cases, be dangerous.
Let’s talk tents. The Durston X-Mid 2 is a fantastic, popular tent. The standard version is about $225 and weighs around 2 pounds.
There’s a “Pro” version made of Dyneema that weighs a pound less. It costs $700. That’s $475 for one pound of weight savings.
I don’t know about you, but I could probably lose a pound by skipping the second helping of mashed potatoes before my trip.
For sleeping mats, the key metric is R-value—the measure of insulation.
Get one rated for colder than you expect. If you’re sleeping in 40°F weather, get a mat with an R-value of 4 or higher.
You have two choices: inflatable mats (comfortable, pack small, can pop) or foam mats (cheaper, bulky, indestructible).
I started with a foam mat. It was like sleeping on a yoga mat, but I was never worried about it failing.
It’s a trade-off I was happy to make as a beginner.
I bought a Mountaintop down sleeping bag from Amazon for about $120.
Its comfort rating is 32°F. This is critical: understand that a “survivability” rating is the temperature at which you won’t die of hypothermia, shivering uncontrollably all night.
The “comfort” rating is the temperature at which you’ll actually sleep.
My method for sleeping warm is simple: I wear thin, breathable layers to bed—usually long johns and a thermal top.
No bulky clothes, as they can compress the insulation of your bag.
And for a pillow? I stuff my extra clothes into a stuff sack. It’s adjustable, it’s free, and it works better than any inflatable pillow I’ve ever bought. I call it my “Pillow of Opportunity.”
Final Tips
Look, the goal isn’t to have the most expensive gear. The goal is to have adventures. To see sunrises from mountaintops, to fall asleep to the sound of a babbling brook, and to make memories that have nothing to do with the brand name on your jacket.
Don’t let the lack of a $500 tent stop you from going camping. Test the gear you already have. Sleep in your backyard. Go on a short overnight trip close to home. You’ll learn more about what you truly need from one night out than from a hundred YouTube reviews.
If you do decide to invest in a high-end piece of gear, research it. Make sure it’s the right piece for you, so you don’t end up buying, selling, and re-buying, which is the true path to bankruptcy.
Most importantly, trust your own experience. Your comfort is individual. What works for me might not work for you, and vice versa. Don’t be swayed by opinionated strangers on the internet (the irony of this statement is not lost on me). Get out there, make some mistakes, laugh about them, and learn.
Now get out there.