Taking brand-new boots straight from the box to a ten-mile summit push isn’t brave.
It’s foolish. It’s the footwear equivalent of marrying someone after one coffee date.
Sure, they look great on paper, but you haven’t seen them during a stressful ankle twist or a steep descent yet.
Breaking in boots isn’t about softening the leather into submission.
It’s about teaching two stubborn entities—your foot and that boot—how to coexist peacefully. A patient approach ensures that by the time you hit the trail, your footwear feels like an extension of your body.
Not a medieval torture device with laces.
Table of Contents
1. Ensure You Have the Right Fit Before Starting
Wear those boots inside your house for one hour. Just one. Make dinner in them. Watch television in them. Argue with your cat about why she’s sitting on your laptop again—in them.
During this hour, pay attention. Do you feel “hot spots”? Is your toe being pinched like a reluctant witness in a mob movie? Does any part of the boot feel like it’s plotting against you?
If yes, stop immediately.
Here’s the hard truth that nobody at the outdoor store tells you: no amount of breaking in will fix a boot that simply doesn’t fit. Boots are not magical. They will not stretch two sizes because you really love the color. They will not suddenly decide that your wide feet deserve comfort.
Return them. Exchange them. Try a different brand.
Think of this as the pre-first-date background check. Better to discover the dealbreakers now than twenty miles from your car with night falling and your morale already weeping quietly in a corner.
2. Wear Your Actual Hiking Socks
Do not—I repeat—do NOT break in your boots with thin cotton socks.
Cotton is comfortable. Cotton is what you wear to brunch. Cotton is not your friend on the trail. It retains moisture like a hoarder retains newspapers. It bunches up. It creates friction. It blisters.
You need hiking socks. Wool or synthetic. The thick, cushioned kind that makes your feet feel like they’re living in luxury condos.
These socks change everything. They change how the boot sits on your foot. They change the friction points. They change the entire geometry of this relationship.
Breaking in boots without your actual hiking socks is like test-driving a car while sitting in the back seat. Technically possible. Completely useless for understanding how it actually feels to drive.
Put the socks on first. Then the boots. Every single time.
3. Start in the Living Room
Here begins your journey. Not on a mountain. Not on a trail. On your carpet. On your hardwood floors. In the sacred space where you normally wear slippers and question your life choices.
Wear the boots while making dinner. Chop vegetables in them. Stir sauce in them. Curse at a stubborn jar lid in them.
Wear them while watching television. Binge an entire season of something questionable. Let your feet get comfortable while your brain gets entertained.
This stage matters more than it seems. It warms up the materials. It allows the leather or synthetic fabric to flex slightly. It introduces your feet to their new roommates without the risk of being stranded far from home.
If something goes wrong here, you’re safe. You’re near bandaids. You’re near ibuprofen. You’re near the comforting embrace of your couch.
Take advantage of this safety bubble.
4. Practice Your Lacing Technique
Most people tie their boots like they tie their sneakers. They yank the laces tight, tie a bow, and call it a day. These people get blisters.
Lacing is a skill. Lacing is an art. Lacing might be the difference between a glorious hike and a hobble of shame back to the trailhead.
Experiment with different techniques. Look up “heel lock” knots. Research “surgeon’s knots.” Become briefly obsessed with the physics of keeping your foot from sliding forward on descents.
Why does this matter? Because friction causes blisters. Sliding causes friction. Stopping the slide stops the blister.
Proper tension distributes pressure evenly. It cradles your foot like a gentle giant. It prevents that awful feeling of your toes slamming into the front of the boot on every downhill step.
Your boots have laces for a reason. Use them strategically. Wage war against movement before movement wages war against your heels.
5. Graduate to Short Outdoor Walks
The living room phase is complete. You’ve made spaghetti in boots. You’ve watched four episodes of something you’re slightly embarrassed to admit you enjoy. Your feet and boots have reached détente.
Now it gets real.
Take a stroll around the block. Walk to the grocery store. Go get coffee. Explain to strangers why you’re wearing serious hiking boots to buy a bag of frozen peas.
The sidewalk provides uneven surfaces. Cracks in the concrete. Slopes toward the street. Curbs to step off and onto. This variety matters more than a flat floor ever could.
Your feet experience different pressures now. Different angles. Different challenges.
Pay attention during these walks. Notice how the boots feel after ten minutes. After twenty. When you’re carrying a grocery bag in one hand and your dignity in the other.
These short excursions build trust. They show your feet that the outside world isn’t terrifying. They show your boots that pavement exists and must be handled with grace.
6. Add Weight Gradually
Comfort on flat ground is lovely. It’s also misleading. Flat ground lies.
Your real hikes will involve a backpack. That backpack will contain water, food, emergency supplies, and probably three layers you’ll never wear but carried anyway just in case. That backpack has weight.
Add that weight now.
Put on your loaded hiking pack. Strap it tight. Feel how your center of gravity shifts. Notice how your feet press differently into the boot’s footbed.
Walk around your house. Walk around your yard. Feel like a slightly ridiculous turtle preparing for adventure.
The extra weight changes everything. It changes pressure distribution. It changes how your ankles flex. It changes where the boot might rub or pinch.
Discover these issues at home. Discover them while you can still remove the pack, sit down, and reevaluate your life choices without an audience of curious squirrels judging you.
7. Identify and Address "Hot Spots" Early
Your foot sends signals. Learn to read them.
That warm feeling? That slight redness? That specific spot that’s starting to feel annoyed at the universe? That’s a hot spot. That’s your foot sending a formal complaint.
Address it immediately.
Stop walking. Sit down. Remove the boot if necessary. Apply moleskin or leukotape to that exact spot. Cover it like you’re protecting a witness about to testify against the mob.
Do not wait. Do not think “it’ll be fine.” Do not channel your inner tough guy who ignores problems until they become emergencies.
Hot spots become blisters. Blisters become misery. Misery becomes that hike where you sat on a rock and seriously considered whether helicopter rescue was too expensive.
Prevention takes two minutes. Treatment takes days. Choose wisely.
8. Tackle Some Inclines
Flat ground is conquered. Sidewalks are mastered. You’ve worn your boots on errands so many times that the grocery store cashier recognizes you and has stopped asking questions.
Now find a hill.
A local incline works. A steep driveway works. A treadmill set to an aggressive angle works. Anything that forces your boots to experience gravity’s full personality.
Inclines change everything again. They force your ankle to flex. They cram your toes into the front of the boot on the way down. They stretch the heel area on the way up.
This mimics real trail stress. This shows your boots what they’re actually signing up for.
Walk up. Walk down. Repeat until your boots understand that hills exist and must be accommodated.
If discomfort appears here, address it. Adjust your lacing. Consider different socks. Reassess your life choices if necessary.
9. Keep the Material Conditioned
Full-grain leather boots need love. They need attention. They need skincare routines that rival your own.
Use manufacturer-recommended conditioner. Apply it properly. Let it soak in. Feel vaguely like you’re pampering your feet with a spa day.
Conditioning keeps leather supple. It prevents cracking. It helps the material mold to your foot’s unique shape without fighting back.
Synthetic boots need less fussing. They’re the low-maintenance friends of the footwear world. But leather demands respect.
Think of it this way: you’re not softening the boot. You’re helping it become the best version of itself. You’re coaching it toward greatness.
Skip this step, and your boots might crack. They might stiffen. They might hold grudges against your feet forever.
Condition your boots. They’ll thank you on the trail.
10. Use Them on a "Dry Run" Trail
The moment arrives. The driveway hill feels boring. The grocery store runs feel routine. Your boots have watched enough television to last several lifetimes.
Pick a short trail. An easy trail. A trail close to home with multiple exit strategies if everything goes wrong.
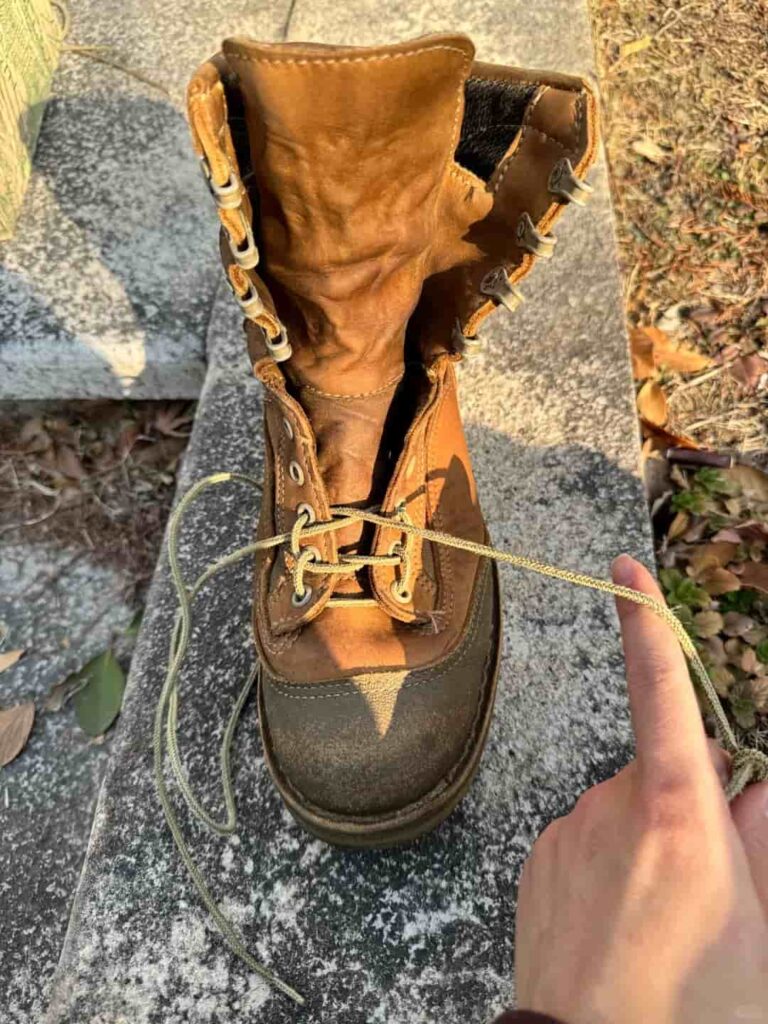
This is the dress rehearsal. The final exam. The moment where boots taste dirt and rocks for the first time.
Keep the mileage low. Keep expectations reasonable. Pay attention to every step.
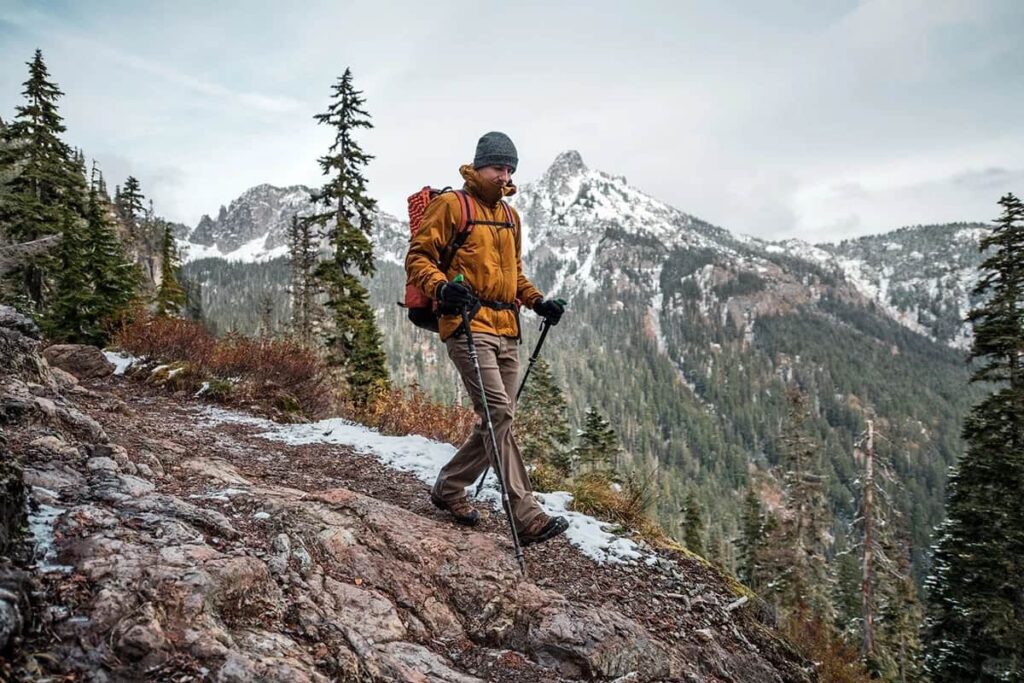
How do the boots feel on actual terrain? On loose gravel? On packed dirt? On roots that reach across the path like nature’s tripwires?
This first real outing should feel like exploration, not punishment. It should build confidence, not destroy it.
If something hurts, you’re close to the car. You’re close to home. You’re close to bandaids and ibuprofen and the warm embrace of not being stranded.
Use that proximity wisely.
11. Don't Rush the Process with Heat
Some internet advice is terrible. Some internet advice will destroy your boots.
Avoid hair dryers. Avoid ovens. Avoid any scheme that involves “speeding up” the break-in process with heat.
Heat dries out leather. Heat weakens adhesives. Heat can separate the sole from the boot entirely.
Imagine your sole falling off mid-hike. Imagine standing there, holding your boot, staring at your sock, wondering how life brought you to this moment.
That’s what bad internet advice gets you.
The slow way works. The patient way works. The “wear them normally and let time do its thing” way works.
There are no shortcuts to comfortable feet. Anyone who tells you otherwise probably also has strong opinions about timeshares and cryptocurrency.
12. Listen to Your Feet, Not the Calendar
Every boot is different. Every foot is different. Every break-in timeline is different.
Synthetic boots might feel comfortable after one weekend. They’re the eager-to-please golden retrievers of hiking footwear.
Heavy leather mountaineering boots might take weeks. They’re the dignified old professors who take forever to warm up to new students but become lifelong friends once they do.
Don’t rush because your trip is next weekend. Don’t force it because your friend’s boots broke in faster. Don’t compare your journey to anyone else’s.
Your feet know when they’re ready. Your feet will tell you.
Listen to them.
Conclusion
The secret to pain-free hiking isn’t expensive gear or superhuman endurance. It’s respect for the break-in period. It’s patience when patience feels boring. It’s slow, steady, deliberate preparation.
By gradually increasing intensity and duration, you allow materials to adapt. You let leather remember your arches. You let synthetic fibers learn your heels. You create footwear that moves with you instead of against you.
Those boots will carry you across ridges and through valleys. They’ll ford streams and scramble over boulders. They’ll be with you for sunsets that make you cry and climbs that make you question your sanity.
Give them time to become worthy of that trust.
Once they move with you—truly with you—the miles ahead belong to both of you.
Now go hike. Your feet are ready. Your boots are ready. The trail is waiting, and it’s absolutely beautiful out there.


