My idea of “roughing it” usually involves a hotel room where the mini-bar isn’t stocked.
So, when I found myself on a winter camping trip that went… longer than planned… my survival skills were immediately put to the test.
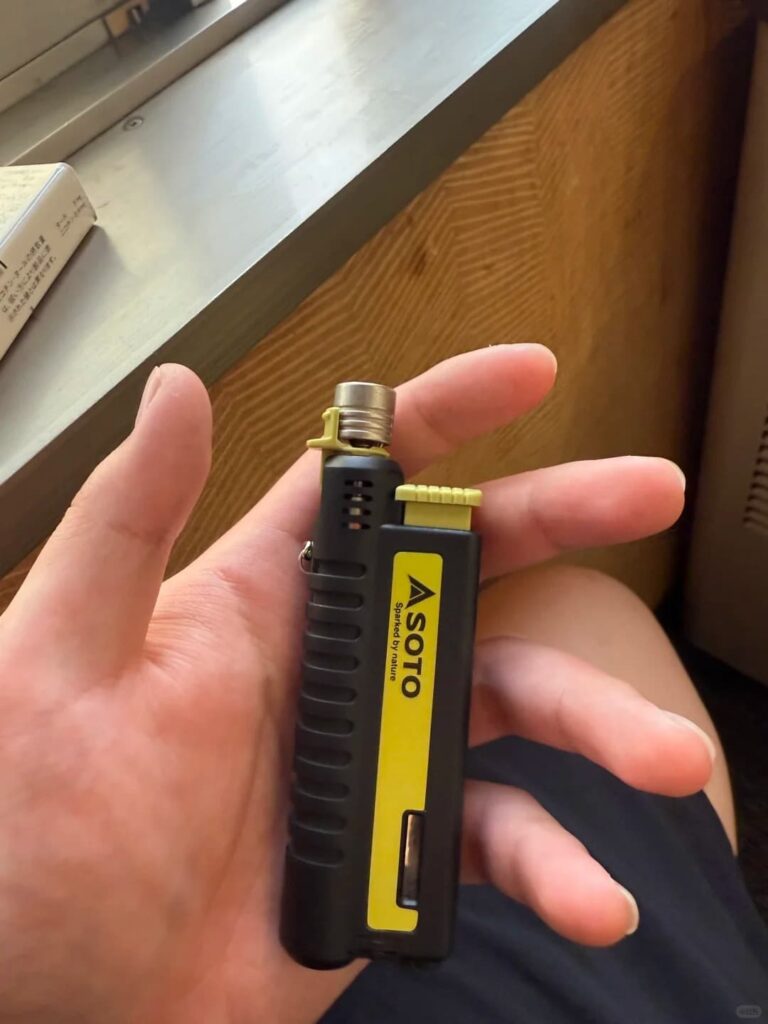
Specifically, my ability to create fire.
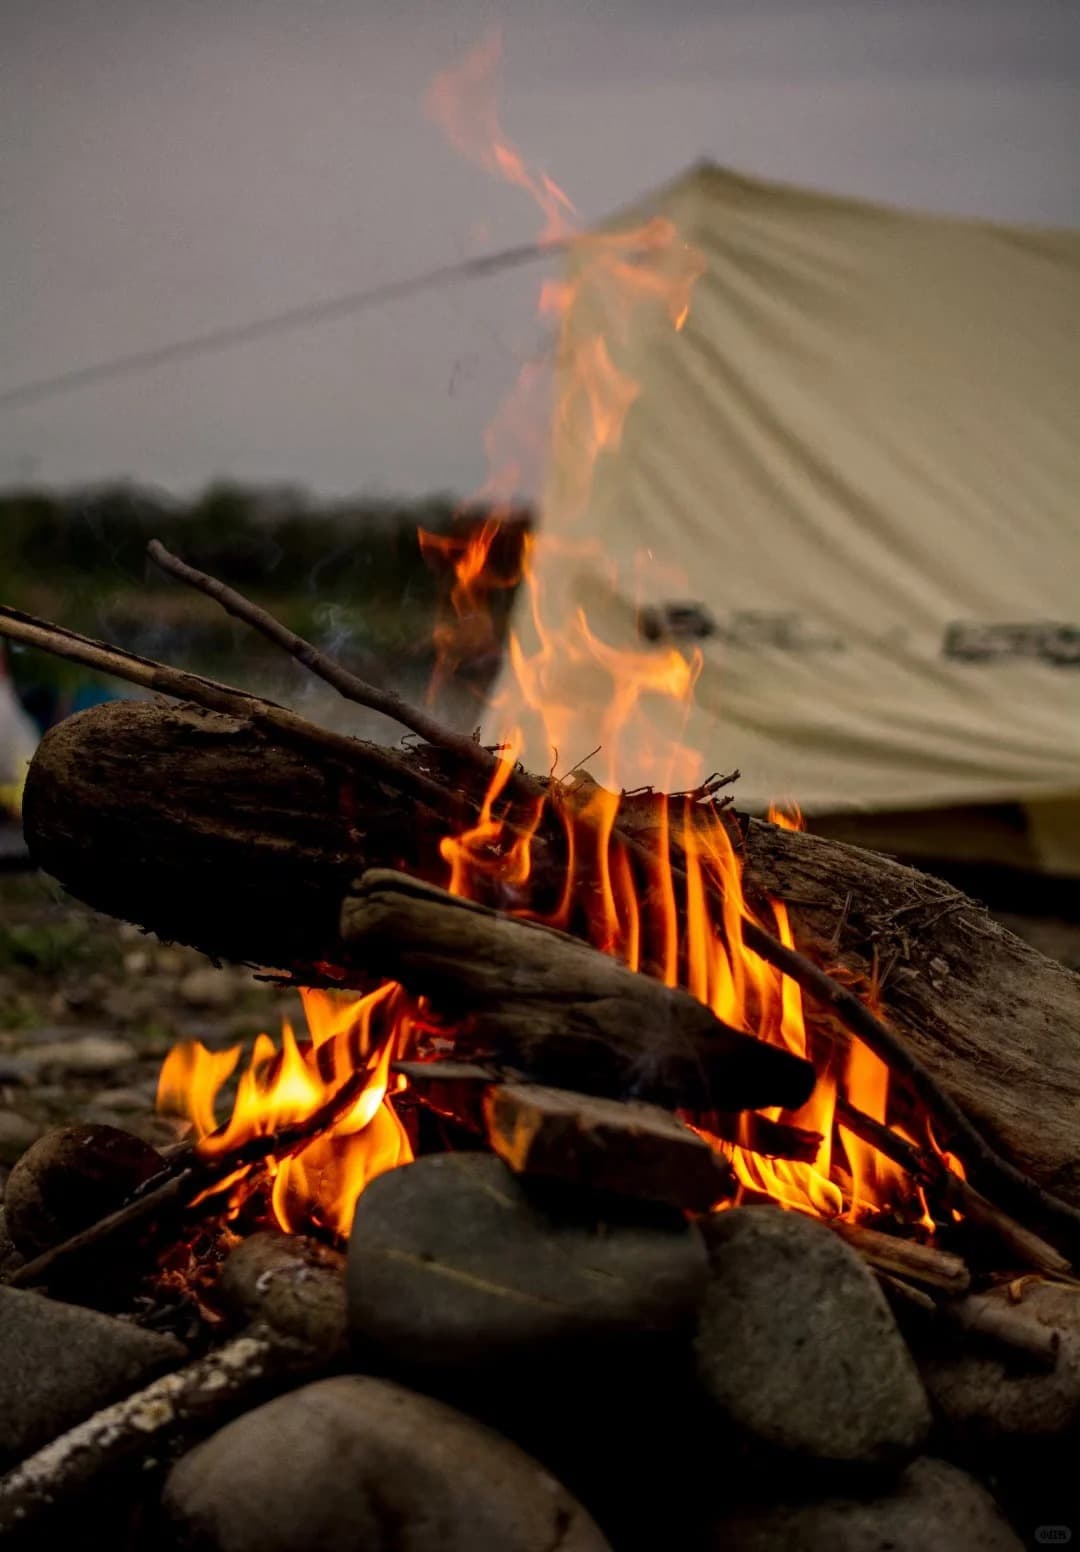
I’m not talking about the cozy, romantic fire you see on a Christmas card.
I’m talking about the difference between life and becoming a statuesque addition to a future archaeologist’s dig site.
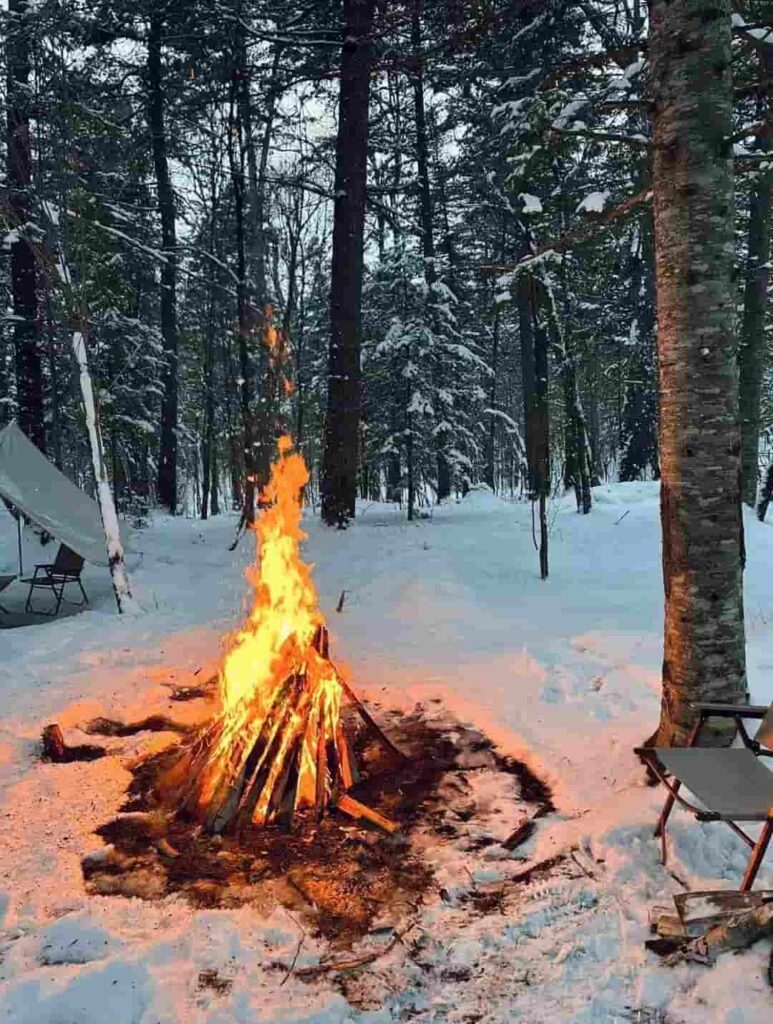
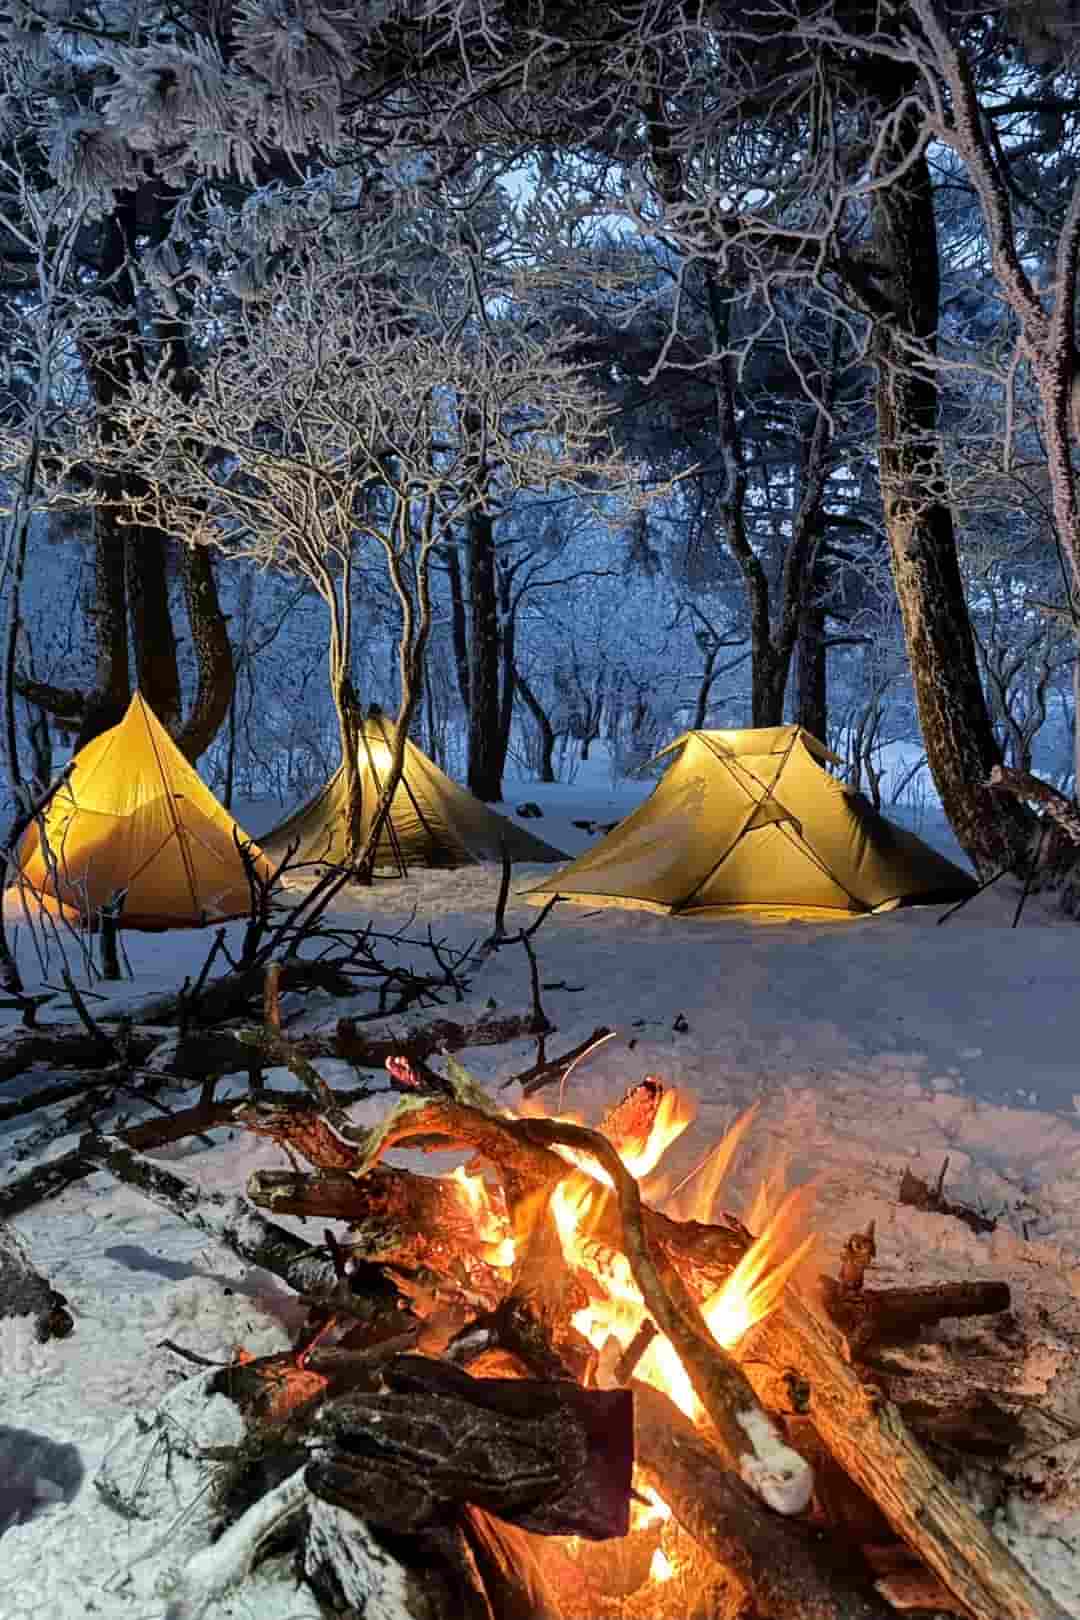
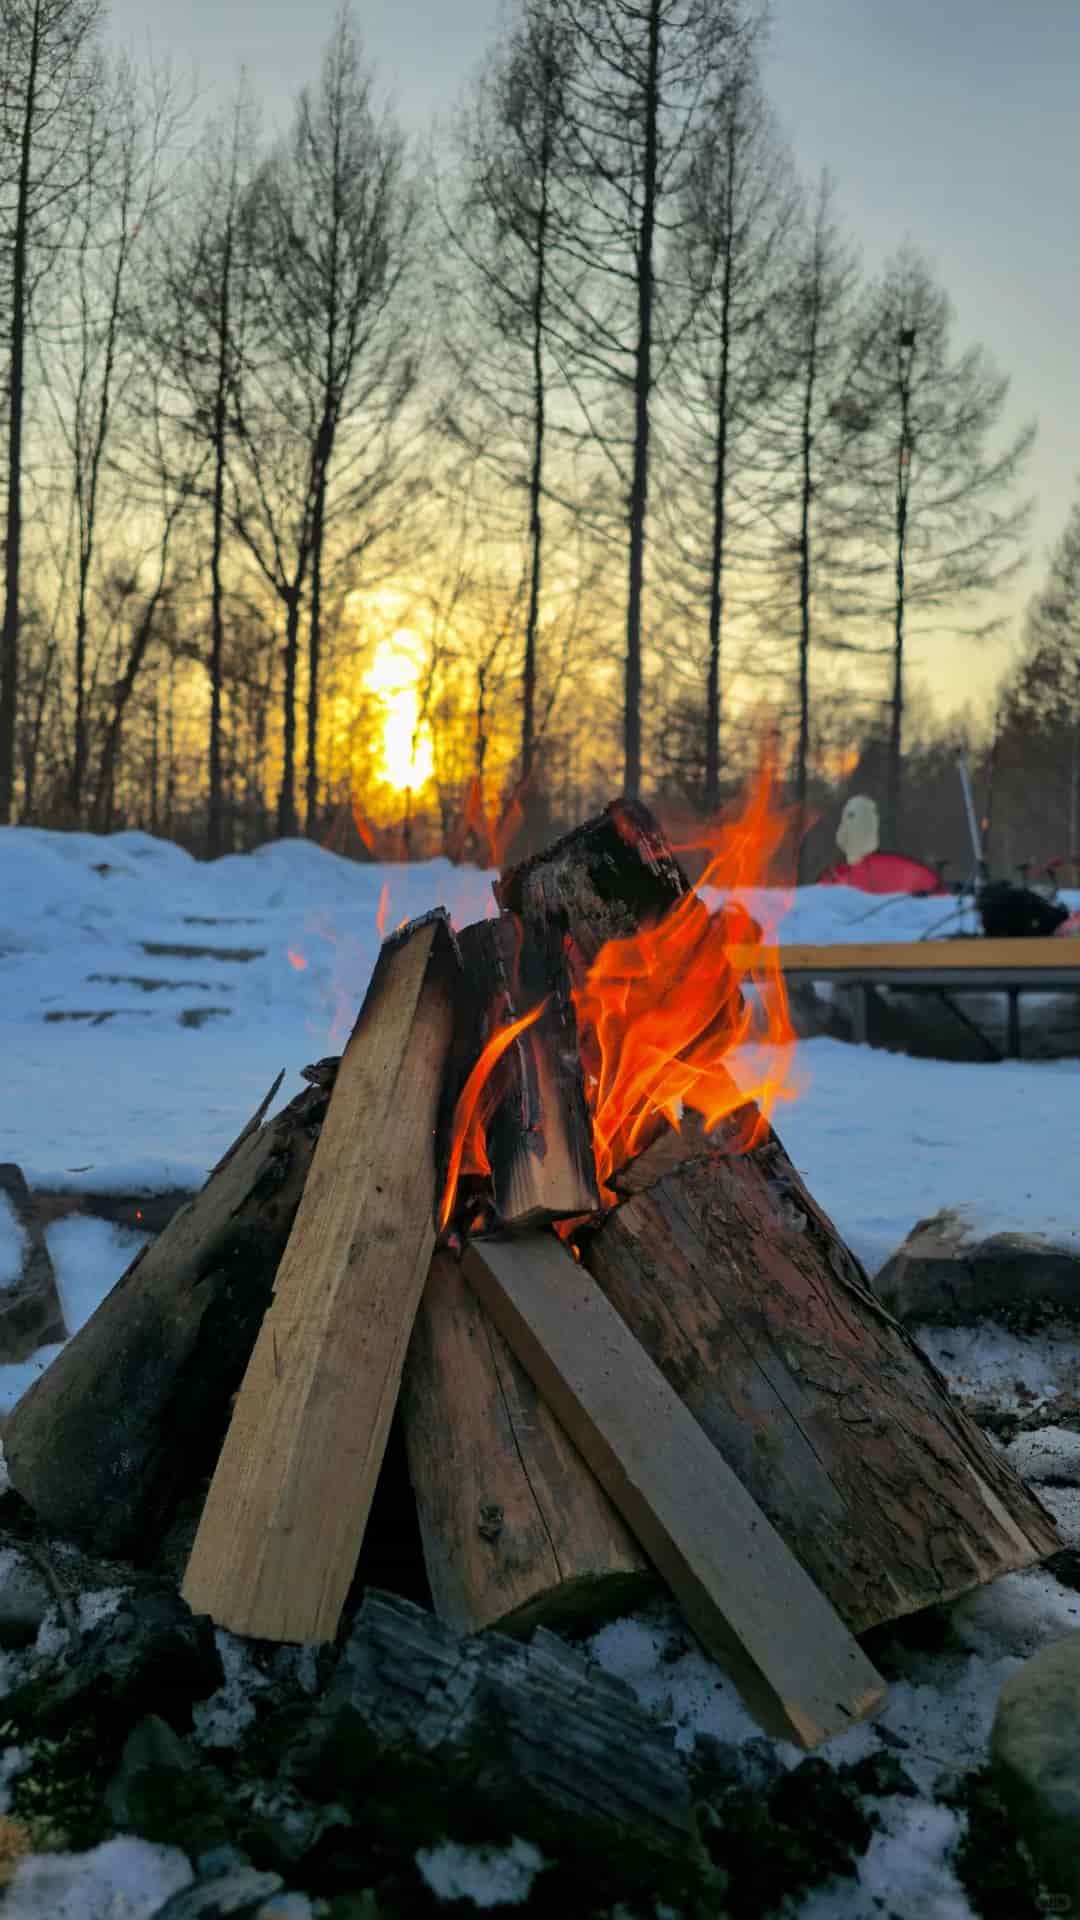
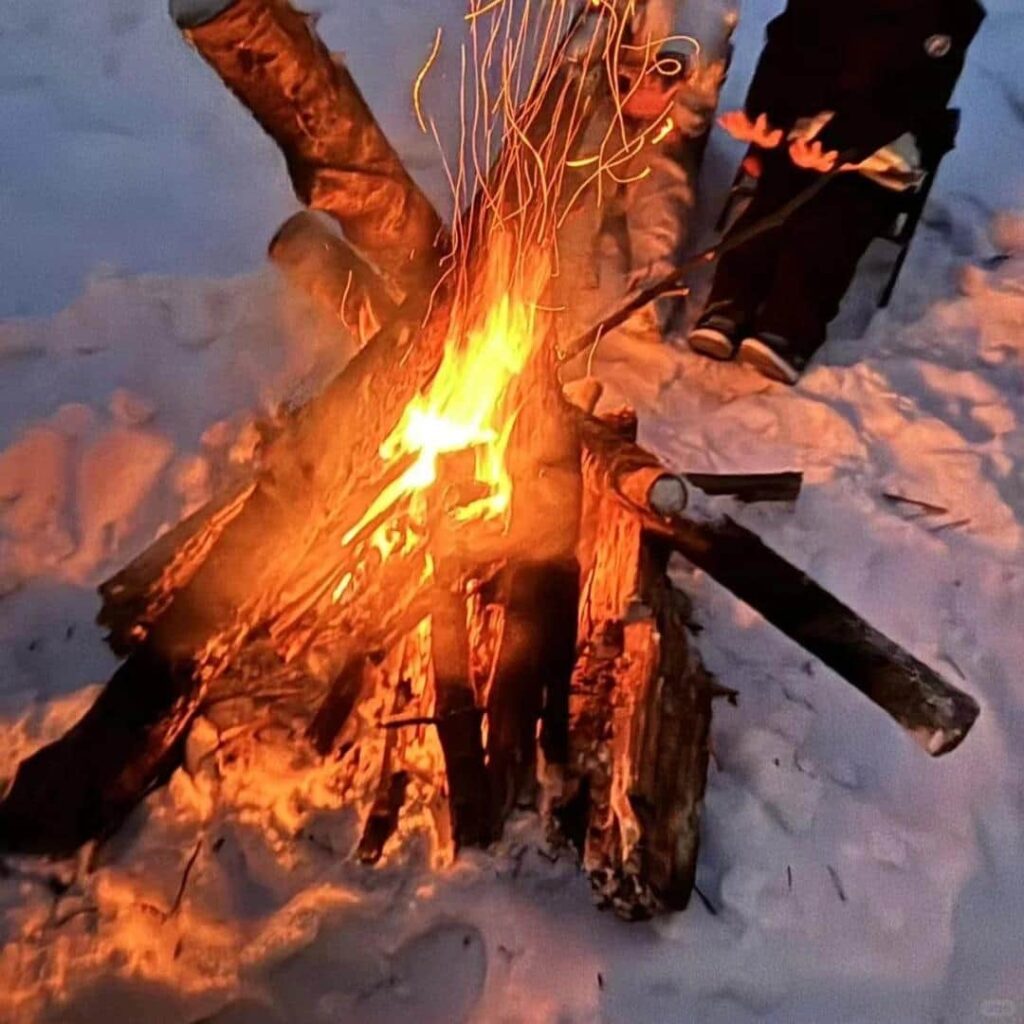
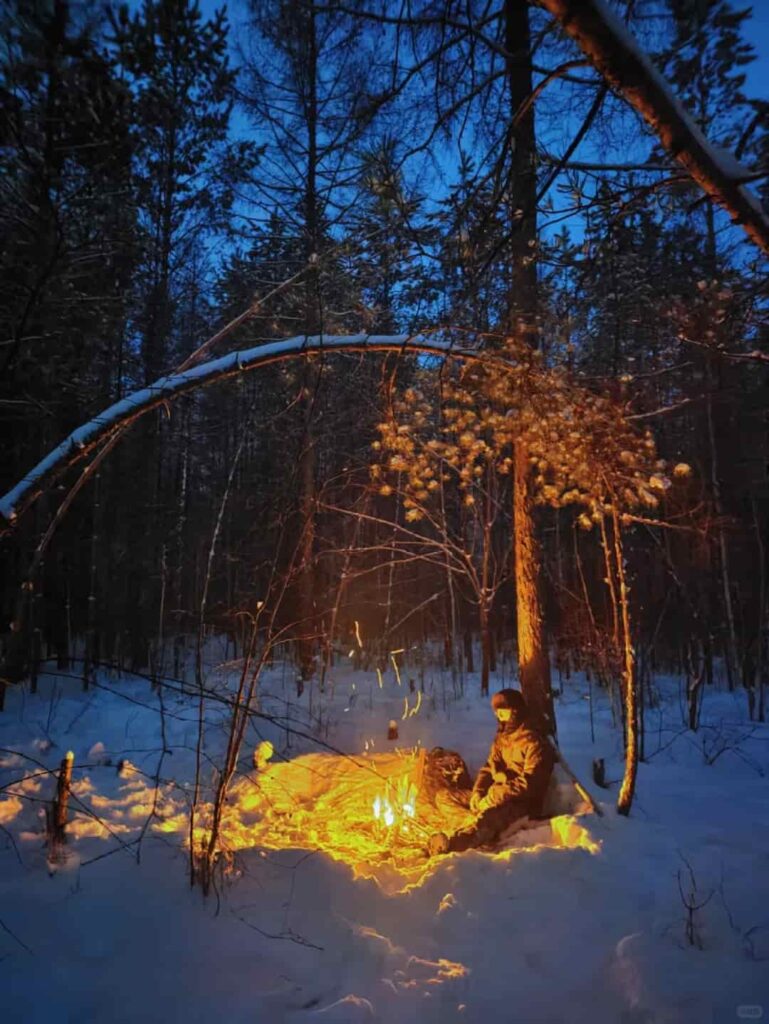
Winter fire-building isn’t a hobby; it’s a dramatic, high-stakes showdown between you and a universe that seems genuinely curious to see if you can freeze solid.
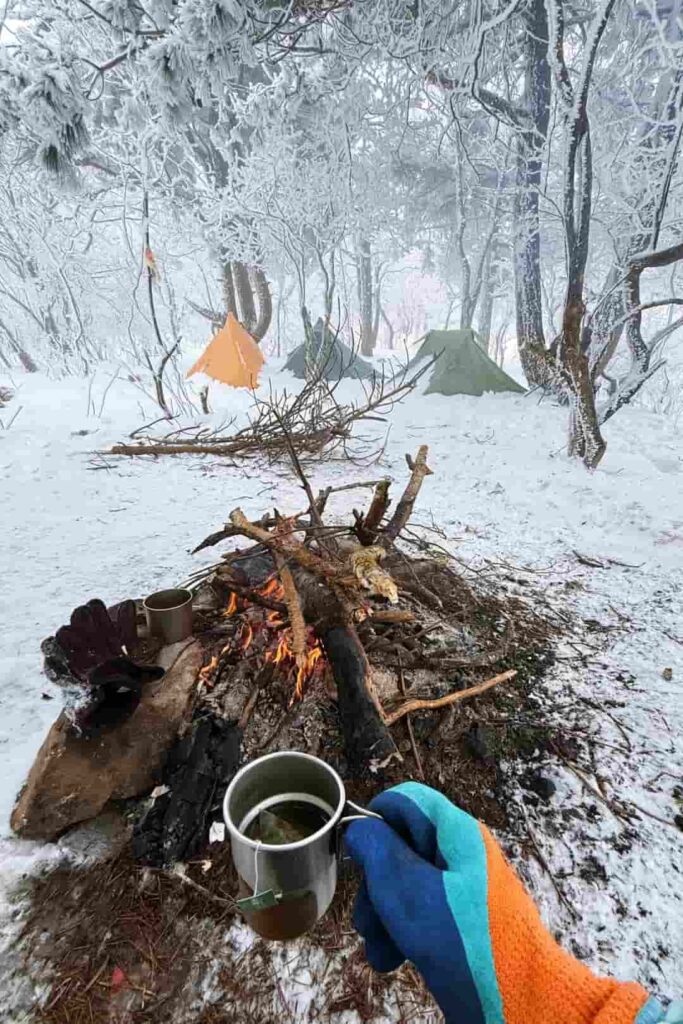
I’ve compiled everything I learned—often the hard way—into this list.
Think of it as my gift to you, so your winter misadventure can be less “Tragic Explorer Documentary” and more “Funny Story We Tell Later.”
Table of Contents
1. Carry multiple ignition sources
I used to think carrying one Bic lighter was prepared. Ha. Cute. Winter is the great destroyer of gear.
It will find your one lighter and fill it with mysterious, non-flammable fluid (I suspect frozen tears).
It will snap your matches. It will laugh at your feeble attempts. Your fire-starting kit should look like you’re preparing for a magician’s duel.
I carry: a Zippo-style lighter (for style points, but it’s finicky), two Bic lighters (the workhorses), a massive ferro rod, and a vial of storm matches that look like they could ignite a bowling ball.
This isn’t overkill; it’s just killing the chance of freezing.
2. Keep your lighter in a pocket close to your body
You know where lighters love to be? Room temperature.
You know where they hate to be? The same temperature as a martini glass.
If you leave your lighter in your backpack, the fluid gets sluggish and useless. It becomes a tiny, plastic paperweight.
I keep one in my pants pocket, right next to my thigh. It’s a little weird, but now my lighter and I have a special bond.
It’s warmed by my body heat, always ready for action. It’s my little fiery friend. Just don’t forget it’s there and sit down too hard.
3. Use a large ferro rod
A standard little ferro rod is for summer campfires where the biggest threat is a mosquito.
You need a ferro rod that looks like it was forged for a Viking funeral. The bigger the rod, the bigger the sparks, and the hotter they burn.
A tiny spark might fizzle out on a damp piece of tinder, but a massive, 3,000-degree Fahrenheit shard of burning magnesium?
That’ll punch through a snowflake like it’s nothing and set your tinder ablaze with the fury of a thousand suns. Or, you know, at least get it smoking.
4. Bring fire starters
Trying to start a winter fire with found tinder alone is like trying to bake a cake with flour you found in a puddle. You need a cheat code. My favorites:
- Fatwood: This is nature’s gift to the cold and incompetent. It’s pine wood so saturated with resin it feels sticky and smells like Christmas. It lights with a single spark and burns like it has a personal grudge against the cold.
- Birch Bark: The papery bark of a birch tree contains oils that are waterproof. Even if it’s been raining, you can often peel layers and find a dry, flammable center. It’s like the tree is gift-wrapping its own destruction for you.
- Cotton Balls + Petroleum Jelly: This is the DIY champion. Take a cotton ball, slather it in Vaseline, and store it in a film canister or baggie. These little greasy globs will burn for several minutes with a steady, strong flame, giving you all the time in the world to coax your stubborn kindling into life. They are disgusting, magnificent, life-saving little blobs.
5. Practice one-handed ignition
Here’s a fun winter scenario: it’s -10°F, the wind is howling, and you need to light your fire. You take your gloves off to manipulate your lighter.
Instantly, your hands become useless, numb claws. You fumble. The lighter drops into the snow. You are now a statue with poor life choices.
Practice using your ferro rod or lighter with one hand, while the other stays snugly gloved in your pocket.
You can brace the rod against your leg, use your teeth to hold a storm match—get creative. The goal is to minimize the time your precious, functional fingers are exposed to the elements.
My first practice session in my backyard looked like I was trying to swat a ghost with a metal stick, but now I can do it. Mostly.
6. Warm your tinder bundle inside your jacket
Your tinder bundle is your baby. You must protect it from the harsh world.
After you’ve painstakingly gathered your perfect blend of birch bark shavings, fatwood slivers, and dead grass from under a spruce, don’t just leave it in a heap on the snow.
It will absorb ambient moisture and betray you. Tuck that precious bundle inside your jacket, against your chest.
Your body heat will keep it bone-dry and warm, giving it the best possible chance to leap into flame the moment it meets a spark.
Yes, you will have bits of tree all over your base layer. It’s a small price to pay for not dying.
7. Harvest dead standing wood
This is the Golden Rule. That beautifully stacked pile of logs on the forest floor? It’s a Trojan horse of disappointment.
It has been absorbing ground moisture for months and is now a frozen, water-logged brick. You want standing deadwood. Look for trees that are still upright but have no bark or branches.
Snap a small branch. If it breaks with a clean crack, it’s good. If it bends, it’s rotten and wet. Leave it.
8. Split logs to reach the dry interior
This is where you get to feel like a real woodsman. Even a log that feels damp and cold on the outside often has a perfectly dry, beautiful core.
Use your hatchet or a large knife and a baton (another piece of wood) to split your logs.
The moment you crack one open and see that dry, pale wood inside, it’s like finding the prize in a cereal box.
It’s the gift of warmth. The wet outside will dry out next to the fire, or you can just keep splitting to get to the good stuff.
9. Use a knife or hatchet to make feather sticks from the dry center wood.
Feather sticks are your best friend. They are the perfect bridge between your tinder bundle and your larger kindling.
You take a dry piece of wood from the core of a split log and use your knife to shave thin curls, leaving them attached to the stick.
It looks like a wooden feather duster. These thin curls have a massive surface area and will catch a flame instantly, creating a sustained, hot burn that can then ignite your smaller sticks.
It’s meditative, it’s practical, and it makes you look like you know what you’re doing.
10. Look under evergreen trees
Spruce, pine, and fir trees are nature’s little umbrellas. Their low-hanging, dense branches often create a dry(ish) circle around their base.
While the rest of the world is a snowy wasteland, you can often find a treasure trove of small, dead twigs—aka “squaw wood”—sheltered here.
Get on your hands and knees and scavenge like a squirrel preparing for the apocalypse.
11. Gather three times more fuel than you think
You think you have enough wood. I promise you, you do not. The cold, dense winter air feeds oxygen to your fire like a hyperactive bellows.
It will consume wood at an alarming, almost disrespectful rate. My rule of thumb: gather what you think is a ridiculous, comical amount of wood.
Then double it. Then, just to be safe, go find a few more logs. You will not regret having a massive pile of fuel.
You will absolutely regret running out at 2 AM when the temperature has plummeted and the northern lights are laughing at you.
12. Never build your fire directly on snow
Let me say it again for the people in the back: DO NOT BUILD YOUR FIRE ON SNOW.
It seems logical—”I’ll just clear a patch!”—but the radiant heat melts the snow beneath, creating a sinkhole that fills with water.
It’s a tragic, self-defeating process.
13. Create a fire base using logs or rocks
Your fire needs a stage. A foundation. A throne.
- Log Platform: Lay down several green (live) logs side-by-side. Green wood is full of moisture and is very resistant to burning. This creates a stable, raised platform that insulates your fire from the snow beneath.
- Rock Platform: If you can find them, flat rocks are excellent. Be careful with river rocks, as trapped water can heat up and cause them to explode—which is a very exciting, but not recommended, way to warm up.
- A combination of both is often your best bet.
14. Pack snow firmly before building your base
Before you lay down your platform of logs or rocks, stomp on the snow in that area. Pack it down as hard as you can.
This denser snow will melt much, much slower than fluffy powder, giving your fire base a more stable foundation and preventing a slow-motion collapse of your entire setup.
15. Use a log-cabin fire lay
The teepee fire lay is great for summer. For winter, the log-cabin is king. You build it just like the childhood version: two logs parallel, then two on top perpendicular, and so on, creating a square, crib-like structure.
This is brilliant because:
- Stability: It’s robust and won’t topple over in the wind.
- Drying Rack: You can place your damp kindling and smaller logs on the upper levels, where they will dry out from the rising heat before eventually catching fire themselves. It’s a fire and a dryer in one!
16. Place a windbreak on the windward side.
Wind is the dream-killer. It steals heat, blows away sparks, and generally behaves like a bully.
Identify the direction the wind is coming from (lick a finger, it works) and build a wall on that side.
A stack of rocks, a large log, or even a wall of snow blocks you’ve carved out of the ground (a quinzhee wall) can make all the difference.
It forces the wind to go around your fire, instead of straight through it.
A winter fire is not a “set it and forget it” situation. It’s a needy, high-maintenance partner that requires constant attention and validation in the form of wood.
17. Start your fire small
The urge to throw every log you have onto the fledgling flame is strong. Resist it! You’ll smother it.
Start with a tiny, concentrated, and intensely hot fire. This little core of heat will act as a furnace, radiating enough energy to dry out the slightly larger, slightly damp pieces of wood you carefully place near it.
Gradually increase the size. Be patient. Nurture it.
18. Angle larger logs over the flame
Instead of just plonking a big, cold log onto your fire, where it will suck the heat out, use the log-cabin structure or create a lean-to.
Place one end of your larger logs directly in the fire, and angle the other end up on another log or rock, so the length of the log is suspended over the flame.
The side facing the fire will dry out, heat up, and eventually ignite, while the far end stays off the wet ground. It’s a time-saving miracle.
19. Use a reflector wall to bounce heat toward your shelter
Why let all that lovely heat vanish into the night? Build a reflector wall on the opposite side of the fire from where you’re sitting or where your shelter is.
This can be another wall of logs, rocks, or even a space blanket stretched between two sticks.
The wall reflects the radiant heat back towards you, effectively doubling the warmth you feel. It’s like giving your fire a soundboard.
20. Dry gloves, socks, and spare tinder near the fire
You will get wet. Sweat, snow, a misstep into a stream—moisture finds a way. Being wet in the cold is a fast track to hypothermia.
Use your fire as a lifesaving laundry service. Always have a rotating system: wet gloves on sticks near (but not too near!) the fire, drying out while you wear a spare pair.
Do the same with socks. And keep a stash of your pre-made tinder nearby so it’s always toasty and ready for a re-light.
21. Feed the fire consistently
Get used to the rhythm. Add a log. Enjoy the warmth for 15 minutes. Add another log. This is your life now.
The fire is your pet, and it’s always hungry. Before you go to sleep, prepare a massive pile of fuel right next to you so you can feed the beast throughout the night without having to venture into the dark, cold woods.
Trust me, stoking the fire at 3 AM is much better than the alternative: waking up at 4 AM shivering uncontrollably in a dead, cold pit.
22. Beware of “snow bombs” — heat melts overhead branches full of snow and can collapse your fire.
This is the most dramatic and hilarious-in-retrospect danger. You’ve built the perfect fire under the shelter of a beautiful pine tree.
The heat rises, slowly melting the bond between the snow and the branches above you. Without warning, a huge slab of snow—a “snow bomb”—detaches and plunges directly onto your fire and your head.
It’s like a white, cold blanket of disappointment, instantly smothering your hard work. Always look up!
23. Keep a clear zone free of bowing branches that drop snow.
When choosing your fire spot, not only should you look up, but you should also clear any low-hanging, snow-laden branches.
Branches bowed under the weight of snow are just waiting for an excuse to unload, and the vibration of you chopping wood might be all it takes. Give them a wide berth.
24. Never leave your winter fire unattended
You can’t just wander off to explore. A sudden snow squall can drift over your fire pit and bury your coals in minutes.
A gust of wind can pick up a glowing ember and toss it into dry brush you didn’t even know was there.
If you must leave, assign someone to fire-watch duty, or fully extinguish it. Your fire is a responsibility.
25. Fully extinguish coals before moving camp
“Leave No Trace” is extra important in winter. When you break camp, your fire pit must be deader than my hope for a on-time airline flight.
Dump snow on it. Lots of snow. It will hiss and steam. Then, with a stick, stir the slushy mess, exposing the hidden coals.
Add more snow. Stir again. Repeat until you can comfortably place your bare hand in the middle of the ash soup.
A buried coal can smolder for days under the snow and re-emerge later, starting a wildfire.
Final Thoughts
Learning to build a fire in the winter transformed my relationship with the cold.
It went from a thing I feared to a challenge I can (usually) conquer. It’s not just about survival; it’s about comfort. It’s about sitting there, steam rising from your damp socks, sipping a hot brew, and watching the flames dance against a backdrop of pure white snow.
The crackle of the fire is the sound of victory. The warmth is a direct result of your own skill and preparation.
It’s the ultimate satisfaction—knowing that in the heart of the frozen silence, you’ve created your own little pocket of warmth, light, and safety.


