I love hiking. The smell of pine needles, the crunch of gravel underfoot, the profound silence broken only by the sound of your own labored breathing and the occasional existential crisis on a steep incline.
It’s magical. But I also remember my first “real” backpacking trip.
I use quotation marks because what I did was less “communing with nature” and more “a poorly planned reenactment of The Revenant, but with more whining and fewer bear maulings.”
I came out of those woods a broken, blistered, shivering husk of a human, vowing to never again subject myself to such voluntary torment.
And then, like a fool, I did it again. And again.
Through a process of trial and catastrophic error, I learned that my hatred for hiking wasn’t actually hatred for hiking.
It was hatred for being a beginner. I was making all the classic rookie mistakes that transform a beautiful journey into a suffer-fest.
So, if you’ve tried hiking and decided it’s a special circle of hell reserved for masochists and fitness influencers, this is for you.
Let’s dissect the five most common beginner backpacking mistakes that will ruin your first experience faster than you can say, “Are we there yet?”
Table of Contents
Mistake 1: The Blistering Pace of Ignorance

You’ve heard the horror stories. You’ve seen the photos. Blisters.
Those fluid-filled sacs of pure agony that make every step feel like walking on hot coals studded with thumbtacks.
Beginners think blisters are an inevitable part of hiking, like mosquitos and questionable trail mix. They are not.
They are a punishment for ignorance.
The Common Advice (Which is Good, But Incomplete):
You’ve been told to “break in your boots” and “wear good socks.”
This is solid, if vague, advice. Breaking in boots means wearing them around the house, on short walks, and to the grocery store until they mold to your feet, not taking them straight out of the box for a 10-mile death march.
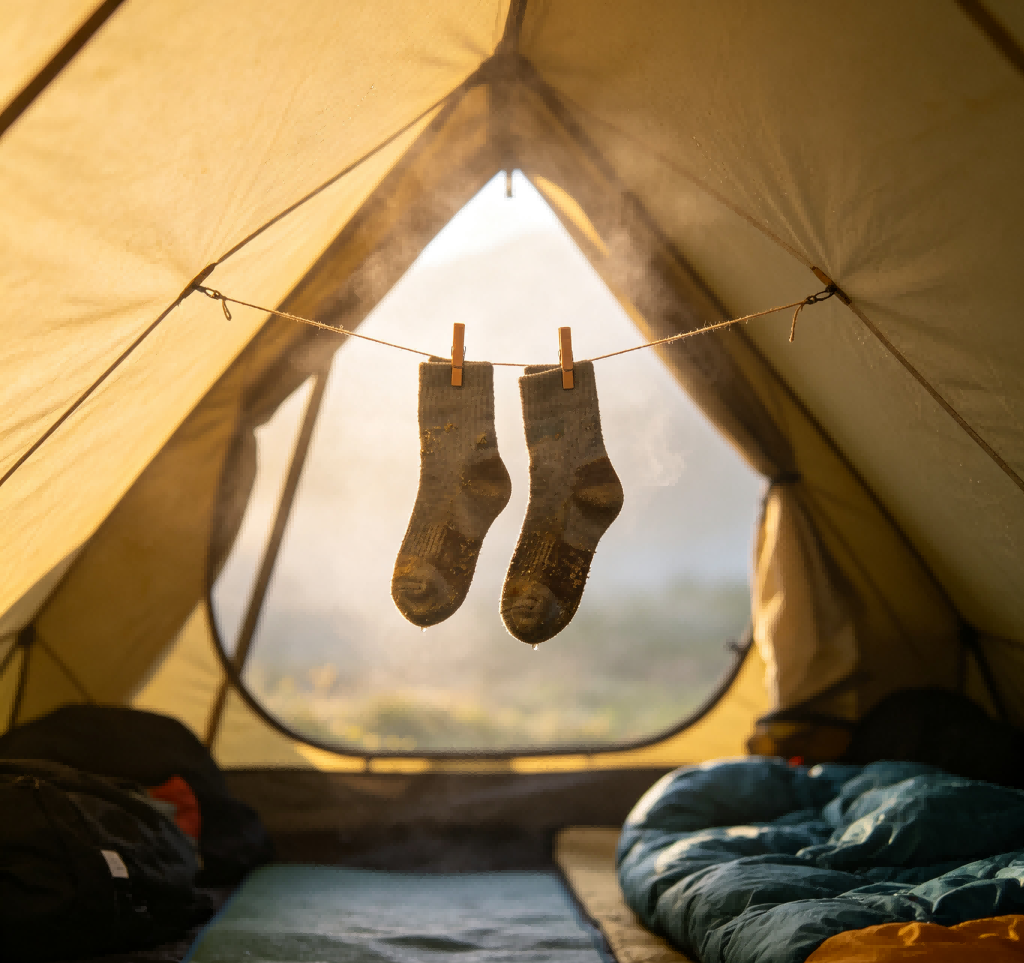
And “good socks” usually means Merino wool, because it wicks moisture and doesn’t hold stench like a hostage.
Also, the moment you feel a “hot spot” – that specific patch of skin that feels like it’s hosting a tiny, angry sun – you stop and put tape on it. Immediately.
Do not negotiate with the hot spot. It will win.
The Nitty-Gritty, From-The-Trenches Addendums:

1. Sock Snobbery is a Virtue: Don’t just buy “Merino wool socks.” Buy high-quality Merino wool socks. We’re talking Darn Tough (with a lifetime warranty, because they’re confident you’ll never need it), Smartwool, or Silverlight.
These are not just socks; they are finely-tuned foot-hugs engineered to prevent friction and manage moisture. The cheap, scratchy wool socks your grandma knitted? Save those for building a snowman.
2. The Goldilocks of Footwear: Your boots/shoes must fit perfectly. Not “kinda okay.” Perfectly.
This means:
Toe Box: Wiggle room. When you kick a phantom rock, your toes should not slam into the front.
Heel: Padded and secure. Your heel should not slip up and down more than a millimeter or two. Any more and you’re creating a friction factory.
Width: Snug, not strangling. Your feet will swell. Account for it.
3. The Dark Art of Lacing (Or, How to Hog-Tie Your Foot): This is the secret weapon nobody talks about. Standard criss-cross lacing is for amateurs.
You need to become a foot-lacing ninja. The goal is to lock your heel in place while giving your toes room to party.
◦ The Method: Lace your shoes normally until you get to the second-to-last set of eyelets (the ones right before the top). Skip these eyelets entirely. Now, take the laces straight up to the very top eyelets.
◦ The Surgeon’s Knot: This is the magic. Before you tie your final bow, make a simple knot, but instead of just one loop, you make two. You loop the lace around twice before pulling it tight. This creates a locking point. Cinch this knot down tight over the top of your foot/ankle. This anchors your heel, preventing it from slipping.
◦ The Payoff: With your heel locked in place by the surgeon’s knot at the top, the lower part of your foot (the toe area) can remain relatively loose and comfortable. You’ve created a custom-fit system with a piece of string. You’re a wizard.
Mistake 2: Dressing Like a Stay-Puft Marshmallow
The beginner’s thought process: “It’s cold outside. I will put on all my clothes.” This is a trap. Hiking is a cardio activity.
You will generate heat. A lot of it. So, if you start your hike dressed for the temperature at the trailhead, you will be a sweating, steaming, miserable mess within ten minutes.
And sweat is the enemy, because when you stop, that moisture will cool you down, turning you into a human Popsicle.
The Three-Layer System (Your Holy Trinity):
1. The Base Layer: This is your second skin. Its job is to wick sweat away from your body. Key phrase: WICK, NOT ABSORB. This is why you never, ever wear cotton (“cotton is rotten”). It absorbs sweat and holds it against your skin, making you cold and clammy. Go for Merino wool (seeing a theme?) or synthetic polypropylene.
2. The Mid Layer: This is your insulation. Its job is to trap body heat. Think fluffy down jackets, cozy fleeces, or synthetic equivalents (which are better in damp conditions, as down loses its warmth when wet). This is the layer you’ll put on when you stop for lunch.
3. The Outer Shell: This is your armor. It doesn’t provide much warmth itself; it protects your other layers from wind and rain. A good rain jacket and rain pants are non-negotiable. Nature is fickle.
The Layering Mantras:
• “Be bold, start cold.” When you begin hiking, you should feel slightly cold. Not shivering, but definitely not toasty. Within five minutes of movement, you’ll hit the perfect temperature.
• Adjust constantly. Going uphill and working hard? Strip down to your base layer. Stopping for a water break? Mid layer on immediately. Wind picking up? Shell goes on. You are a constantly evolving clothing entity on the trail.
Mistake 3: The Night of the Shivering Corpse

You buy a sleeping bag rated to 20°F. You think, “Great, I’ll be cozy down to 20 degrees!” Oh, my sweet summer child.
You have just fallen for the most common marketing trick in the outdoors. That number is often the Survival Rating – the temperature at which a standard woman* will not die of hypothermia while curled in a ball, shivering violently all night.
It is not the temperature for a good night’s sleep.
You need to look for the Comfort Rating – the temperature at which a standard woman will sleep comfortably.
Sometimes you have to dig on the manufacturer’s website, but it’s there. Use the highest, warmest number you can find when making your choice.
But what if you’re already on the trail and your bag is betraying you? Here is your arsenal of “Oh Crap, I’m Cold” fixes:
The Sleeping Bag Liners: A silk or fleece liner can add a surprising 5-15°F of warmth to your bag. It’s like giving your sleeping bag a warm sweater.
The Double-Bag Combo: Have a lighter summer bag? Stuff yourself into your main bag, then crawl into the second one. It’s bulky, but it works.
The Ground is Your Heat-Stealing Enemy: Your sleeping pad’s “R-Value” (insulation rating) is as important as your bag’s.
You lose more heat to the cold ground than to the air. If you’re cold, put your extra foam pad under your inflatable one.
If you’re desperate, put an emergency blanket (the crinkly, silver kind) shiny side facing you underneath your pad. It reflects your body heat back at you.
Warm Up Before Bed: Do not crawl into your bag cold. Do 20 push-ups, run in place for a minute, have a vigorous dance party in your tent. Get your internal furnace roaring before you zip up.
The Hot Water Bottle: This is the pro move. Before bed, boil some water, pour it into a leak-proof bottle (a Nalgene is perfect), wrap it in a spare sock, and chuck it into the foot of your sleeping bag.
It will radiate heat for hours. It is a cuddle buddy that can’t talk back.
Mistake 4: The Ankle-Anvil Anomaly

There’s a pervasive myth that you need massive, leather, above-the-ankle boots to go hiking. For serious mountaineering with a heavy pack, maybe.
For a summer backpacking trip? It’s like using a sledgehammer to crack a nut. Every pound on your feet is equivalent to five on your back in terms of energy expenditure.
Heavy boots will fatigue your legs faster than you can say “shin splints.”
The Alternative: Hiking shoes or trail running shoes. They are lighter, more flexible, and dry faster. You will feel nimble and free.
The Legitimate Concern: “But what about my ankles?!” It’s a fair point. Lower-cut shoes offer less support. The solution isn’t to strap on clown shoes; it’s to strengthen your ankles.
For weeks before your trip, do simple ankle circles and calf raises. Practice balancing on one foot while brushing your teeth.
A strong, stable ankle is far better protection than a stiff boot that can create a false sense of security.
Mistake 5: The Kitchen Sink Conundrum

This is the big one. The mother of all beginner mistakes. You look at your backpack and think, “Well, I might need this… and I could need that…” and suddenly you’re carrying 45 pounds for an overnight trip.
Your shoulders scream, your feet ache, and every uphill feels like a personal insult from the universe.
The main cause of misery on the trail is carrying too much weight. Here’s how to lighten the load without sacrificing safety or fun.
Rain Protection: Ditch the fancy, expensive rain cover for your backpack. They often fail in high winds and driving rain. Instead, line the inside of your backpack with a heavy-duty trash compactor bag.
It’s cheaper, lighter, and 100% more effective. Your gear stays dry, and you look resourcefully frugal.
The “Just In Case” Tools: You are not going to build a log cabin. Leave the saw, the hatchet, and the Rambo knife at home. A small, multi-tool or pocket knife is all you need.
Water Wisdom: Do not carry all your water for a multi-day trip. That’s insane. A liter of water weighs 2.2 pounds. Carry just enough to get you to your next water source, plus a little safety buffer. Then, filter or treat it as you go.
- Purification Tablets: Dirt cheap, ultra-lightweight. The downside? You have to wait 30 minutes for them to work.
- Water Filters: My personal favorite. A Squeeze filter or similar lets you drink straight from the stream instantly. Worth every penny.
The Gear Purge: This requires brutal honesty. Lay everything out on your floor. Divide it into two piles:
- Necessary for Survival/Safety: Shelter, sleep system, water filter, first aid, food, stove.
- Nice to Have/Beneficial: Camp shoes, a book, a Bluetooth speaker, a heavy camera, that espresso maker.
Food & Drink Optimization:
Containers: Transfer everything from glass jars into plastic. Repackage bulk pasta, rice, and couscous into simple Ziploc bags. They are lighter and take up less space.
Avoid Cans: They are heavy and you have to pack out the trash.
Calorie Density is Key: You want the most calories for the least weight. Think: nuts, nut butter, olive oil (add to dinners), dried fruit, oatmeal, and dark chocolate.
Final Thoughts
So there you have it. The five great sins of the beginner backpacker, laid bare. I learned these lessons the hard way, so you don’t have to.
Hiking isn’t about suffering; it’s about problem-solving with a view. It’s about earning that stunning panorama with a little bit of sweat and a lot of smart preparation.
Now, I know my wisdom is not the final word. What about you? What rookie mistake did you make that left you vowing to never leave your couch again?
Share your horror stories and hard-earned tips in the comments below.
Let’s suffer together, in retrospect